

Recently I’ve been experimenting with Further Food Gelatin. I just learned that one serving of gelatin provides 10,000 mg of pure collagen. With collagen begin so good for your hair, skin, nails, joints and gut health, I’ve been trying to incorporate it into more of my recipes! (If you want to try some gelatin, you can use NICOLETHENOMAD to receive 15% off!)
Today’s recipe comes from Cloudy Kitchen and it’s no joke one of the most delicious things I’ve had in a long time. You don’t even have to bake it!
No bake cheesecakes are so easy and fun and this one comes with extra collagen benefits. 😉
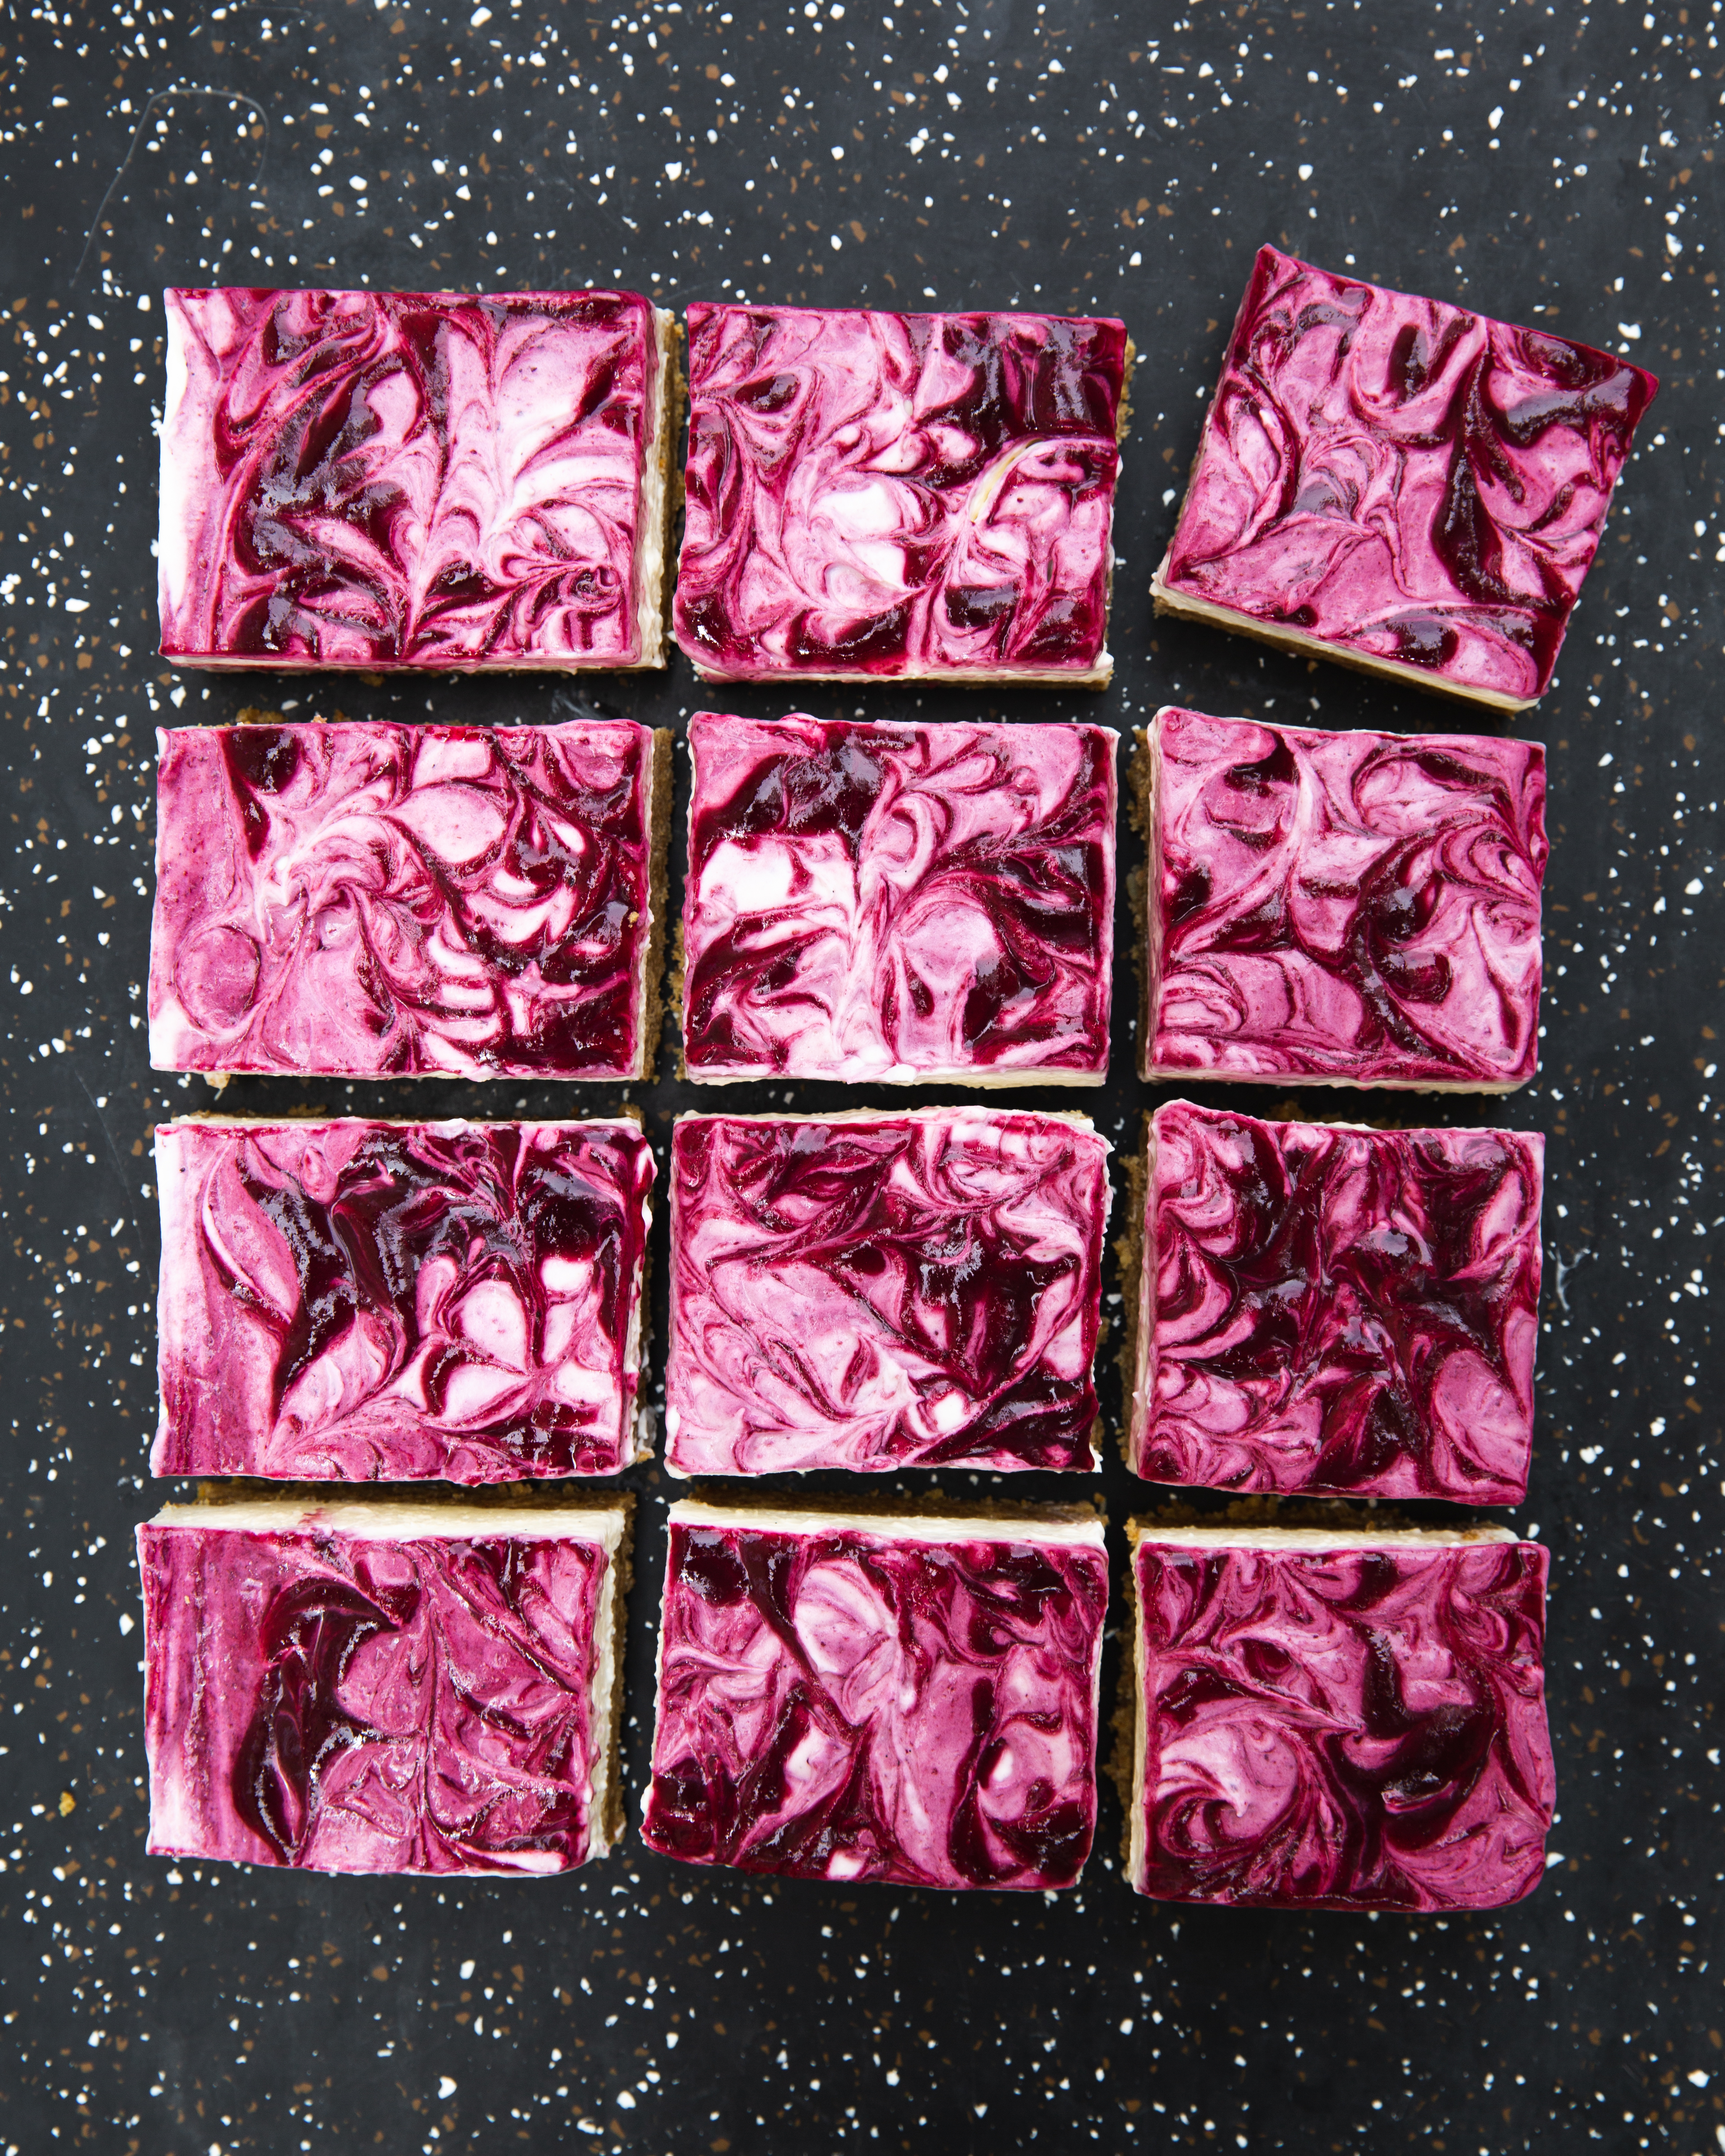
This recipe truly is super easy, but it looks super fancy so everyone will think you’re a pro. I followed her lead and mixed a berry coulis on the top, but you can get creative and mix whatever you want making this recipe versatile and different every time: nutella, peanut butter, fruit curd etc.
** Don’t forget to make sure your cream cheese is at room temperature before you beat it and that your berry coulis is fully cooled before you swirl it on the top. Enjoy!
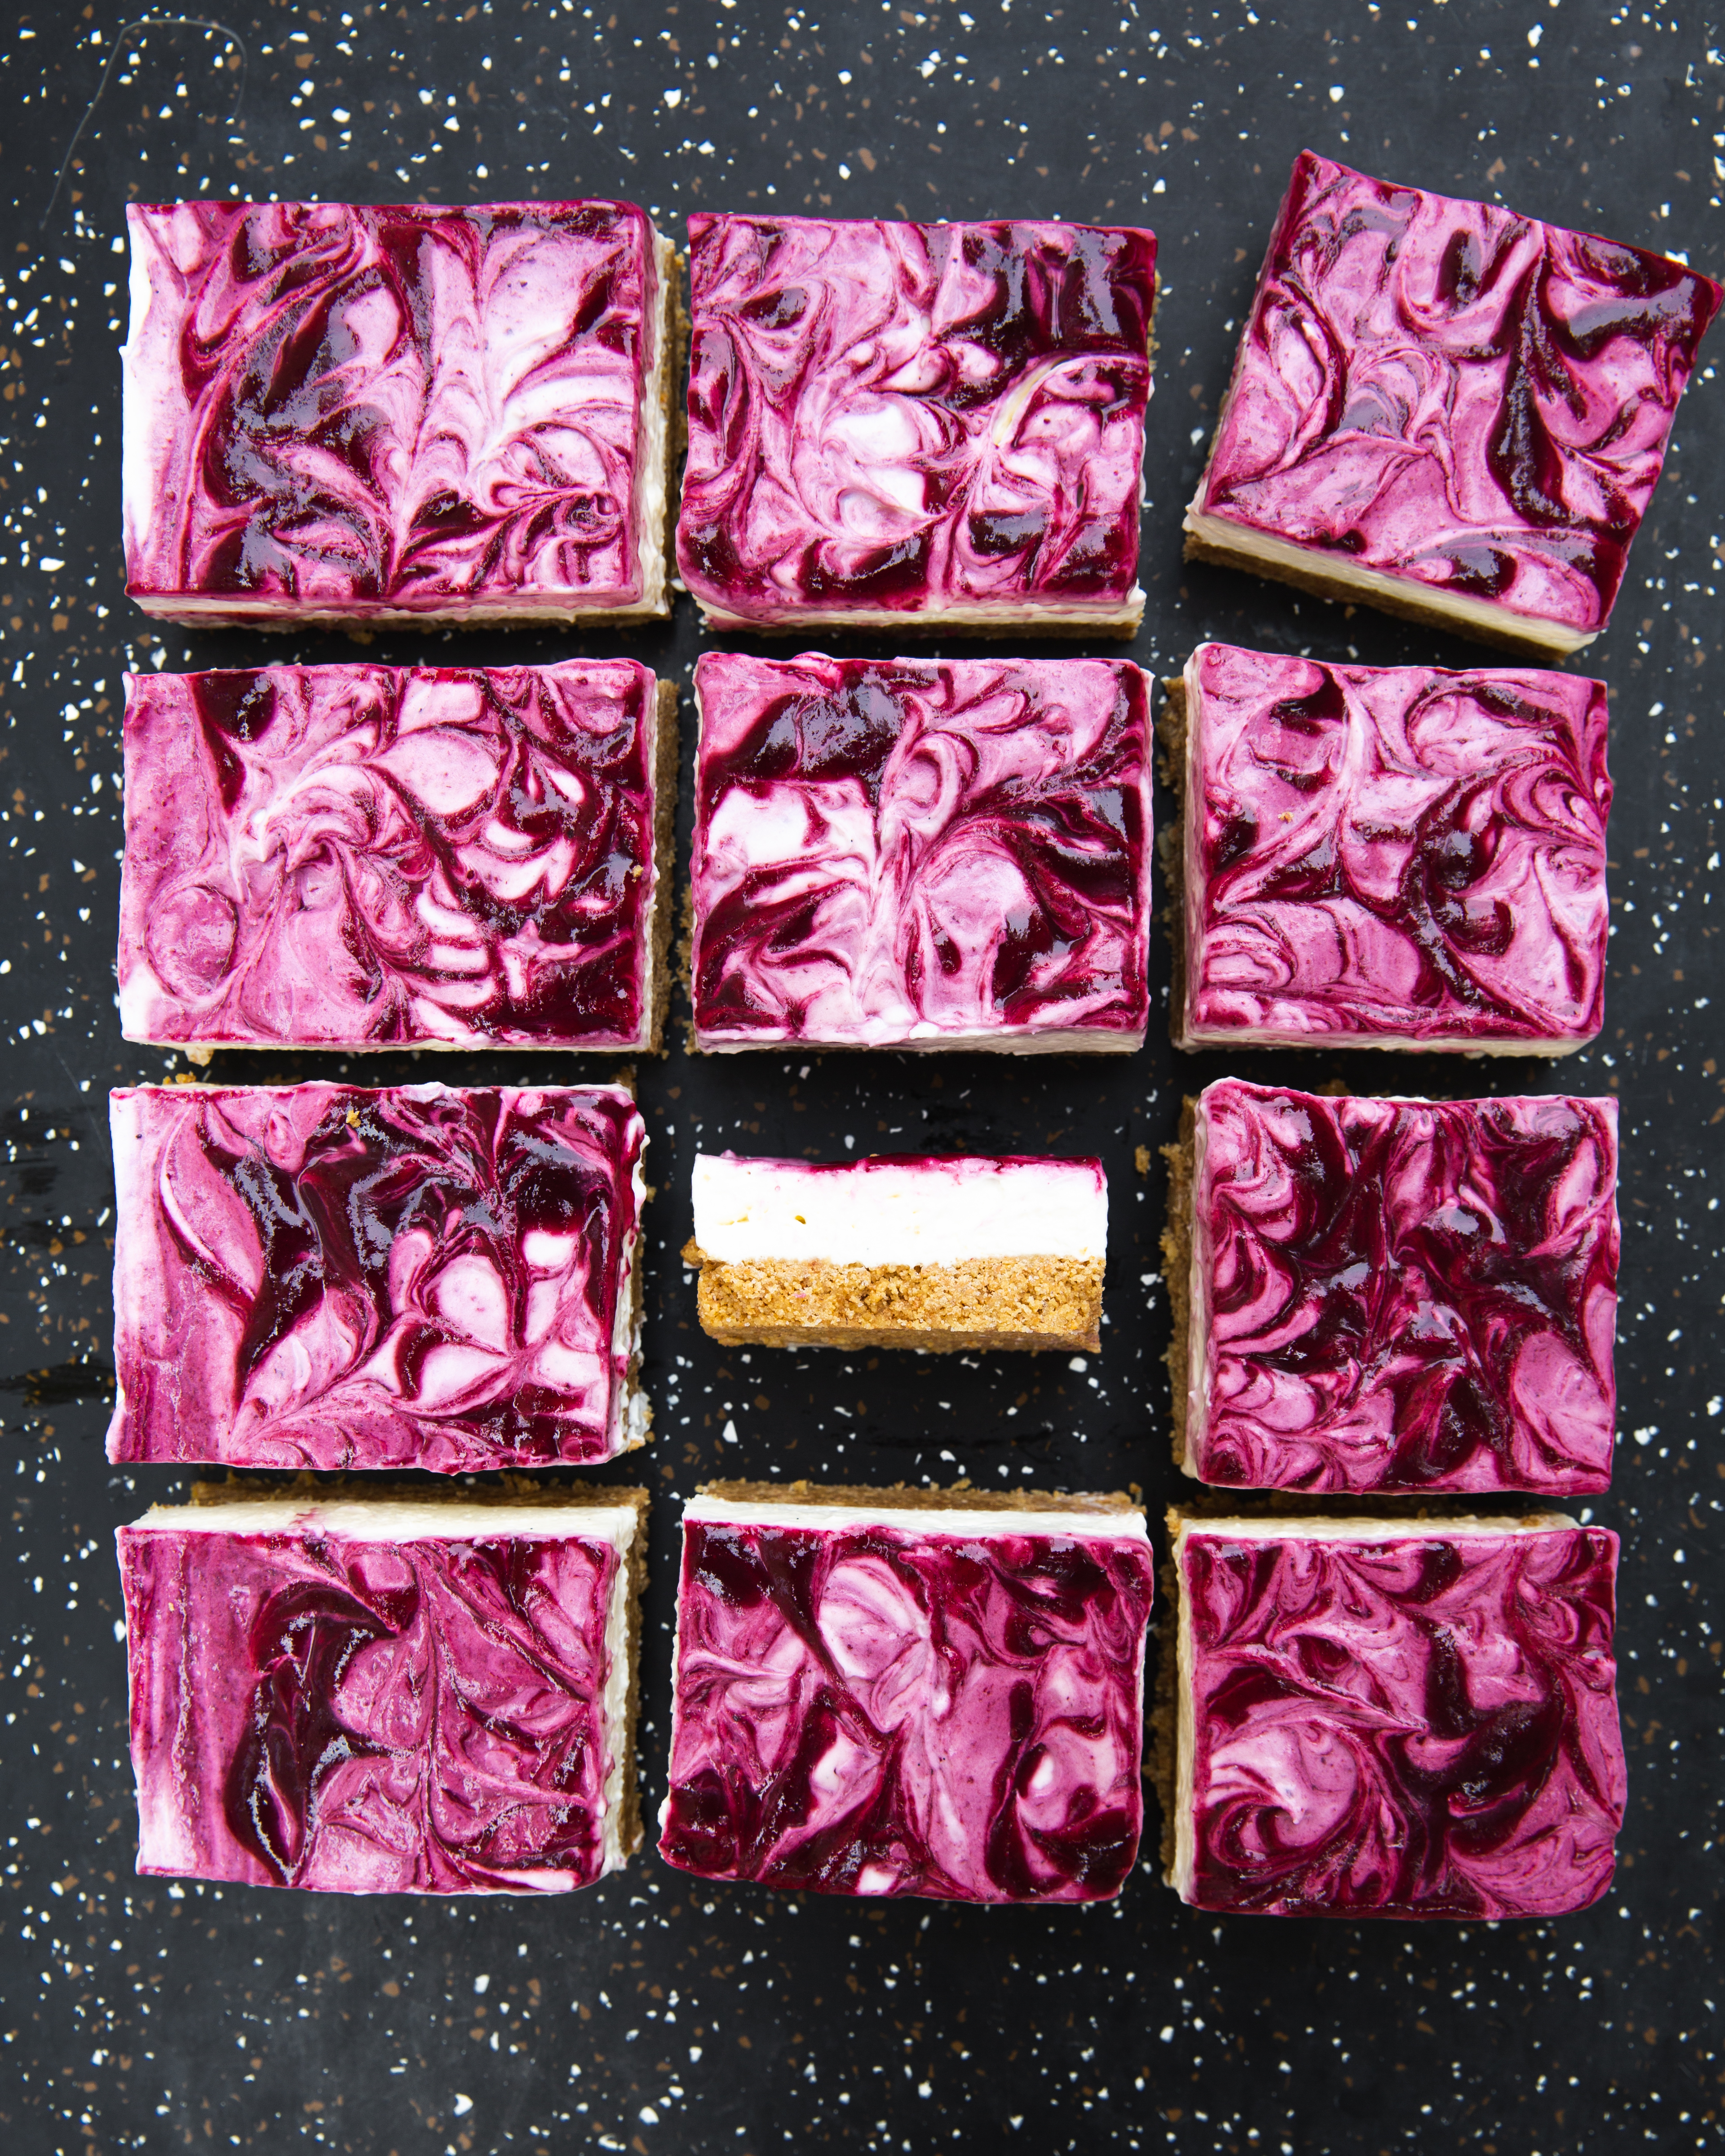
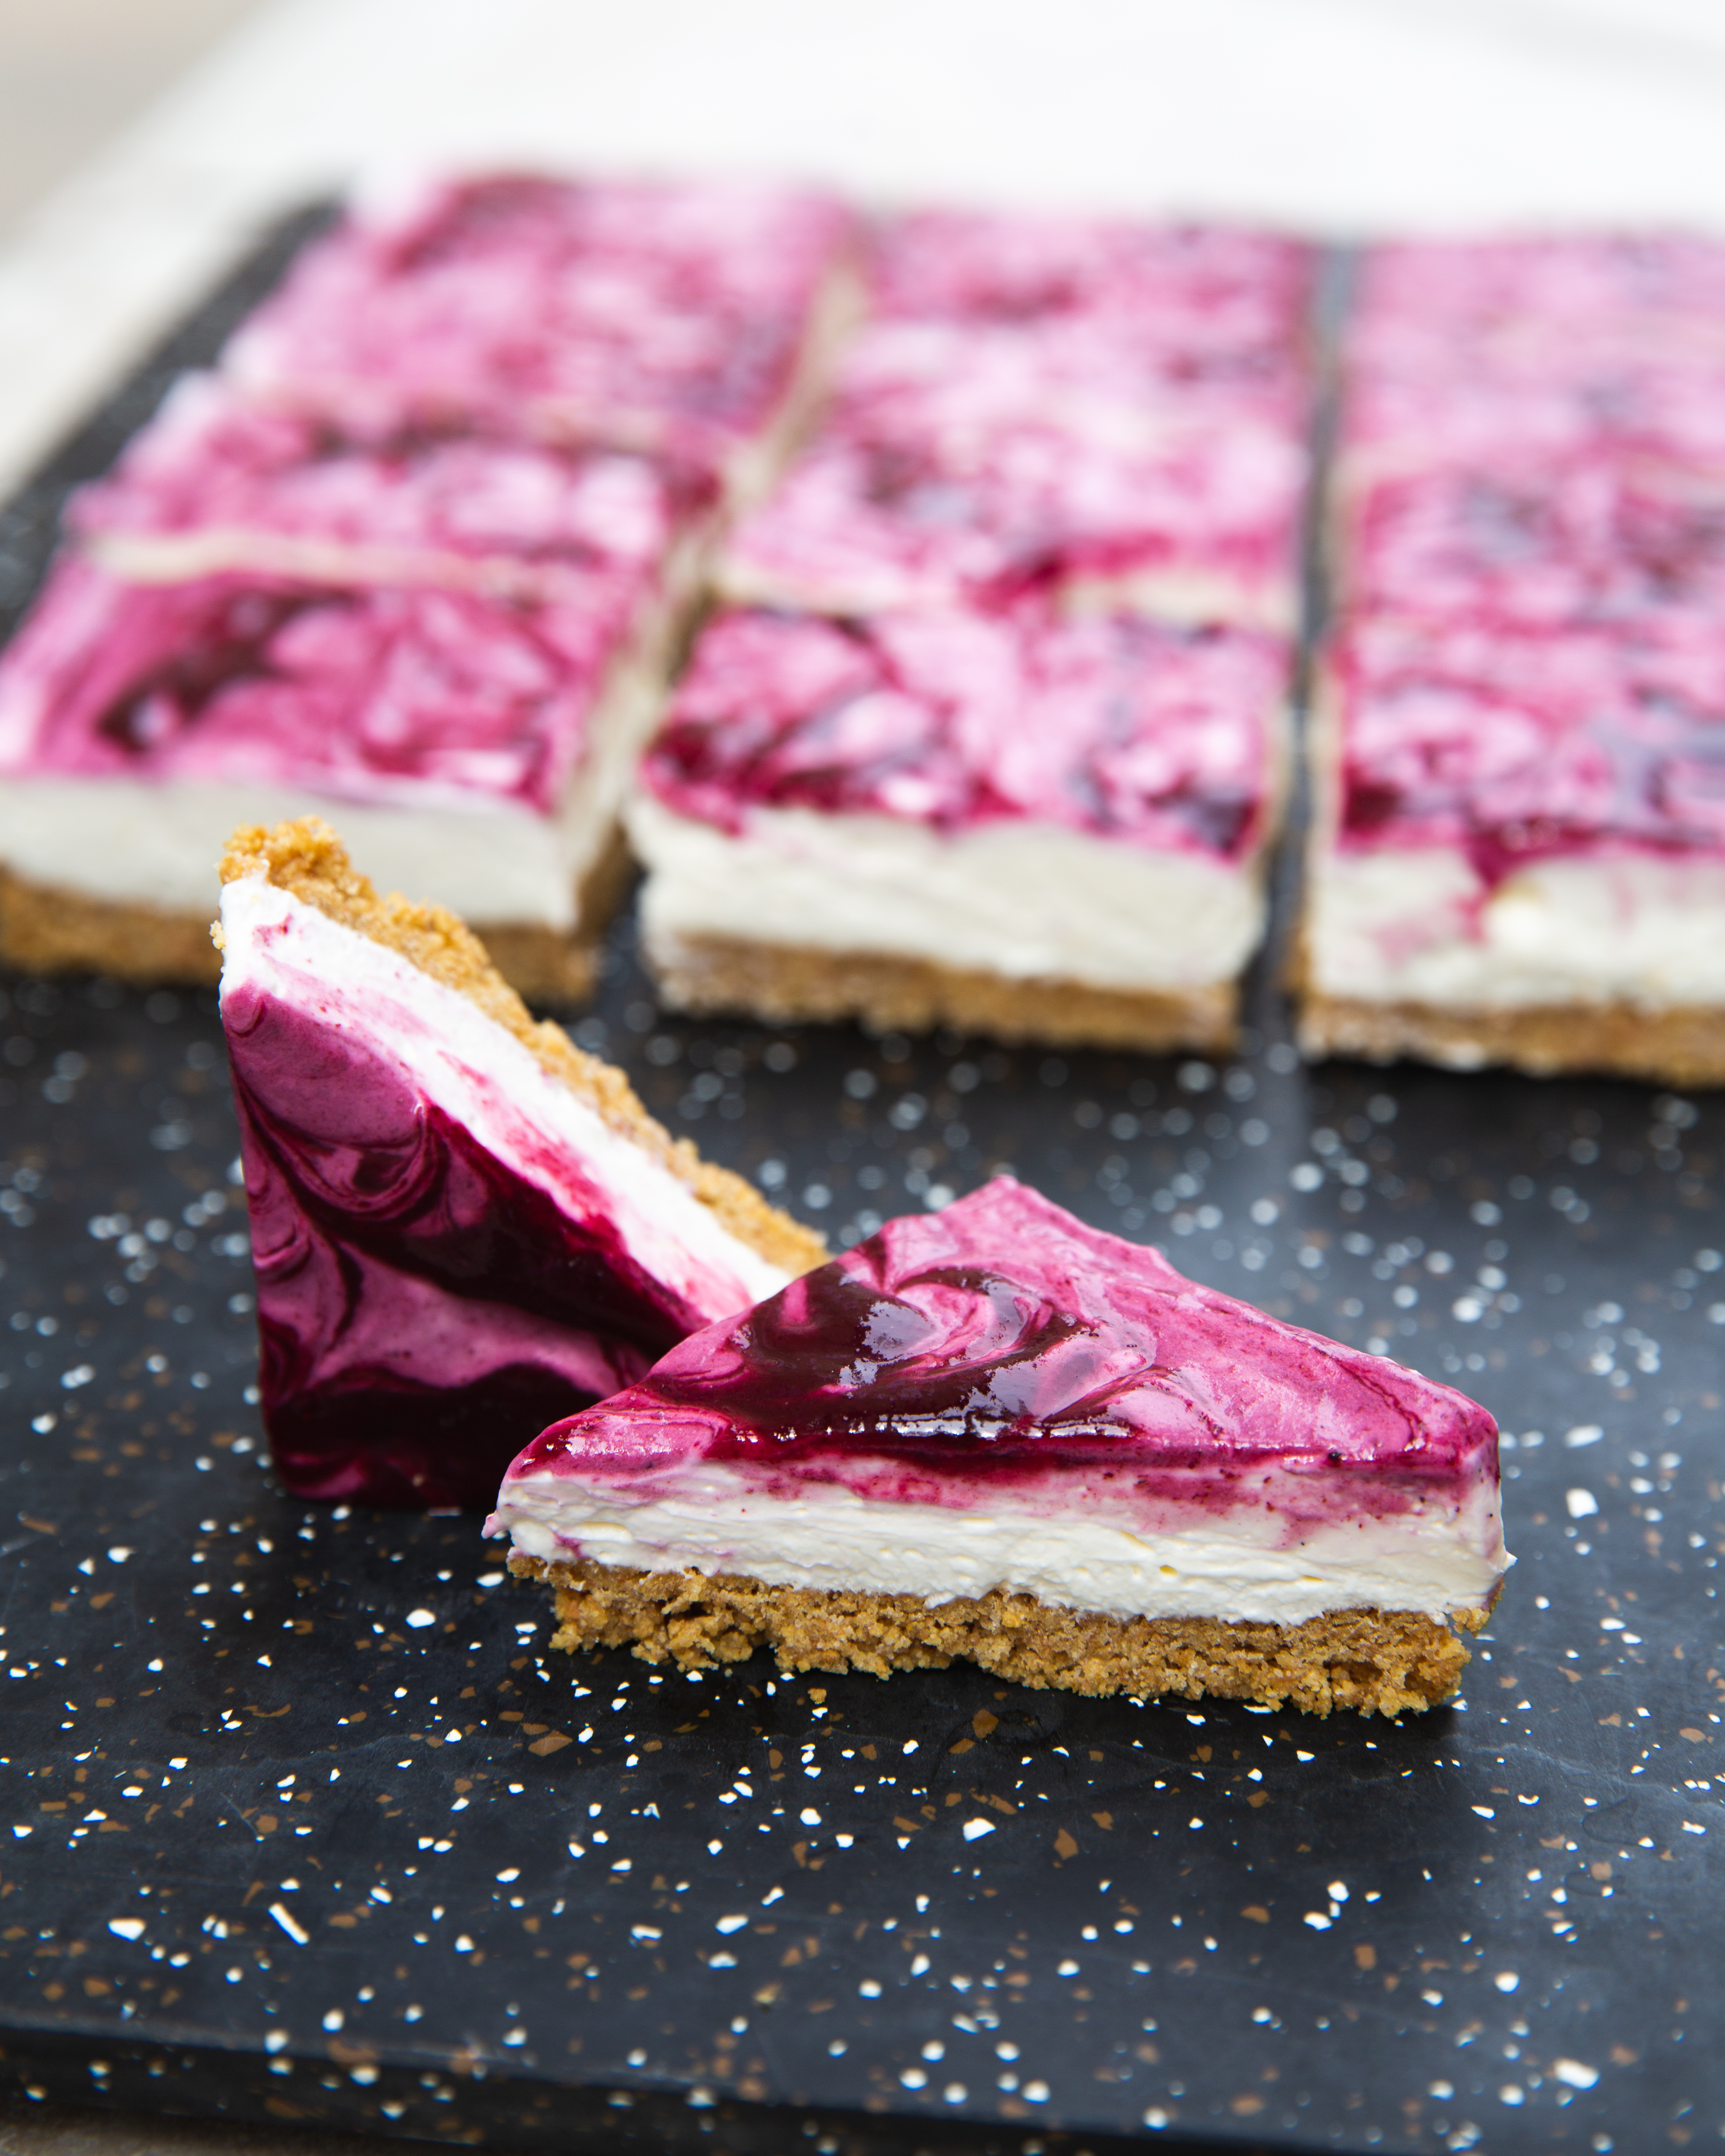
No Bake Mixed Berry Cheesecake Bars
– INGREDIENTS –
Mixed Berry Coulis Topping
2 cups fresh or frozen raspberries
1 cup fresh or frozen blueberries
1 cup fresh or frozen blackberries
1/3 cup sugar
1 Tbsp water
pinch of salt
Graham Cracker Base
4.5 cups graham crackers
3 Tbsp Sugar
2/3 cups butter, melted
1/4 tsp salt
Filling
1 1/3 cup plus1/2 cup cream
2 tsp gelatin (I used Further Food … use NICOLETHENOMAD for a discount!)
2 cups cream cheese, at room temperature
2/3 cup sugar
1 tsp vanilla bean paste
1/4 tsp salt
– DIRECTIONS –
MIXED BERRY COULIS TOPPING
- Add all of the ingredients in a sauce pan over medium heat. Cook and stir often and softly mash the berries against the side using a fork, until the berries are softened. Transfer to a high speed blender or food processor, and blend until smooth.
- Clean the pan and return to the stove. Using a cheese cloth, strain the berry mixture into the pan, then bring mixture to a boil and cook over medium heat, stirring constantly, until slightly thickened and reduced (about 2-3 minutes).
- Transfer to a container and let mixture cool completely.
GRAHAM CRACKER BASE
- Spray and line a 9” square pan with two pieces of parchment paper, extending over the sides.
- Pulse graham crackers and sugar in a food processor until they are fine crumbs, then transfer to a medium bowl.
- Add the salt and butter, mixing to combine.
- Pour the base into the prepared pan, and pat down using the bottom of a flat glass or measuring cup, until it has an even thickness.
- Let it firm up in the freezer while you prepare the filling.
FILLING AND ASSEMBLY
- In a small pot over low heat, combine the 120g measure of cream and gelatin. Stir until the gelatin has dissolved. Set aside to cool slightly.
- In the bowl of a stand mixer, using the whisk attachment, or using an electric mixer, whip the 300g measure of cream until soft peaks form. Transfer into a bowl.
- Whip the cream cheese and sugar in the mixer until smooth. Add the vanilla and salt and beat to incorporate, then add the gelatine and cream mixture and mix well.
- Remove the bowl from the mixer, and using a spatula, gently fold the softly whipped cream into the cream cheese mixture.
- Scoop the filling over the prepared base, tapping to remove any bubbles, then spreading with an offset spatula.
- Evenly distribute about 3-4 Tbsp of the cooled berry mixture over the surface of the filling, and using a swirling motion, gently mix it into the top section of the filling using a spoon, before smoothing again with an offset spatula.
- Lightly drizzle a little more of the berry mixture (a little goes a long way) over the top of the cheesecake, then drag a toothpick through the drizzled coulis to make a marbled effect. Add more berry mixture and marble more if you want!
- Refrigerate the cheesecake for at least 3 hours or until set. Using the parchment paper as a sling, remove the cheesecake from the pan. Cut into squares using a knife that has been run through hot water and then dried before cutting.
Enjoy!


Hi! I just sent you an email about this. Thanks!