

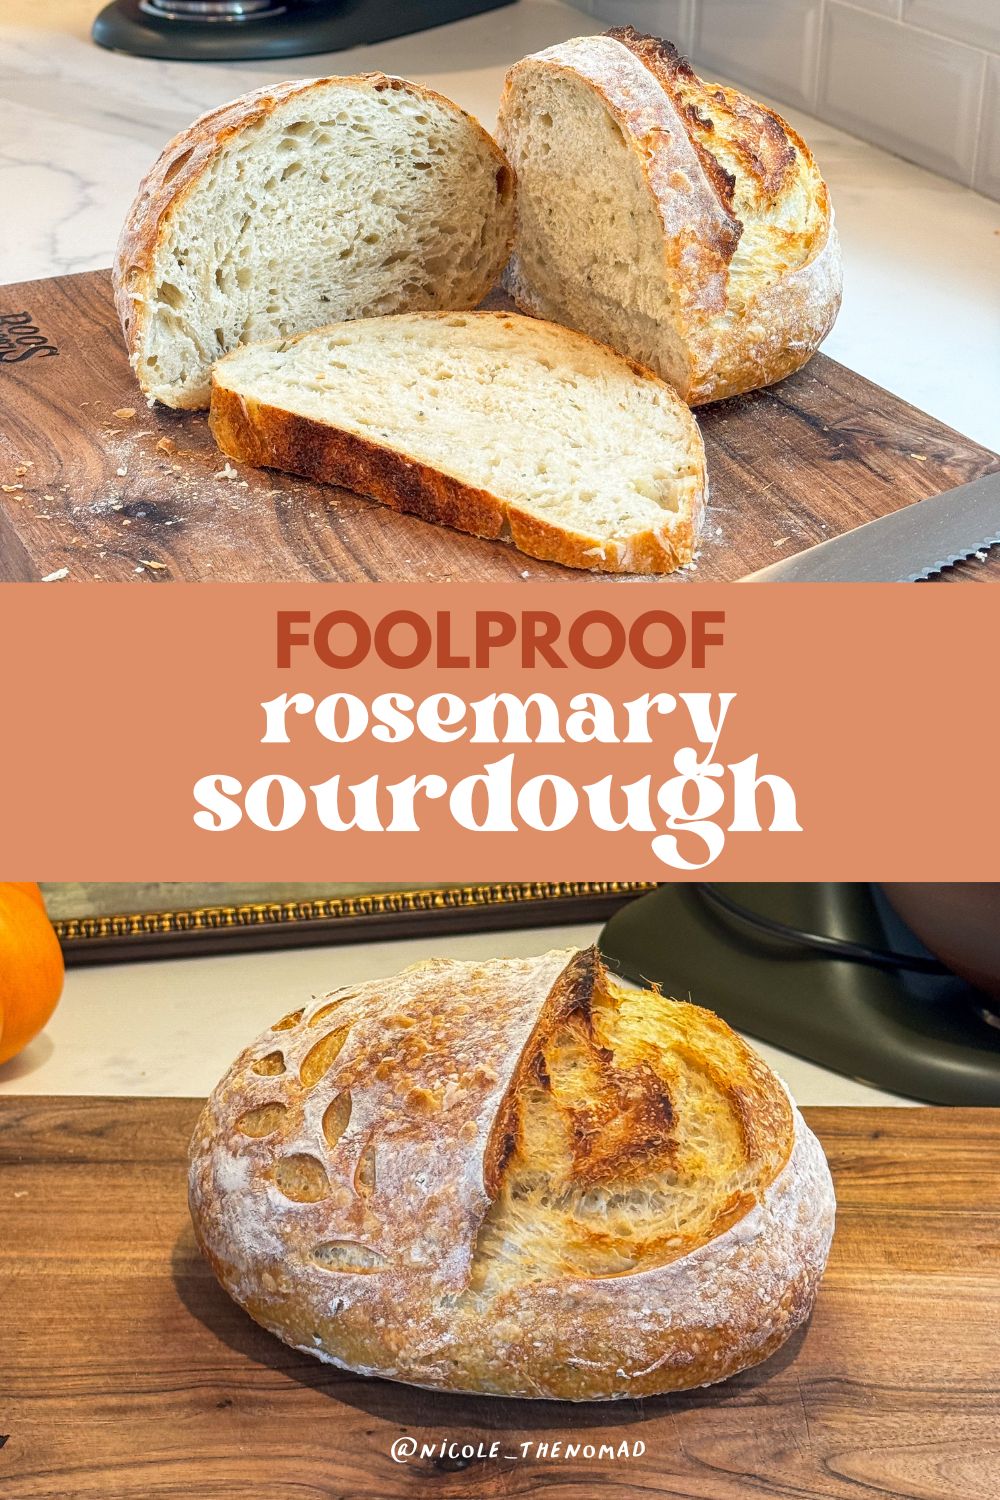
I started my sourdough journey in the third trimester of my pregnancy specifically to distract myself from being pregnant. I had been avoiding it for years because it sounded intimidating and honestly a little precious, but once I finally dove in I completely understood why people become obsessed with it. I made a lot of bad loaves before I made good ones and I would do it all again because the process itself turned out to be something I genuinely love. Adding rosemary to the dough was a decision I made on a whim one afternoon and it elevated everything to a completely different level. This is now the only sourdough I make.
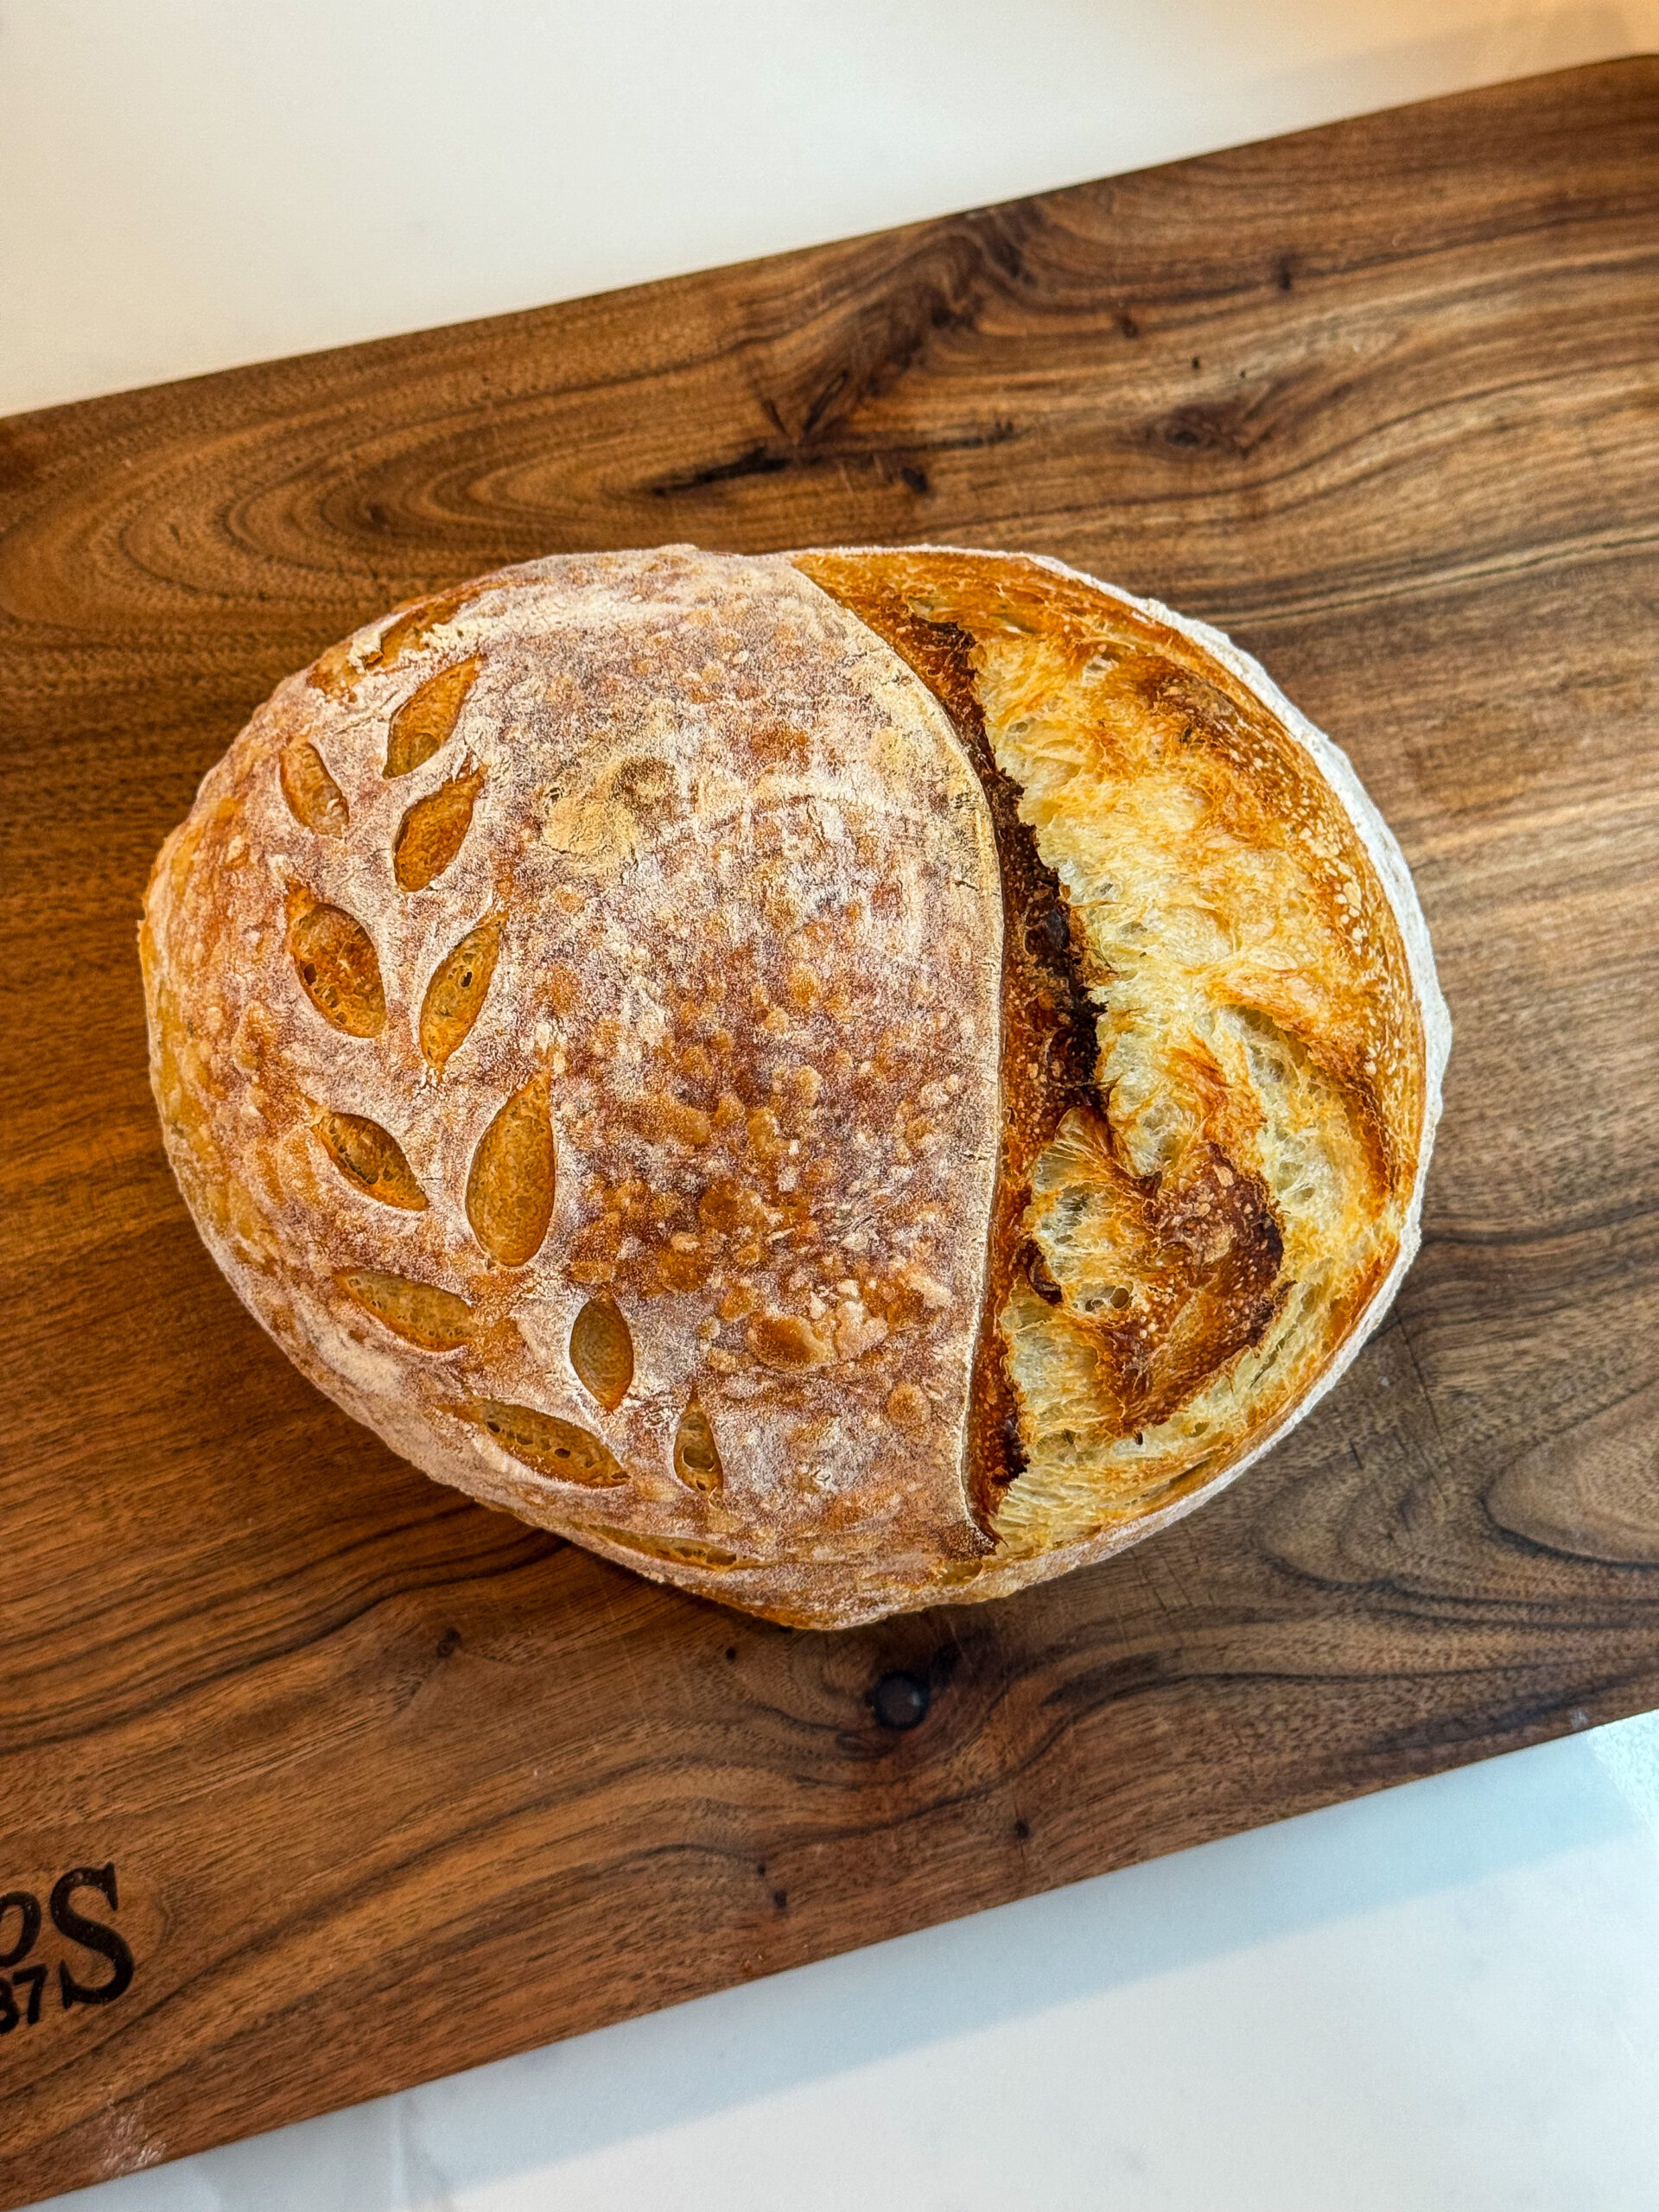
What I love most about sourdough is that it takes more than one day. That might sound like a reason not to make it and I used to think the same thing, but now I see it as exactly the point. It reminds me to slow down, be patient, and trust a process that does not benefit from being rushed. There is something really satisfying about feeding your starter the night before, waking up the next morning to check on it, doing your stretch and folds throughout the day, and then watching a beautiful loaf come out of a screaming hot dutch oven after three days of quiet, patient work. Making things from scratch to feed my family has become one of my favorite ways to spend my time and sourdough is the most intentional version of that.
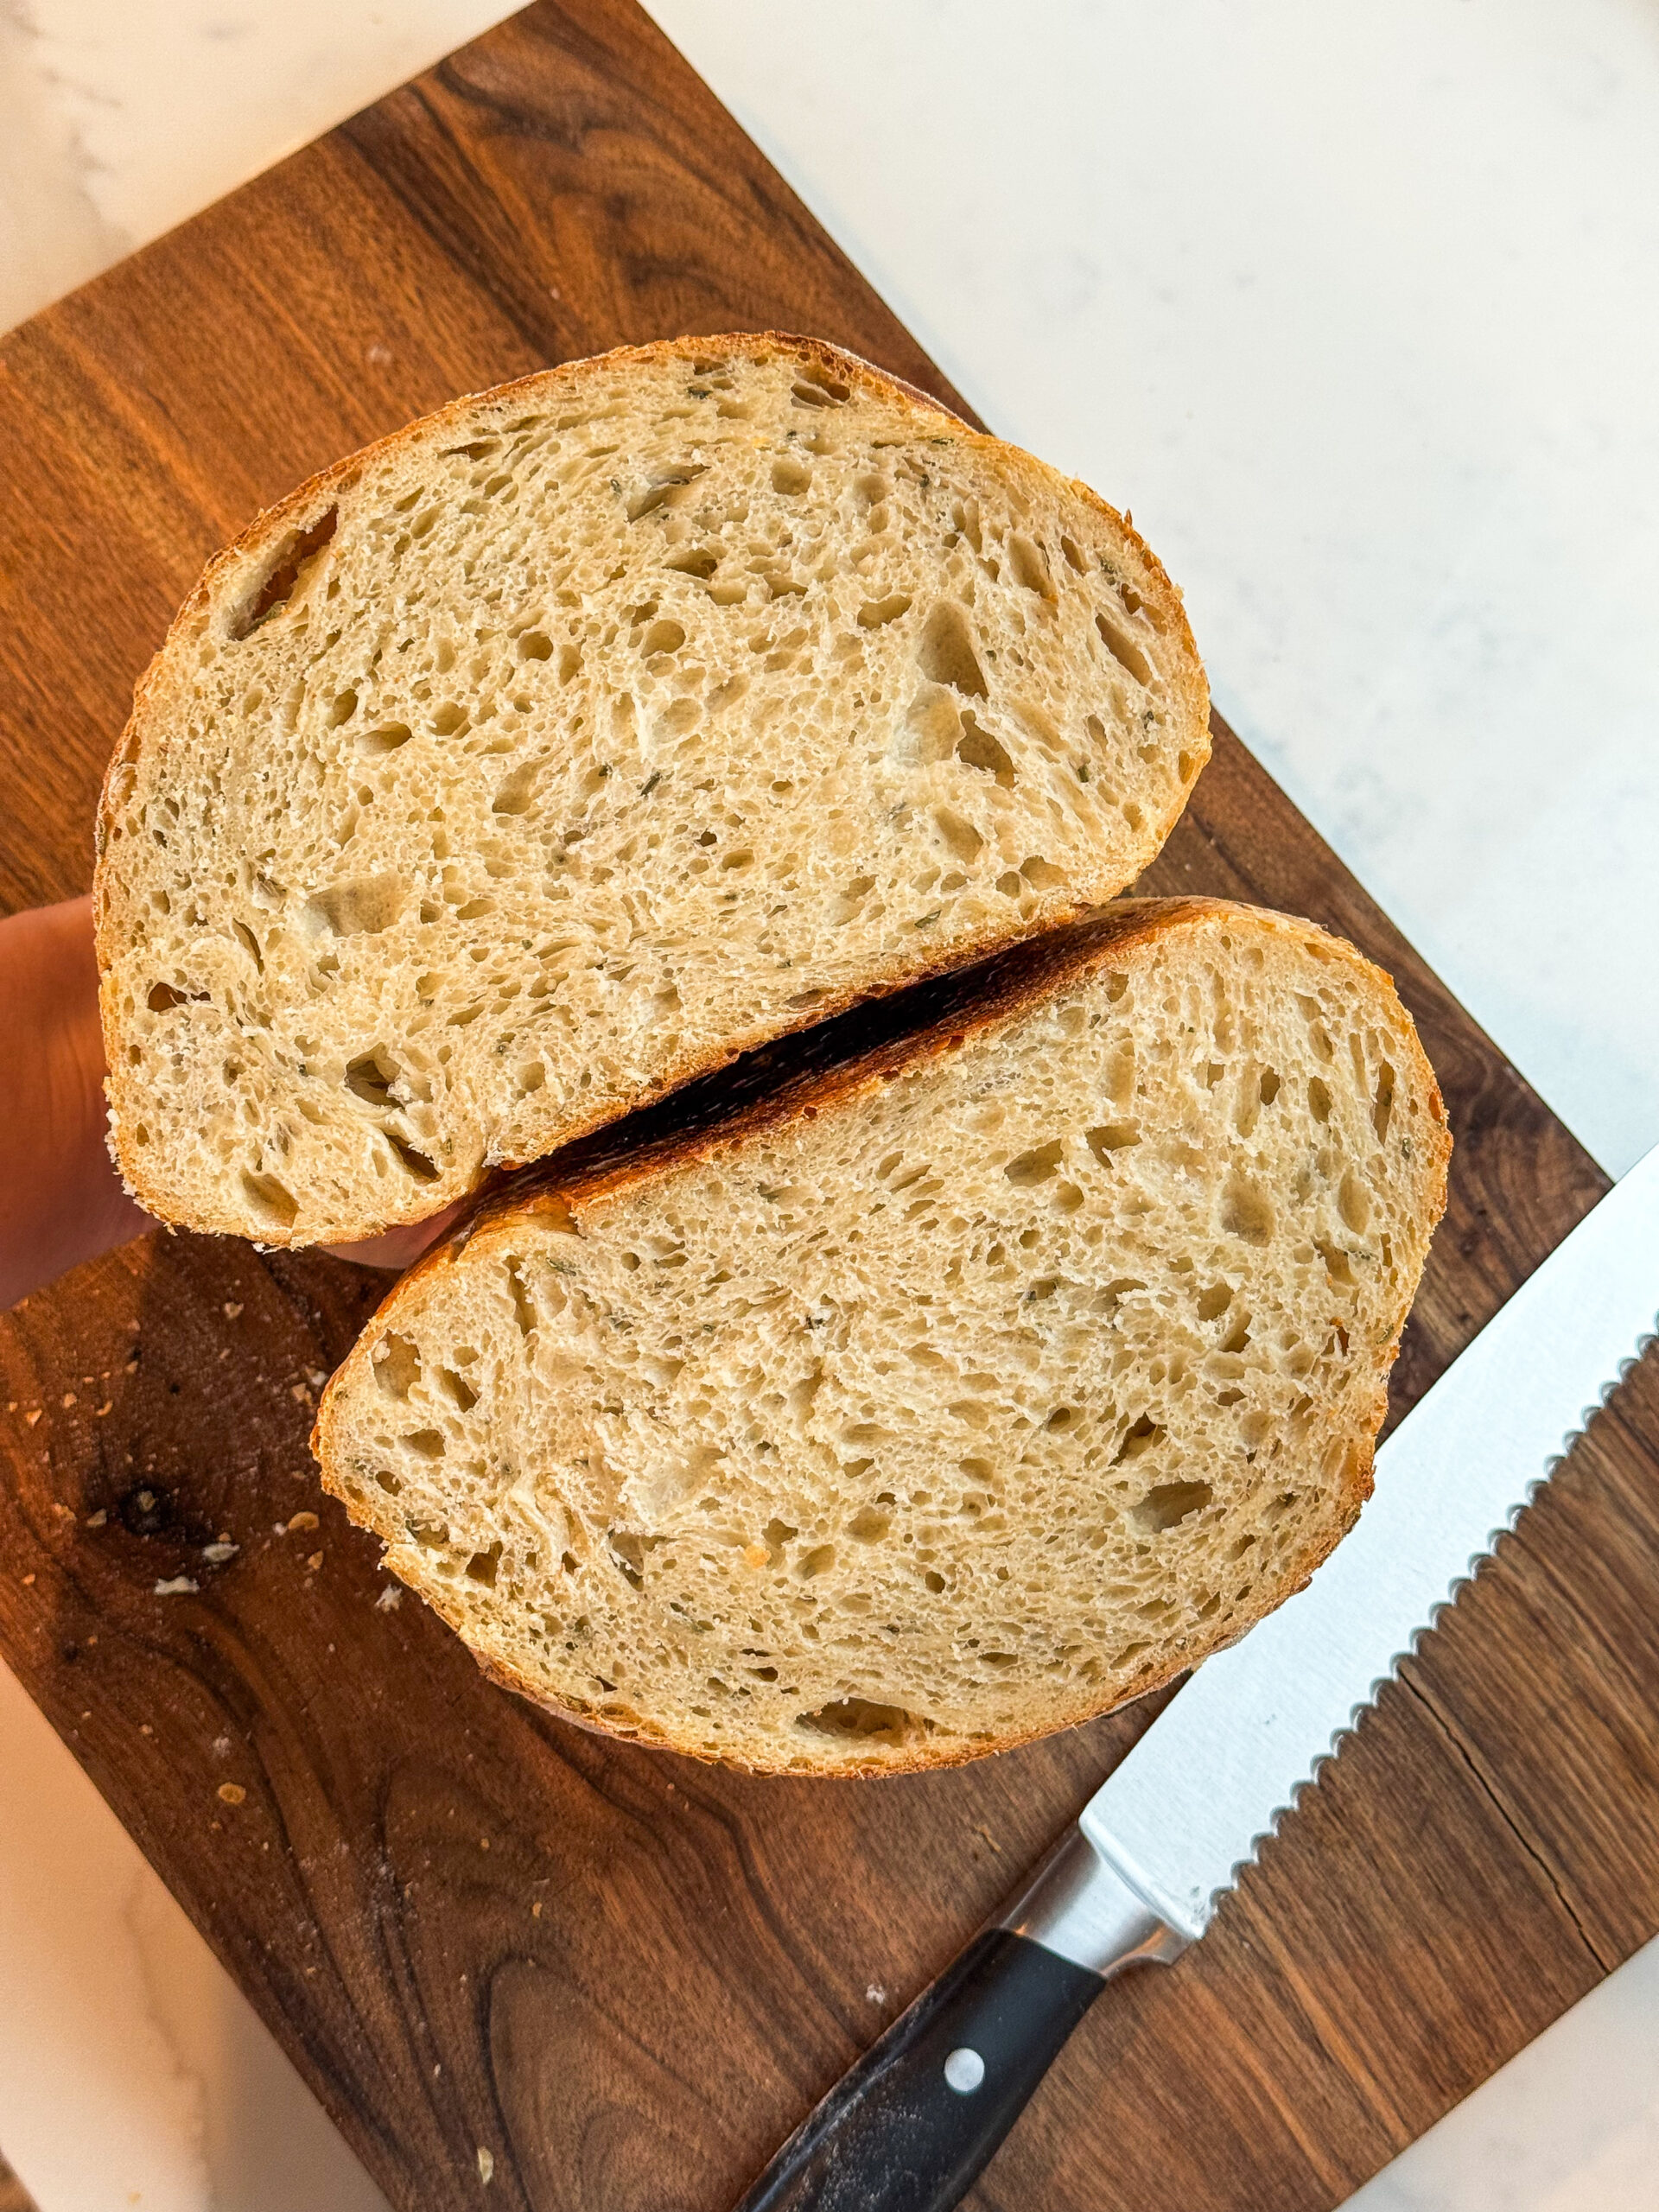
If you are where I was a few years ago and feeling hesitant to try, I want to encourage you to just start. The most important thing to know about sourdough is that it is genuinely forgiving. A few grams off here or there, a slightly different kitchen temperature, a longer or shorter bulk ferment because your house runs warm or cool. None of these things will ruin your loaf. What you are learning each time you make it is how to read your specific dough in your specific kitchen, and that knowledge comes from doing it, not from being perfect. No two loaves are exactly the same and that is part of what makes it so interesting.
The rosemary gets added gradually during the stretch and fold process so it gets worked into the dough naturally and distributes evenly throughout every slice. The aroma when this loaf is baking is one of the best smells in the entire world and the flavor is herbaceous and complex in a way that makes plain sourdough feel unfinished in comparison. You can absolutely omit it for a classic loaf but once you add it I have a feeling you will not want to go back. Let me know how your first loaf goes.
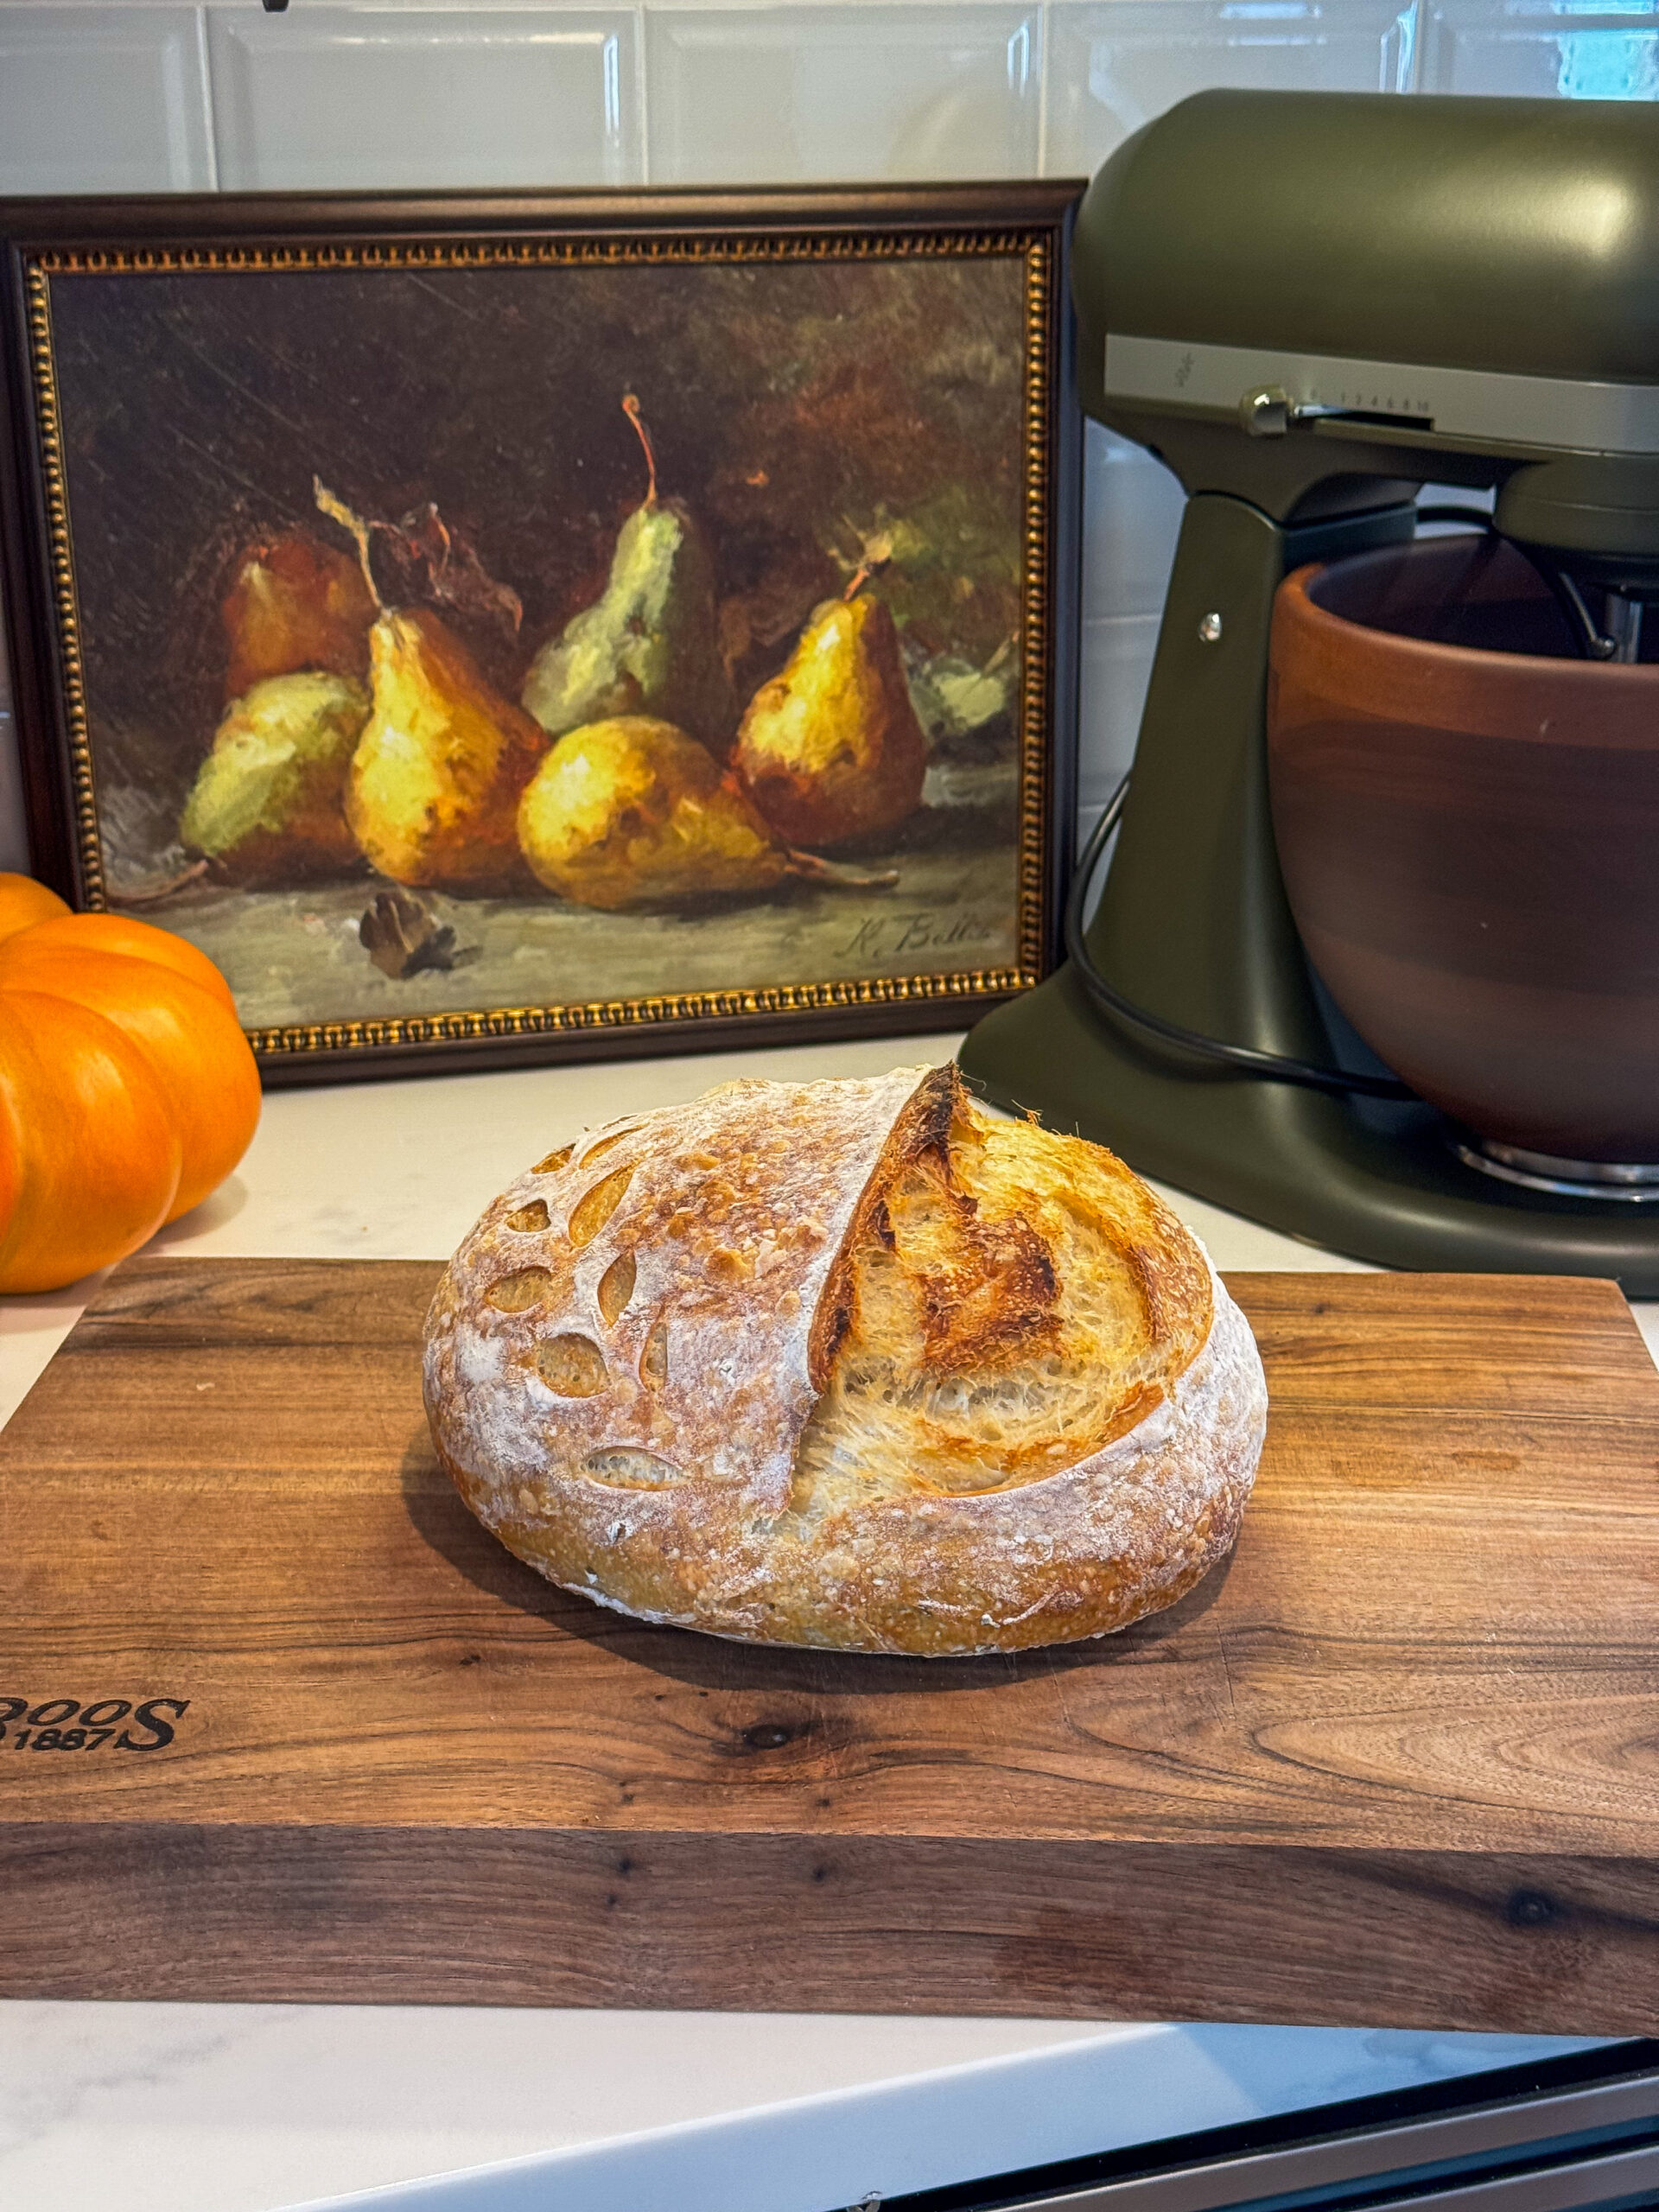
Why You’ll Love This Recipe:
- This is the sourdough recipe that started in the third trimester of a pregnancy as a distraction and turned into a permanent weekly ritual that makes feeding your family feel completely intentional and deeply satisfying
- The rosemary gets worked into the dough gradually during the stretch and fold process so it distributes evenly throughout every single slice rather than clumping in spots
- The aroma of this loaf baking is genuinely one of the best smells in the entire world and the herbaceous complexity of the finished bread makes plain sourdough feel unfinished in comparison
- This recipe is detailed enough for a first time sourdough baker and forgiving enough that small variations in timing, temperature, and technique will not ruin your loaf
Key Ingredients:
- Active sourdough starter: The living leavening agent that makes sourdough sourdough. Feed it the afternoon before day one so it is active and bubbly by the time your levain gets made that evening. An active starter should have doubled in size and show lots of bubbles before you use it
- The levain: Fourteen grams of active starter combined with sixty eight grams each of warm water and bread flour in a separate jar the night before mixing the main dough. The levain is a preferment that develops overnight and gives the final dough a more complex flavor and a more reliable rise than using starter directly
- Bread flour: Four hundred fifty grams in the main dough for a higher protein content than all-purpose that develops the gluten structure needed to hold up through the long bulk ferment and cold proof. Bread flour specifically gives you that open chewy crumb and sturdy crust that makes sourdough so satisfying
- Coarse sea salt: Thirteen grams dissolved in the water with the levain before the flour goes in. Salt controls fermentation speed, strengthens the gluten structure, and is what makes sourdough taste like something rather than just sour bread
- Fresh rosemary: Three tablespoons of chopped fresh rosemary added gradually during the stretch and fold process rather than all at once so it gets worked into the dough naturally and distributes evenly throughout every slice. Fresh is essential here because dried rosemary does not have the same fragrance or flavor in a baked loaf
- A Dutch oven: The piece of equipment that makes home sourdough baking produce bakery quality results. The enclosed Dutch oven traps steam from the loaf during the first fifteen minutes of baking which is what creates that gorgeous blistered crust that you cannot achieve in an uncovered pan
Tips for Success:
- The most important thing you can do for sourdough success is learn to read your specific dough in your specific kitchen rather than relying solely on timing. The bulk ferment can take anywhere from five to eight hours depending on your kitchen temperature and humidity and the dough tells you when it is ready through jiggling, bubbling, and the slow-filling indent test
- Add the rosemary gradually during the stretch and fold rounds rather than all at once so it gets worked into the gluten structure evenly. Trying to add all the rosemary at once in the first fold results in clumping and tearing
- Let the Dutch oven preheat for at minimum thirty minutes and ideally forty five to sixty minutes inside the oven at 500 degrees before the loaf goes in. A properly preheated Dutch oven is what gives you that dramatic initial spring and the blistered ear from the score
- Wait the full two to three hours after baking before slicing. The internal crumb is still setting during that time and cutting into a warm sourdough loaf results in a gummy, dense interior that does not represent what the loaf actually is. Patience here is the difference between a beautiful open crumb and a squished gummy one
Storage:
Store rosemary sourdough bread in a bread bag or bread box at room temperature for up to one week. Do not refrigerate as the fridge dries out sourdough quickly and significantly degrades the texture and crust. For longer storage slice the completely cooled loaf and freeze in a zip lock bag for up to three months. Toast individual slices directly from frozen for the most convenient and delicious result. The crust will soften slightly after day two which is normal and does not affect the flavor.
FAQ:
How do I know when my starter is active enough to use?
Your starter is ready to use when it has roughly doubled in size since its last feeding, shows lots of bubbles throughout, smells pleasantly tangy and yeasty rather than like alcohol or nail polish remover, and passes the float test where a small spoonful dropped in water floats rather than sinking. All of these signs together indicate a healthy active starter that will give your levain the lift it needs overnight.
Can I skip the levain and use my starter directly?
Yes but the levain step produces a more flavorful and more predictably rising loaf than using starter directly. The levain gives the wild yeast a fresh environment to thrive in overnight and produces a slightly milder, more complex sour flavor in the finished bread. It is worth making the habit of the levain step once you get comfortable with the overall process.
Can I make this without rosemary for a plain sourdough?
Yes absolutely and the same recipe works perfectly without the rosemary for a classic sourdough loaf. Simply skip the rosemary addition during the stretch and fold rounds and follow every other step exactly as written. The recipe was developed and tested as a classic sourdough first and the rosemary is an addition that elevates it rather than a foundational ingredient.
Foolproof Rosemary Sourdough Bread
Ingredients
For the Levain:
- 14 g active starter
- 68 g warm water
- 68 g bread flour
For the Dough:
- all of the levain
- 290 g warm water
- 13 g coarse sea salt
- 450 g bread flour
- 3 tbs chopped fresh rosemary
Instructions
Day 1
- Activate your starter: Feed your starter in the afternoon (if you’ve been storing it in the fridge) and before you go to bed, make your levain.
- Make your levain: In a separate jar, combine 14g active starter with 68g warm water and 68g bread flour. Keep on counter covered with a towel overnight to rise.
Day 2
- Make your dough: in a large mixing bowl, mix 290g warm water, 13g sea salt and all of your levain until salt and starter are dissolved and there are no clumps.
- Add 450g bread flour and stir until dough is shaggy and there are no exposed flour bits. Let rest on counter, covered for 35 min.
- Perform your first set of stretch and folds, sprinkling in chopped rosemary on each fold. Perform 4 sets of stretch and folds allowing the dough to rest 35 min between each round. Here is a video explaining what this looks like: CLICK HERE
- Allow your dough to rest and bulk ferment for 5-8 hours until your dough has increased by 50%. You know it’s ready when you shake your bowl and the dough jiggles and shows bubbles on the top and when pressed, makes an indent and slowly disappears. This will depend on the temperature of your kitchen and humidity where you live. Sometimes I put mine covered in the oven with the light on!
- Once the bulk fermentation is done it’s time to shape. Dump your dough out onto the counter and gently pop any bubbles you see. Stretch the top of the dough up and fold it in to the center of the dough. Do the same with the bottom and then the sides. Flip your dough over and cup your hands around the dough, gently twisting and pulling it down toward you. Let it rest on the counter for 20 min.
- Final Shape: Flip your dough over so the seam is up. Stretch your dough into a chubby rectangle. Stretch the top of the dough up and out and then bring it to the center of the dough. Repeat with all 4 sides. Flip dough over and cup your hands around it, pulling it down and towards you while turning counter clockwise like before. Flip the dough upside down into a wicker basket or banneton (seam side up) and gently pinch the seam closed. Cover with a towel or plastic (I like using a shower cap) and refrigerate overnight for 12-36 hours for the final fermentation.
Day 3
- Preheat your oven to 500F with your dutch oven inside for 30 min minimum. (45-1 hour is ideal)
- Flip your dough out onto a floured surface or silicone bread sling (seam side down) and score with a bread lame or sharp knife.
- Transfer your loaf to your dutch oven and bake with the lid on for 15 min.
- Take the lid off and lower the temperature to 450F and bake for another 20 min or until golden brown.
- Remove loaf from the dutch oven and let rest until completely cooled on a rack. (this step is super important! wait until the bread has fully cooled, 2-3 hours before slicing.)
- Enjoy! (Store in a bread bag or box for up to 1 week.)






Comments +