

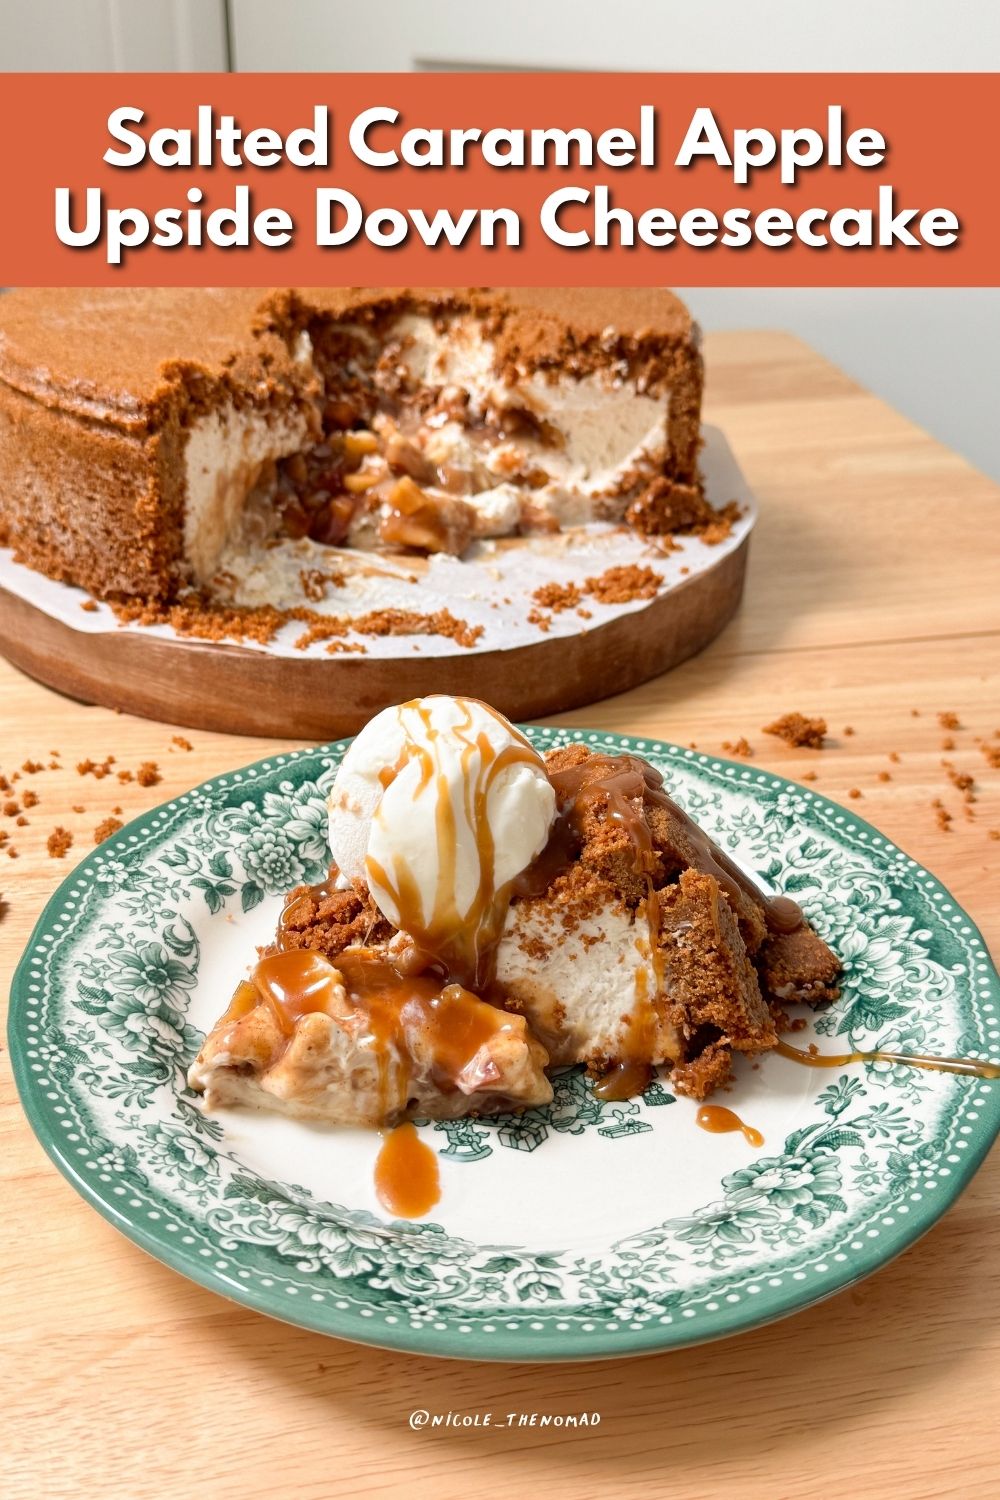
Upside down cheesecakes have been all over my feed for months and I have wanted to try one for so long. Once the holidays got closer I knew exactly what flavors I wanted to put inside. This salted caramel apple upside down cheesecake has a Biscoff cookie crust, a cinnamon no bake cheesecake filling, and a center stuffed with warm spiced cinnamon apples and homemade salted caramel. It is the kind of dessert that makes people stop talking when you bring it to the table, and the steps are much easier than the finished cake makes them look.
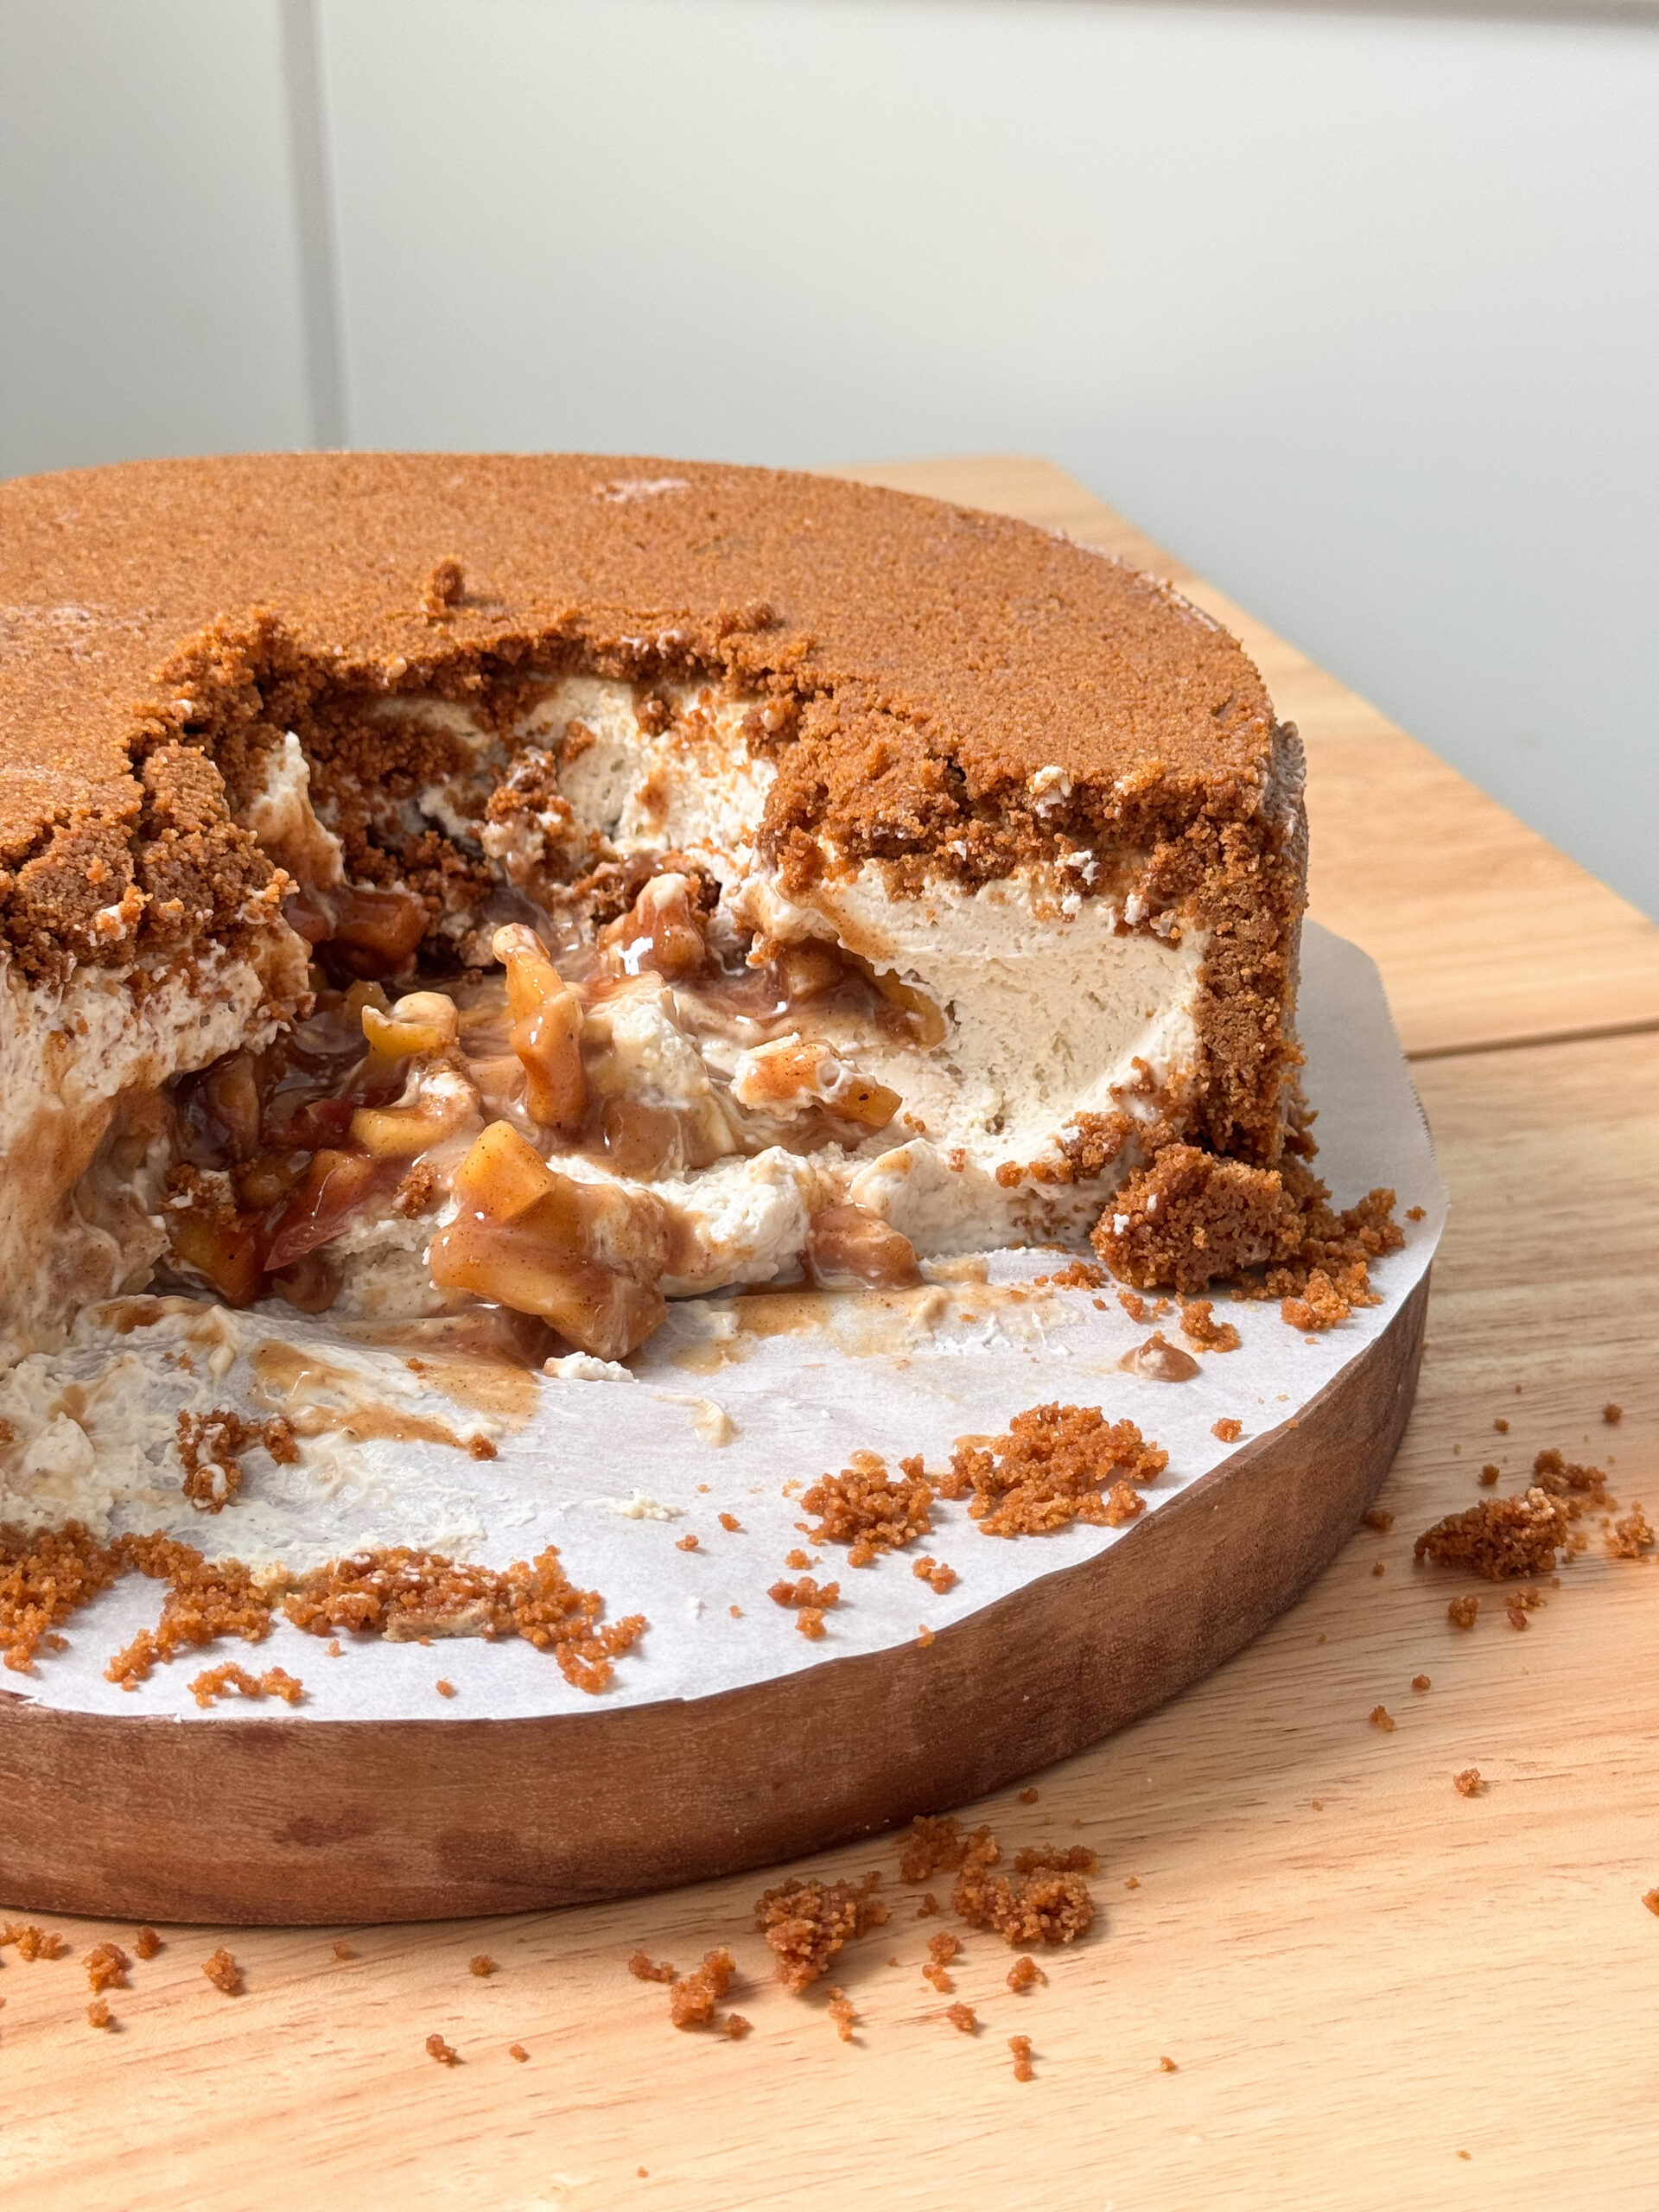
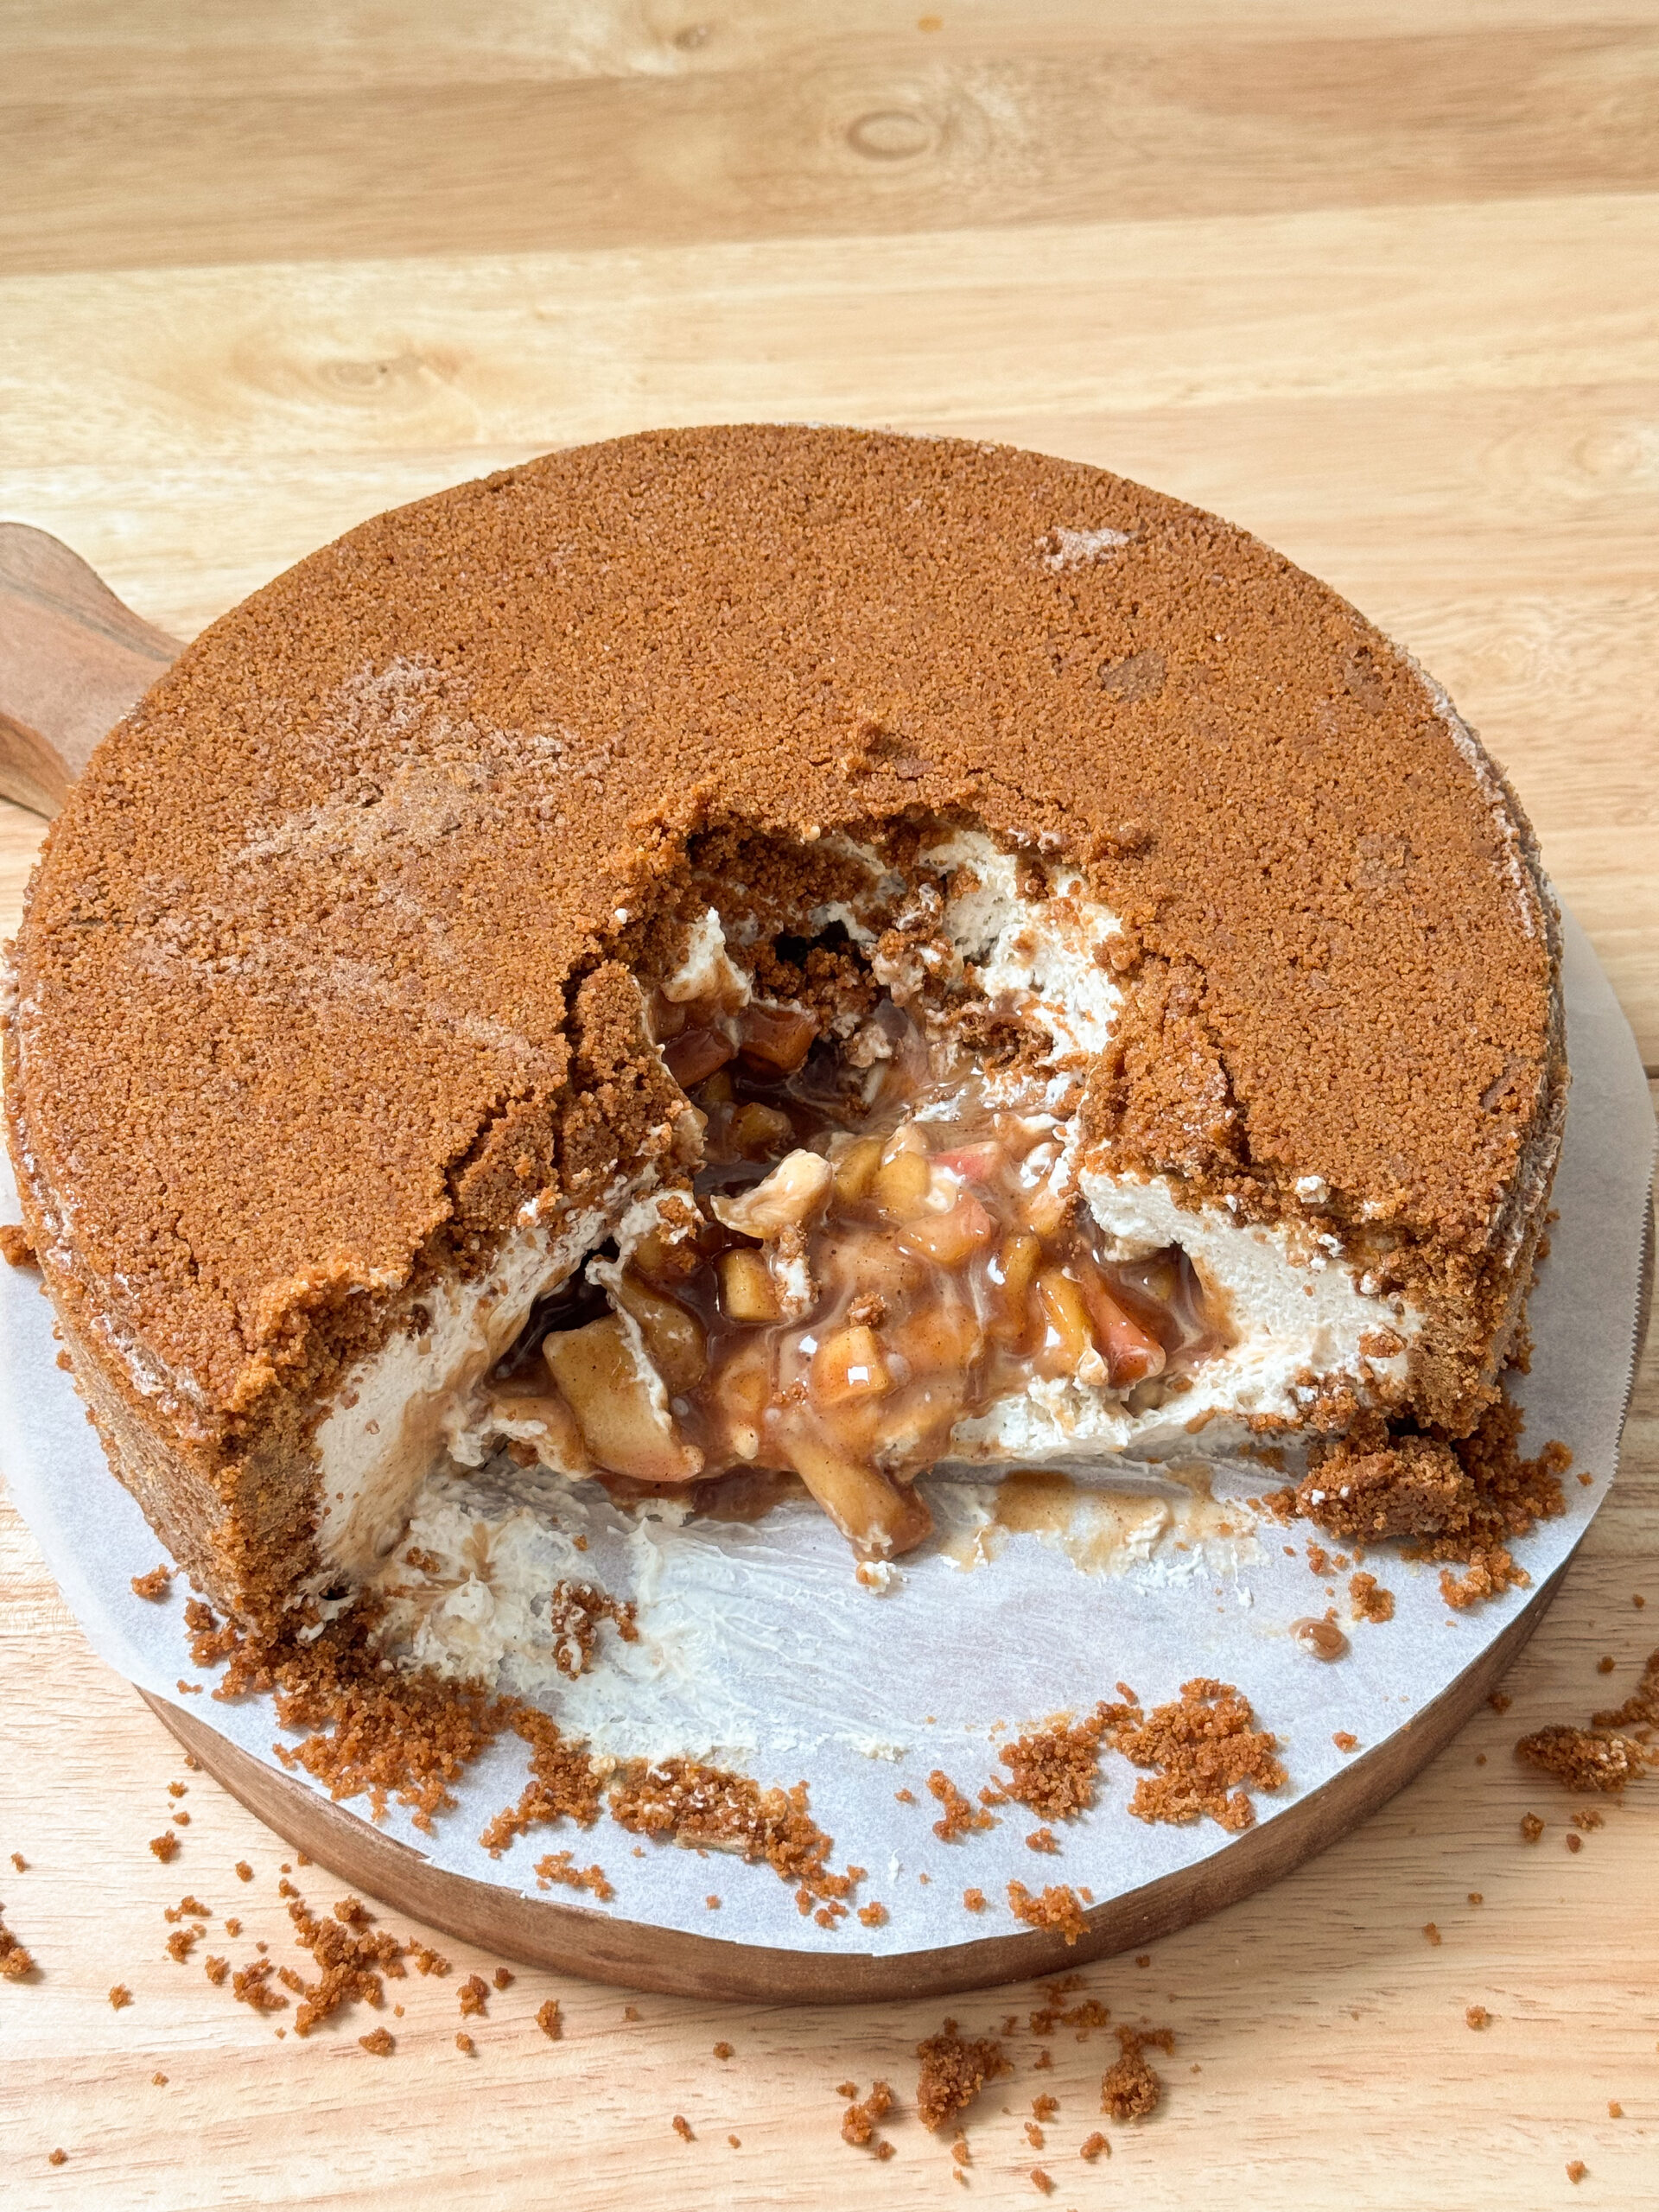
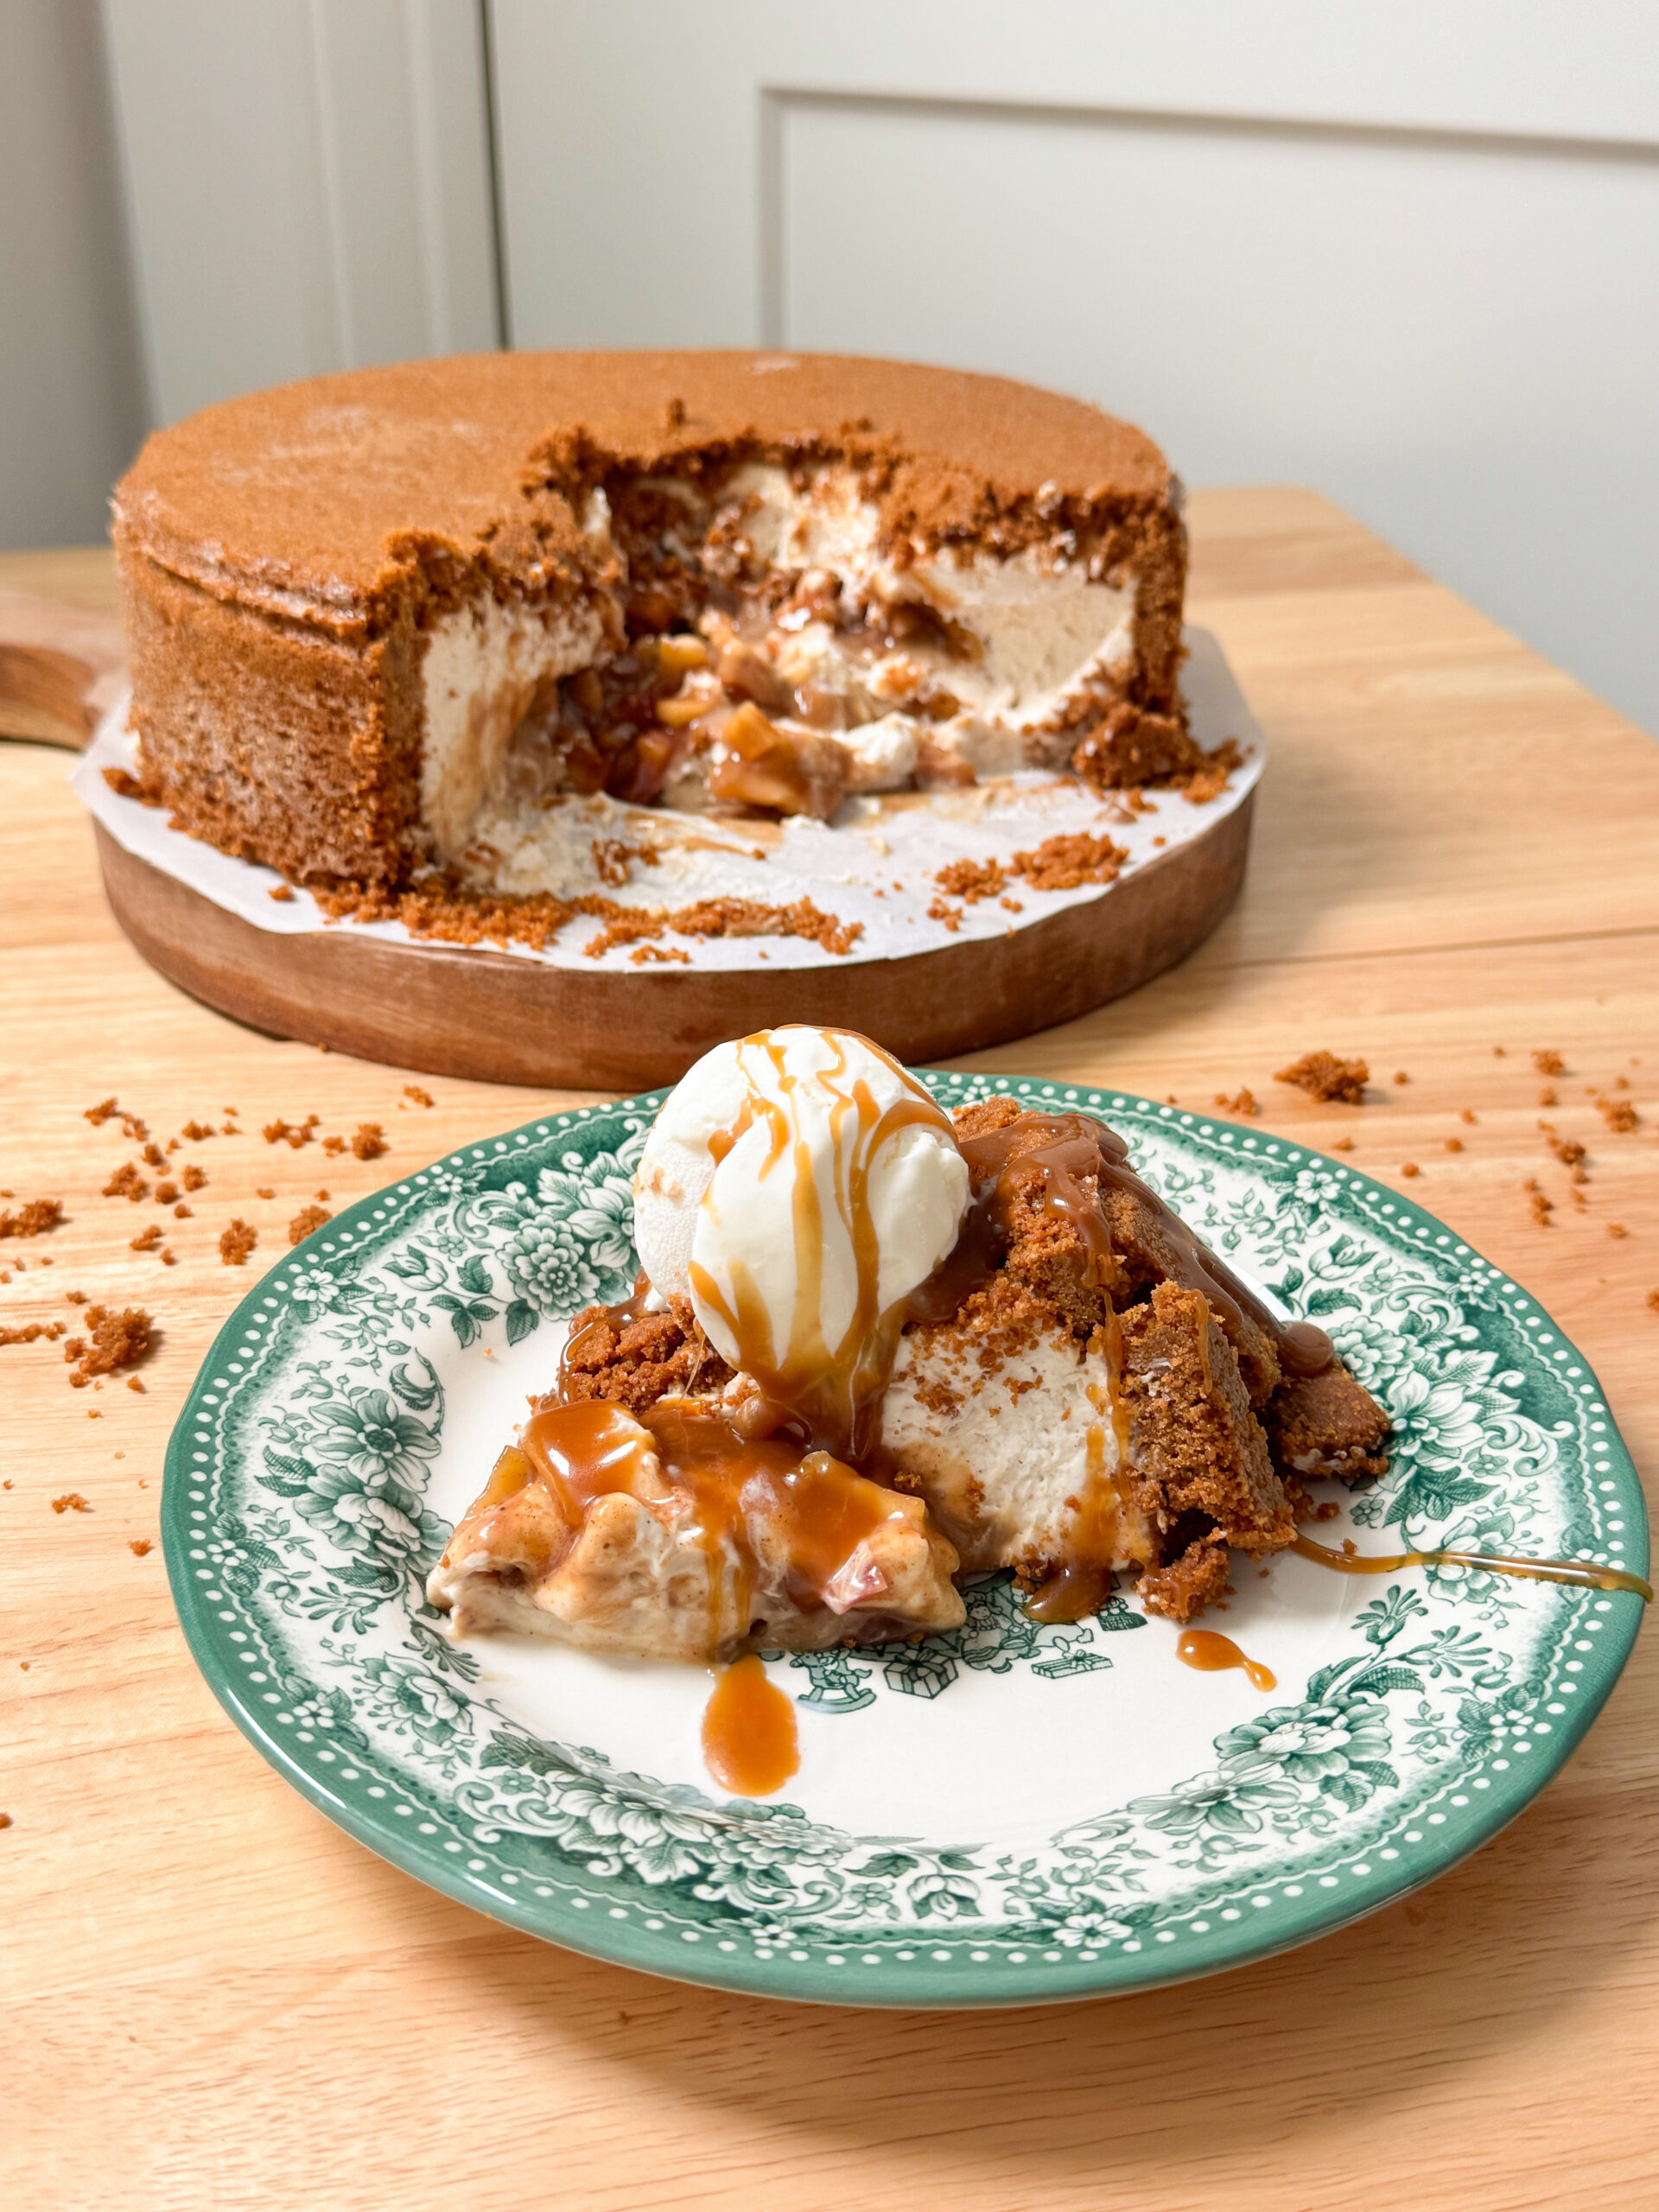
The most fun part is the reveal. Online, people grab a big spoon and crack right into the middle of the cheesecake so the apples and caramel spill out. It is dramatic, and I highly recommend doing it at least once with an audience. If you would rather serve it the traditional way, it also slices cleanly and every piece has all of the layers. Either way you get cookie crust, creamy cinnamon cheesecake, tender apples, and gooey caramel in every bite.
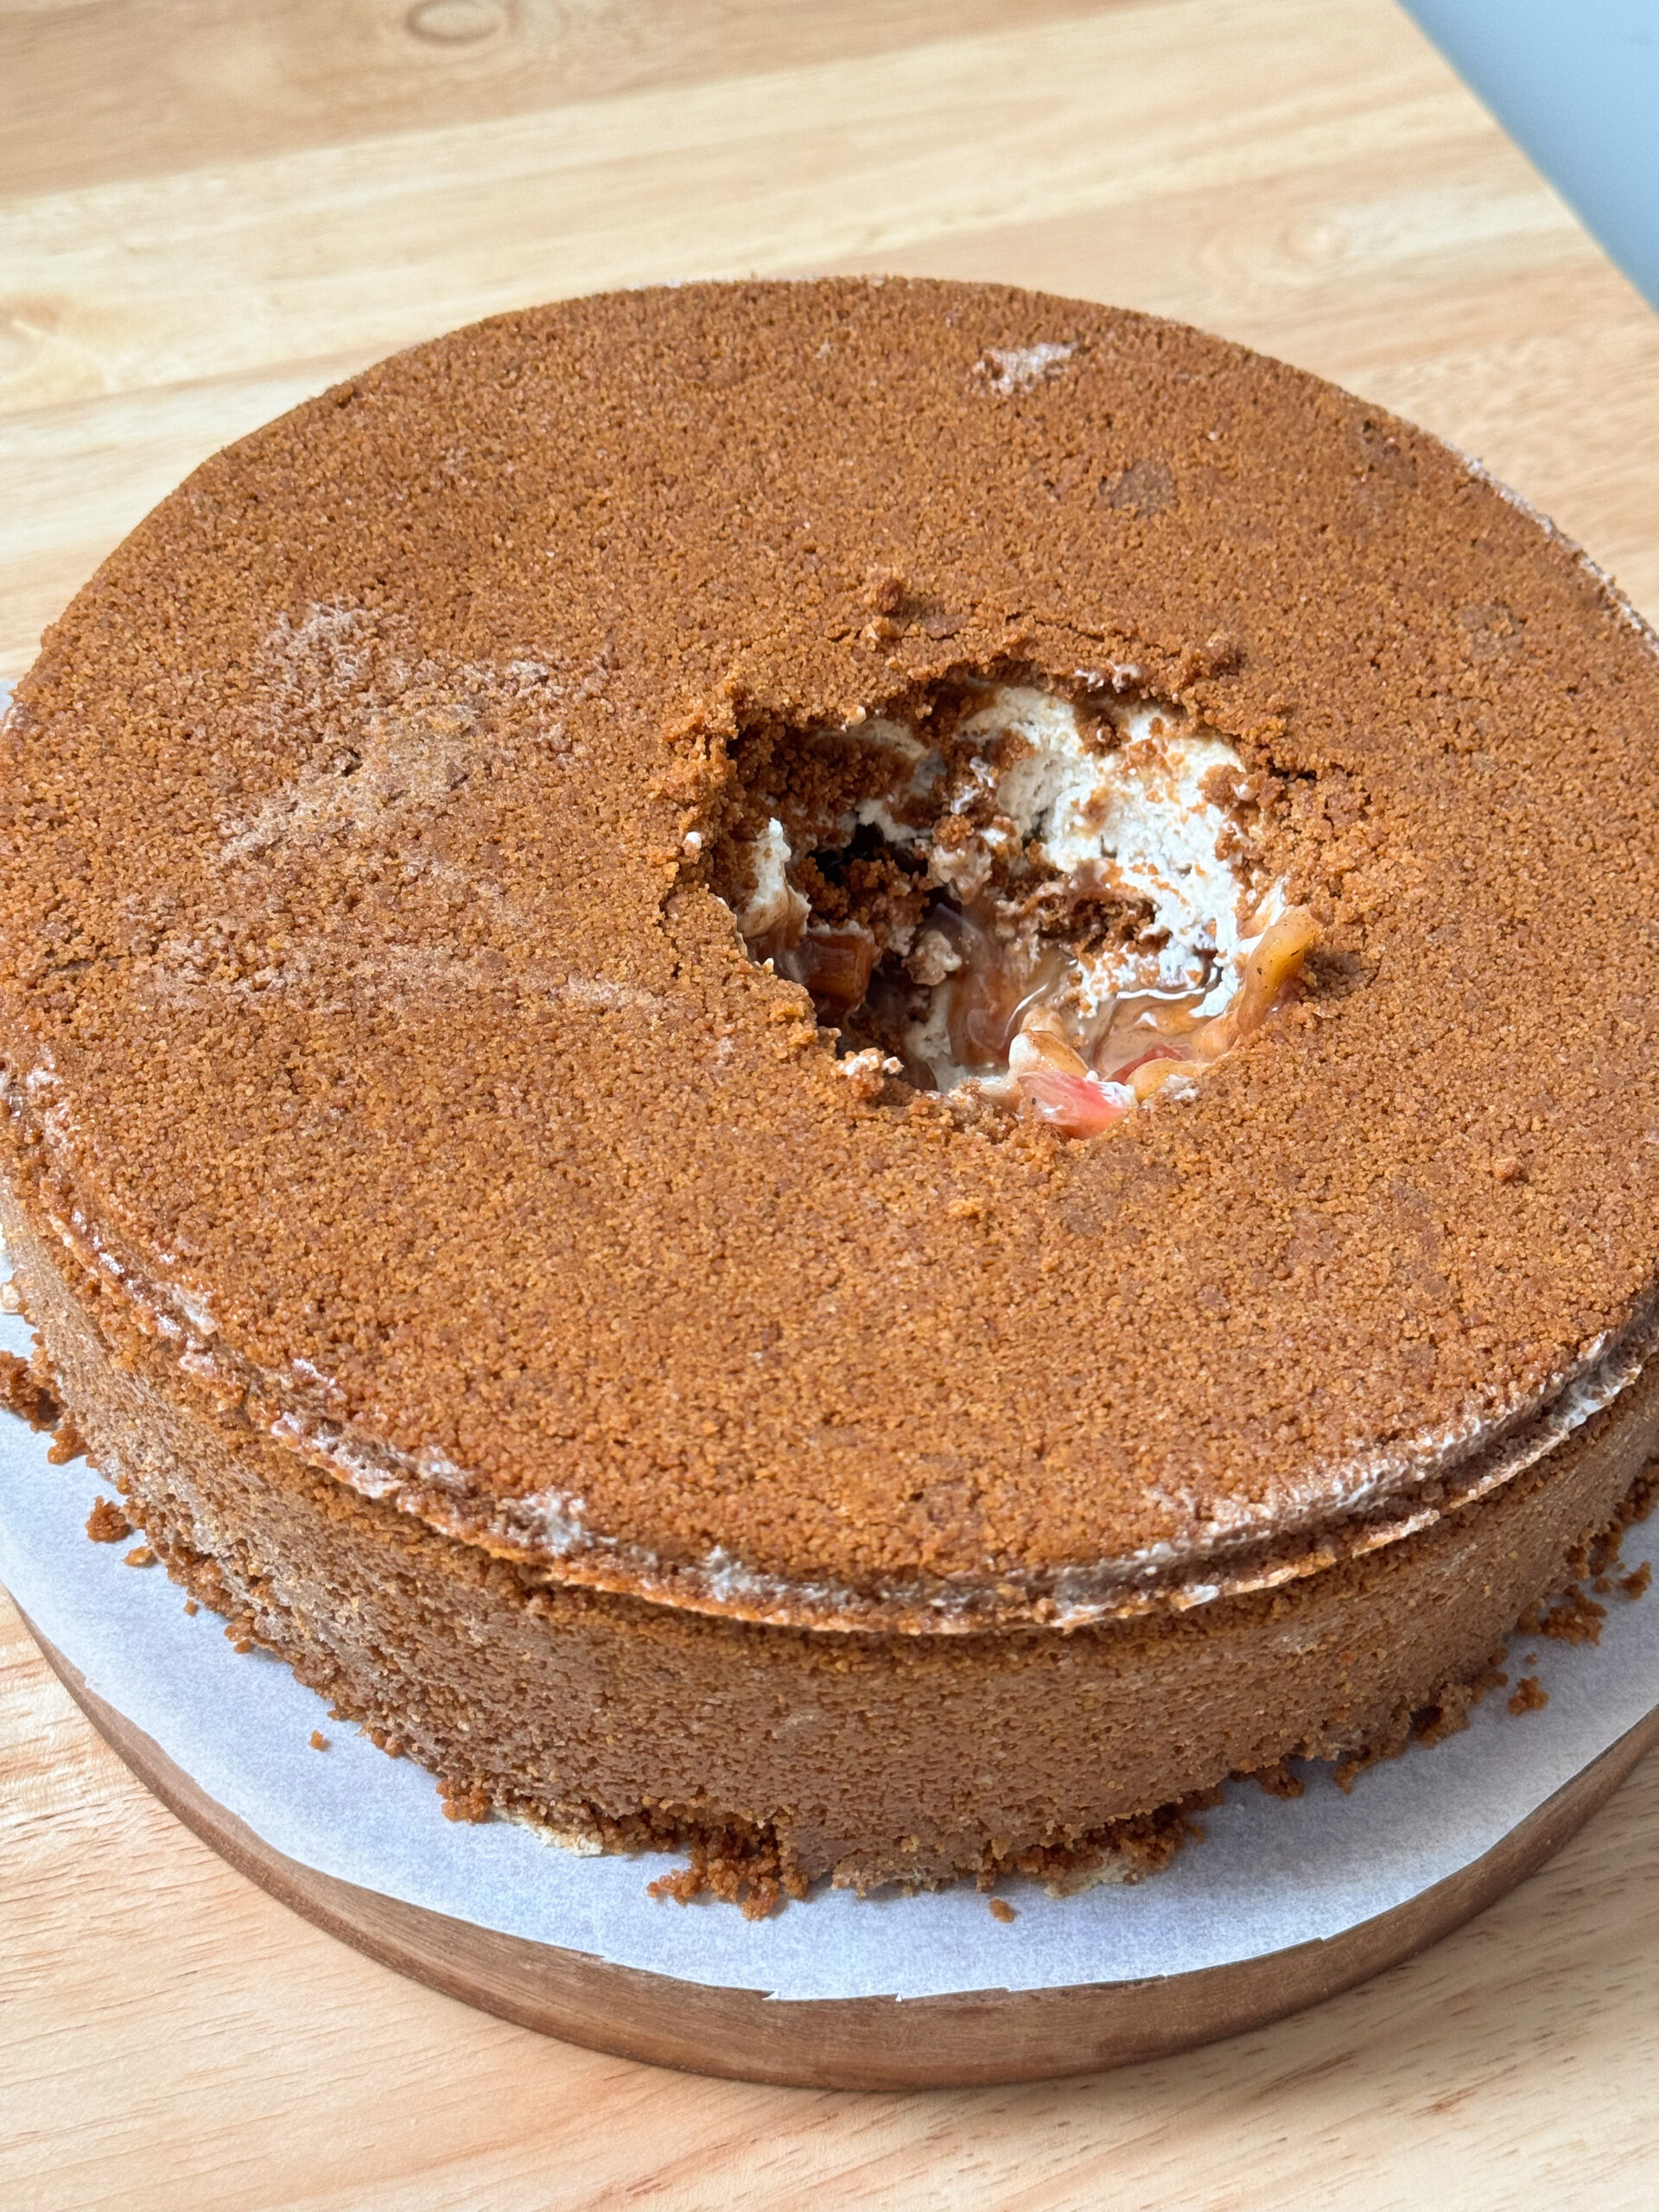
Biscoff and apple are made for each other. The warm caramelized spice of the cookie crust is the perfect base for a cinnamon cheesecake filling, and the apples and salted caramel in the center make it taste like a caramel apple and a cheesecake had a holiday baby. The caramel is homemade, but store bought salted caramel works great if you want to skip that step. Use whichever one makes the day easier.
This recipe is beginner friendly even though it looks like a bakery showpiece. You do not need an oven, and the steps are simple. The two most important rules are to let the apples and caramel cool completely before they go into the cheesecake, and to prep your pan well so it releases cleanly when you flip it. I put all of my best tips for inverting it below. Serve it with vanilla ice cream or whipped cream and an extra drizzle of salted caramel and you have a holiday table centerpiece that tastes as good as it looks.
Why You’ll Love This Recipe:
- It is a true showstopper that looks like it took all day but uses easy, beginner friendly steps and no oven at all
- The Biscoff crust, cinnamon cheesecake filling, spiced apples, and salted caramel taste like a caramel apple and a cheesecake combined, which makes it perfect for fall and the holidays
- Cracking into the center with a big spoon to reveal the fillings is a fun moment for guests, and it still slices neatly if you prefer traditional pieces
- It is a make ahead dessert, so the work is done before guests arrive and your holiday day stays stress free
Key Ingredients:
- Biscoff cookies: Crushed into fine crumbs and mixed with melted butter for the crust. Biscoff has that warm, caramelized spice that goes so well with apple and cinnamon, and it makes the crust taste like part of the flavor and not just a base
- Cream cheese: The base of the no bake filling. Let it soften fully to room temperature so it beats completely smooth with no lumps, since there is no baking to hide any texture issues
- Cinnamon: Mixed into the cheesecake filling so the warm spice runs through every bite and ties the filling to the apples in the center
- Apples for the cinnamon apple filling: Cooked down with cinnamon and brown sugar until tender and spiced. They need to cool completely before going into the cheesecake or the warmth will affect the texture of the filling
- Homemade salted caramel: Stuffed into the center alongside the apples and saved for drizzling over the top at serving. Store bought salted caramel works if you do not want to make your own. It also needs to be fully cooled before it goes into the cheesecake
- Parchment paper circle and a springform pan: The two tools that make the inversion work. A greased pan with a parchment round on the bottom is what helps the cheesecake release cleanly when you flip it
Tips for Success:
- Grease the springform pan well and place a parchment paper circle on the bottom before you build the cheesecake. This is the most important step for getting a clean release when you invert it
- Let the cinnamon apple filling and the salted caramel cool completely before adding them to the cheesecake. Warm fillings will soften the filling and affect how well it sets
- When you are ready to invert, use a plate or platter that is larger than the pan. It gives you a stable surface to flip onto and makes serving much easier
- Chill until completely set before inverting. Give it plenty of time, and overnight is best, so the cheesecake holds together when it comes out of the pan
- Serve with vanilla ice cream or whipped cream and an extra drizzle of salted caramel for the full showstopper effect
Storage:
Store the salted caramel apple upside down cheesecake covered in the refrigerator for up to four days. Because it needs time to set, it is the perfect make ahead dessert for holiday gatherings. Keep extra salted caramel in a sealed jar in the fridge and warm it slightly before drizzling. Add the ice cream or whipped cream right before serving so it stays fresh and does not melt into the cheesecake.
FAQ:
Can I use store bought salted caramel?
Yes. Store bought salted caramel sauce works great if you do not want to make it from scratch. Just make sure it is completely cooled to room temperature before it goes into the cheesecake, and keep a little extra on hand for drizzling over the top when you serve it.
Why do the apples and caramel need to cool completely?
Warm fillings will melt into the cheesecake filling and change the texture, so it will not set as nicely. Letting them cool all the way keeps the layers distinct so you get that reveal of apples and caramel when you crack into the center.
How do I get it out of the pan without it sticking?
Grease the springform pan well and place a parchment paper circle on the bottom before building the cheesecake. When it has fully set, invert it onto a plate or platter that is larger than the pan, release the springform ring, and lift the pan away. The parchment circle peels off easily and the grease helps everything release cleanly.
Can I slice it instead of cracking it open?
Yes. The big spoon reveal is fun and very popular online, but it slices normally too. Use a sharp knife wiped clean between cuts for the neatest slices with all of the fillings visible in every piece.
Salted Caramel Apple Upside Down Cheesecake (No Bake)
Ingredients
For the Crust:
- 2 sleeves biscoff cookies, crushed (about 4 cups) substitution: graham crackers
- ¾ cup unsalted butter, melted
- pinch of sea salt
For the Apple Filling:
- 2 honey crisp apples, finely chopped
- 2 tsp cinnamon
- ½ cup brown sugar
- pinch of sea salt
Corn Starch Slurry:
- 1 tbs cornstarch
- 2 tbs water
For the Salted Caramel: (you can also use store bought if you want to skip this step)
- ½ cup granulated sugar
- ½ cup brown sugar
- 6 tbs salted butter, room temperature (unsalted works too) cut into cubes
- ½ cup heavy cream
- 1 tsp sea salt
For the Cheesecake Filling:
- 1½ cup heavy cream, cold
- 3 blocks cream cheese, room temperature 24oz
- ¾ cup powdered sugar
- ⅓ cup plain greek yogurt (or sour cream)
- 1 tsp vanilla or vanilla bean paste
- 1 tsp cinnamon
- pinch of sea salt
Instructions
For the Apple Filling:
- Finely chop apples and combine in a bowl with brown sugar, cinnamon and salt. Toss until all the apples are coated.
- In a medium skillet over medium high heat, sauté apples until soft and reduced slightly.
- In a small bowl, combine the corn starch and water to make your corn starch slurry and add to apples. Cook for 2 min more. The mixture should thicken slightly.
- Spread the apple mixture onto a plate or something flat where it can spread into one layer. Top with plastic wrap and place in the fridge until it is completely cooled. (spreading it out thin will help it cool quicker)
For the Salted Caramel:
- Combine sugars in a sauce pan over medium heat and stir constantly to prevent burning.
- Sugars will clump up before they melt, just continue to move them around the pan until they are completely melted.
- Add the clumps of butter, whisking constantly to combine. Mixture may bubble ferociously and this is okay! (if your sugar clumps up and separates from the butter, just add a splash of water and take it off the heat and whisk vigorously until it comes back together.)
- Remove from heat and add heavy cream. Mixture may bubble here too, just keep on whisking!
- Once the sauce is thickened and coats the back of a spoon, stir in the salt.
- Pour onto a plate or something flat and cover with plastic wrap and place in the fridge to cool completely while you make the rest of the components .
For the Crust:
- Grease a 9" spring form pan and line the bottom with a parchment paper circle. Set aside.
- In a food processor or in a bag with a rolling pin, crush biscoff cookies until they are fine crumbs.
- Add melted butter and salt and pulse until it resembles wet sand.
- Pour the crumbs into the spring form pan and use a flat bottomed cup to press the crumbs into the pan and all the way up the sides. Take your time with this, you want it to be very compact and even around all the sides and bottom.
- Place in the freezer for 20 minutes to firm up while you make the cheesecake filling.
For the Cheesecake Filling:
- In the bowl of a stand mixer, whip heavy cream on medium high for about 5 minutes until it reaches stiff peaks. Set aside.
- In a large bowl using a hand mixer, beat cream blocks until smooth.
- Add powdered sugar and beat for 1 minute until combined.
- Add greek yogurt, salt, cinnamon and vanilla and beat 1 min more until combined and very smooth.
- Fold the whip cream into the cream cheese mixture using a spatula, being careful as you fold to not deflate the whip cream. Be gentle!
Assemble and Freeze:
- Remove the crust from the freezer and place ⅔ of the cream cheese mixture into the bottom of the crust. Smooth the mixture and create a well in the center for the apples.
- Add cooled cinnamon apples to the well and top with about 3 tbs of the salted caramel. (I just eye ball this, you'll have extra for serving, just make sure everything is completely cooled before adding it to the cream cheese)
- Top apples with the remaining cream cheese mixture and smooth covering the entire top.
- Cover with plastic wrap and place it in the fridge for at least 4 hours or overnight if possible.
Serving:
- Remove the plastic wrap and place a circle plate or platter larger than the spring form pan on top of the cheesecake.
- With one hand on top of the platter and the other on the bottom of the pan, invert the entire thing (say a prayer) and remove the spring form pan.
- Serve with vanilla ice cream, or whip cream and more salted caramel or crack through the middle and just dive in. ENJOY!






Comments +