

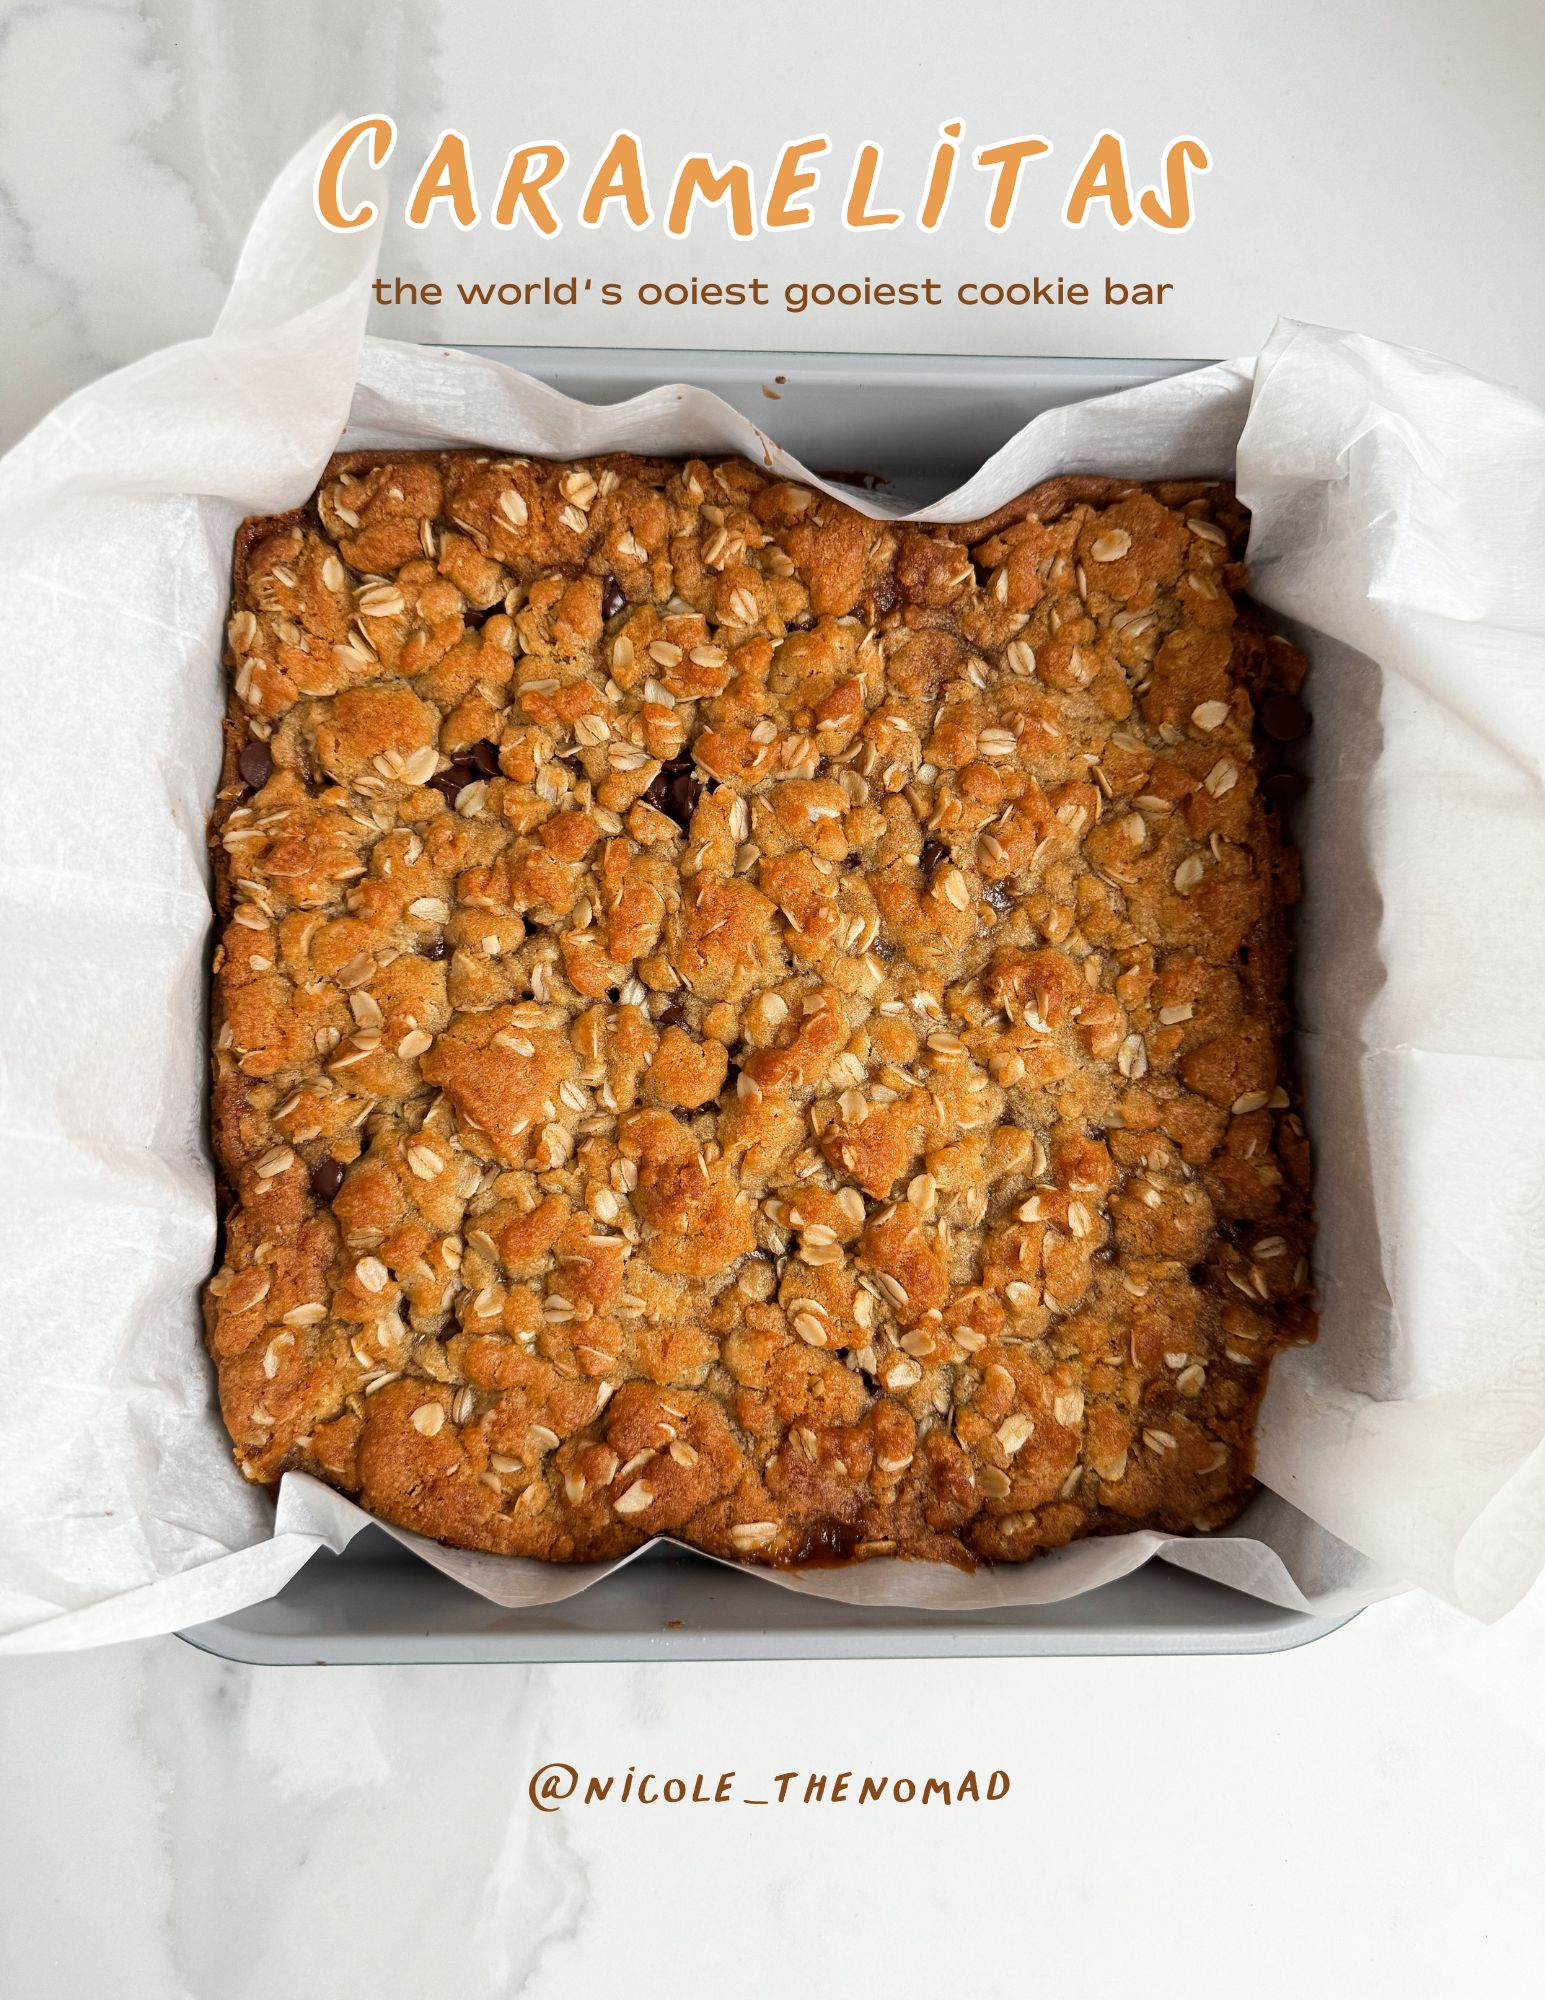
Back in high school I had a friend whose mom would make caramelitas. I didn’t know what that meant except that they were SO GOOD and I’ve been making them ever since. Now, they are my husband’s favorite treat that I make which is funny because it’s probably the easiest and quickest recipe to whip up and bake.
It’s basically like an oat based cookie bar base filled with ooey gooey salted caramel and chocolate. Sound heavenly? It is. Pair it with a scoop of vanilla ice cream and you’ve got yourself an award winning dessert. You might want to double this batch and use a bigger pan because they go QUICK. Try them out and let me know how quickly they make it into your weekly rotation. ENJOY!
Caramelitas
Ingredients:
- 3/4 cup unsalted butter (melted)
- 3/4 cup brown sugar
- 1 cup rolled oats
- 1 cup flour (you can use All Purpose or a 1:1 Gluten Free alternative if you want)
- 1 tsp baking soda
- 1/4 tsp salt
- 1 tsp vanilla
- caramel sauce (in a jar or the squeeze kind)
- sea salt
- 3/4 cup chocolate chips (I dont measure this part but it’s probably about that)
Directions:
- Preheat oven to 350 degrees F and grease or line an 8×8 baking dish.
- Combine melted butter and brown sugar in a large bowl until smooth.
- Add oats, flour, baking soda, salt and vanilla until combined.
- Press half of your oat mixture into the bottom of the pan and cook for 10 minutes.
- Remove pan from the oven and pour a generous drizzle of caramel all over the top to completely cover the base. Sprinkle with sea salt (If you’re already using salted caramel you can skip the salt)
- Sprinkle a layer of chocolate chips on top of that until covered (I just guess and sprinkle until it looks right – about 3/4 cup)
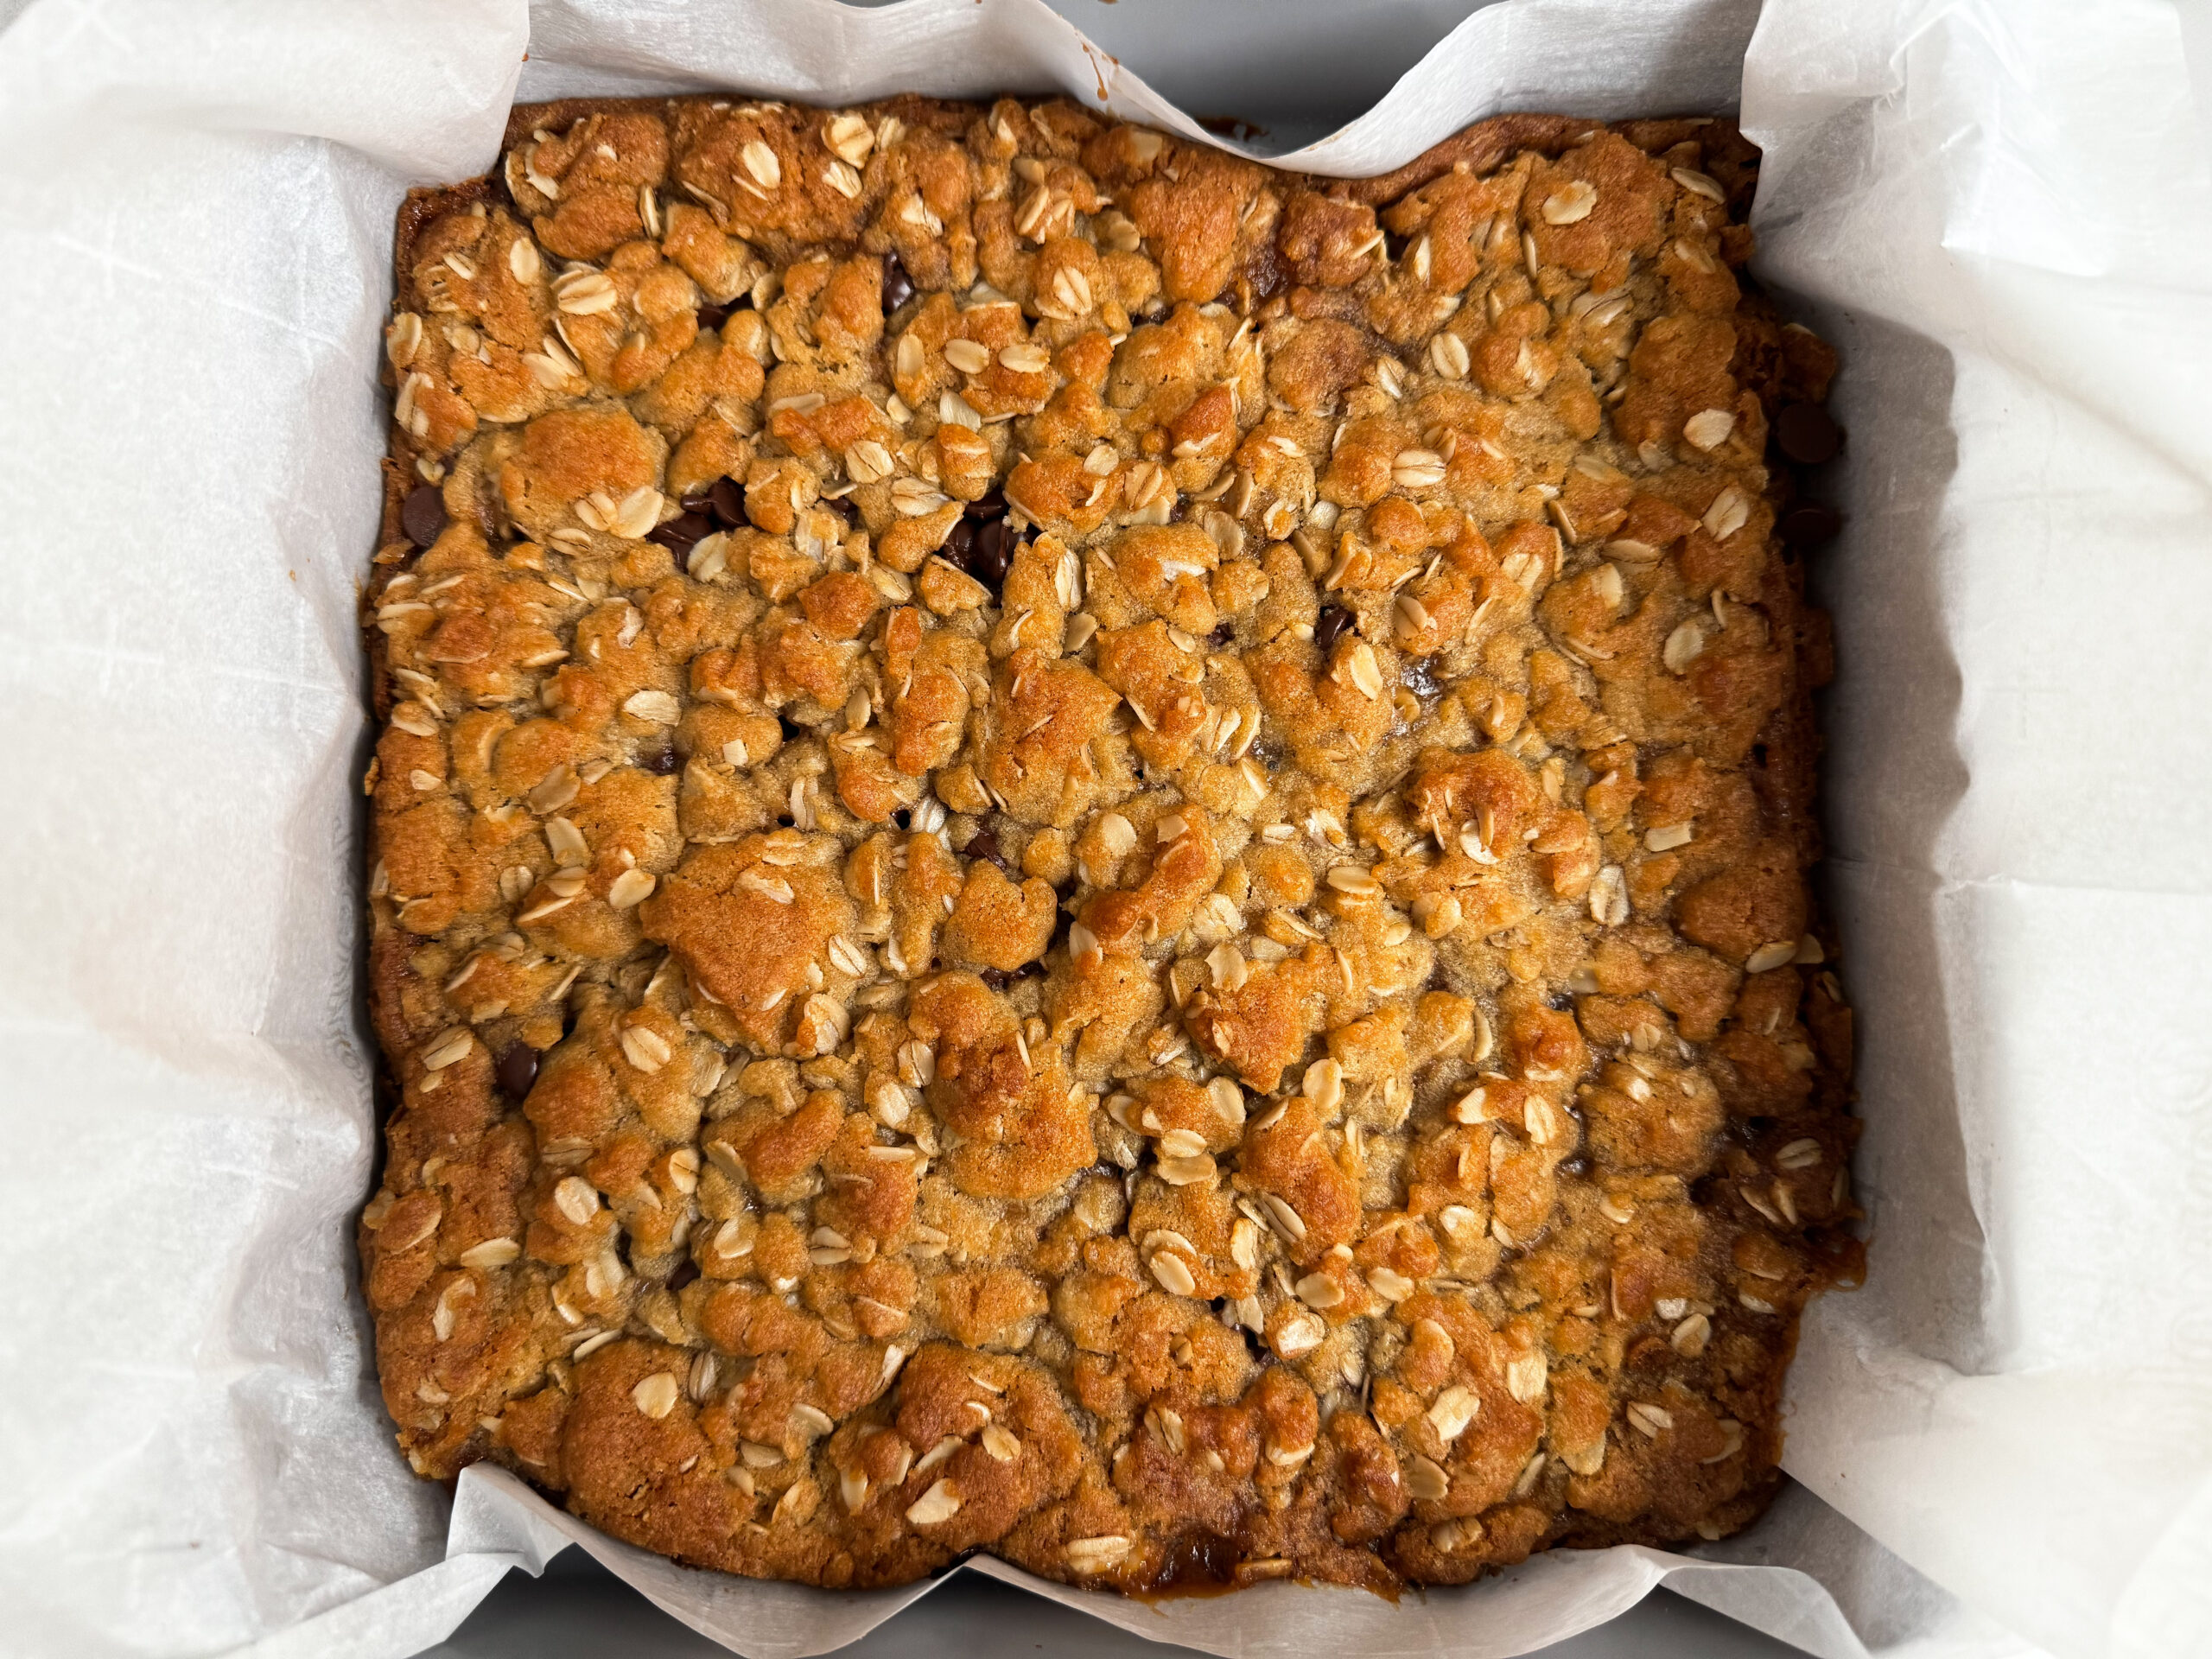
- Crumble the rest of your oat mixture on top sprinkling it evenly until the caramel and chocolate chips are mostly covered.
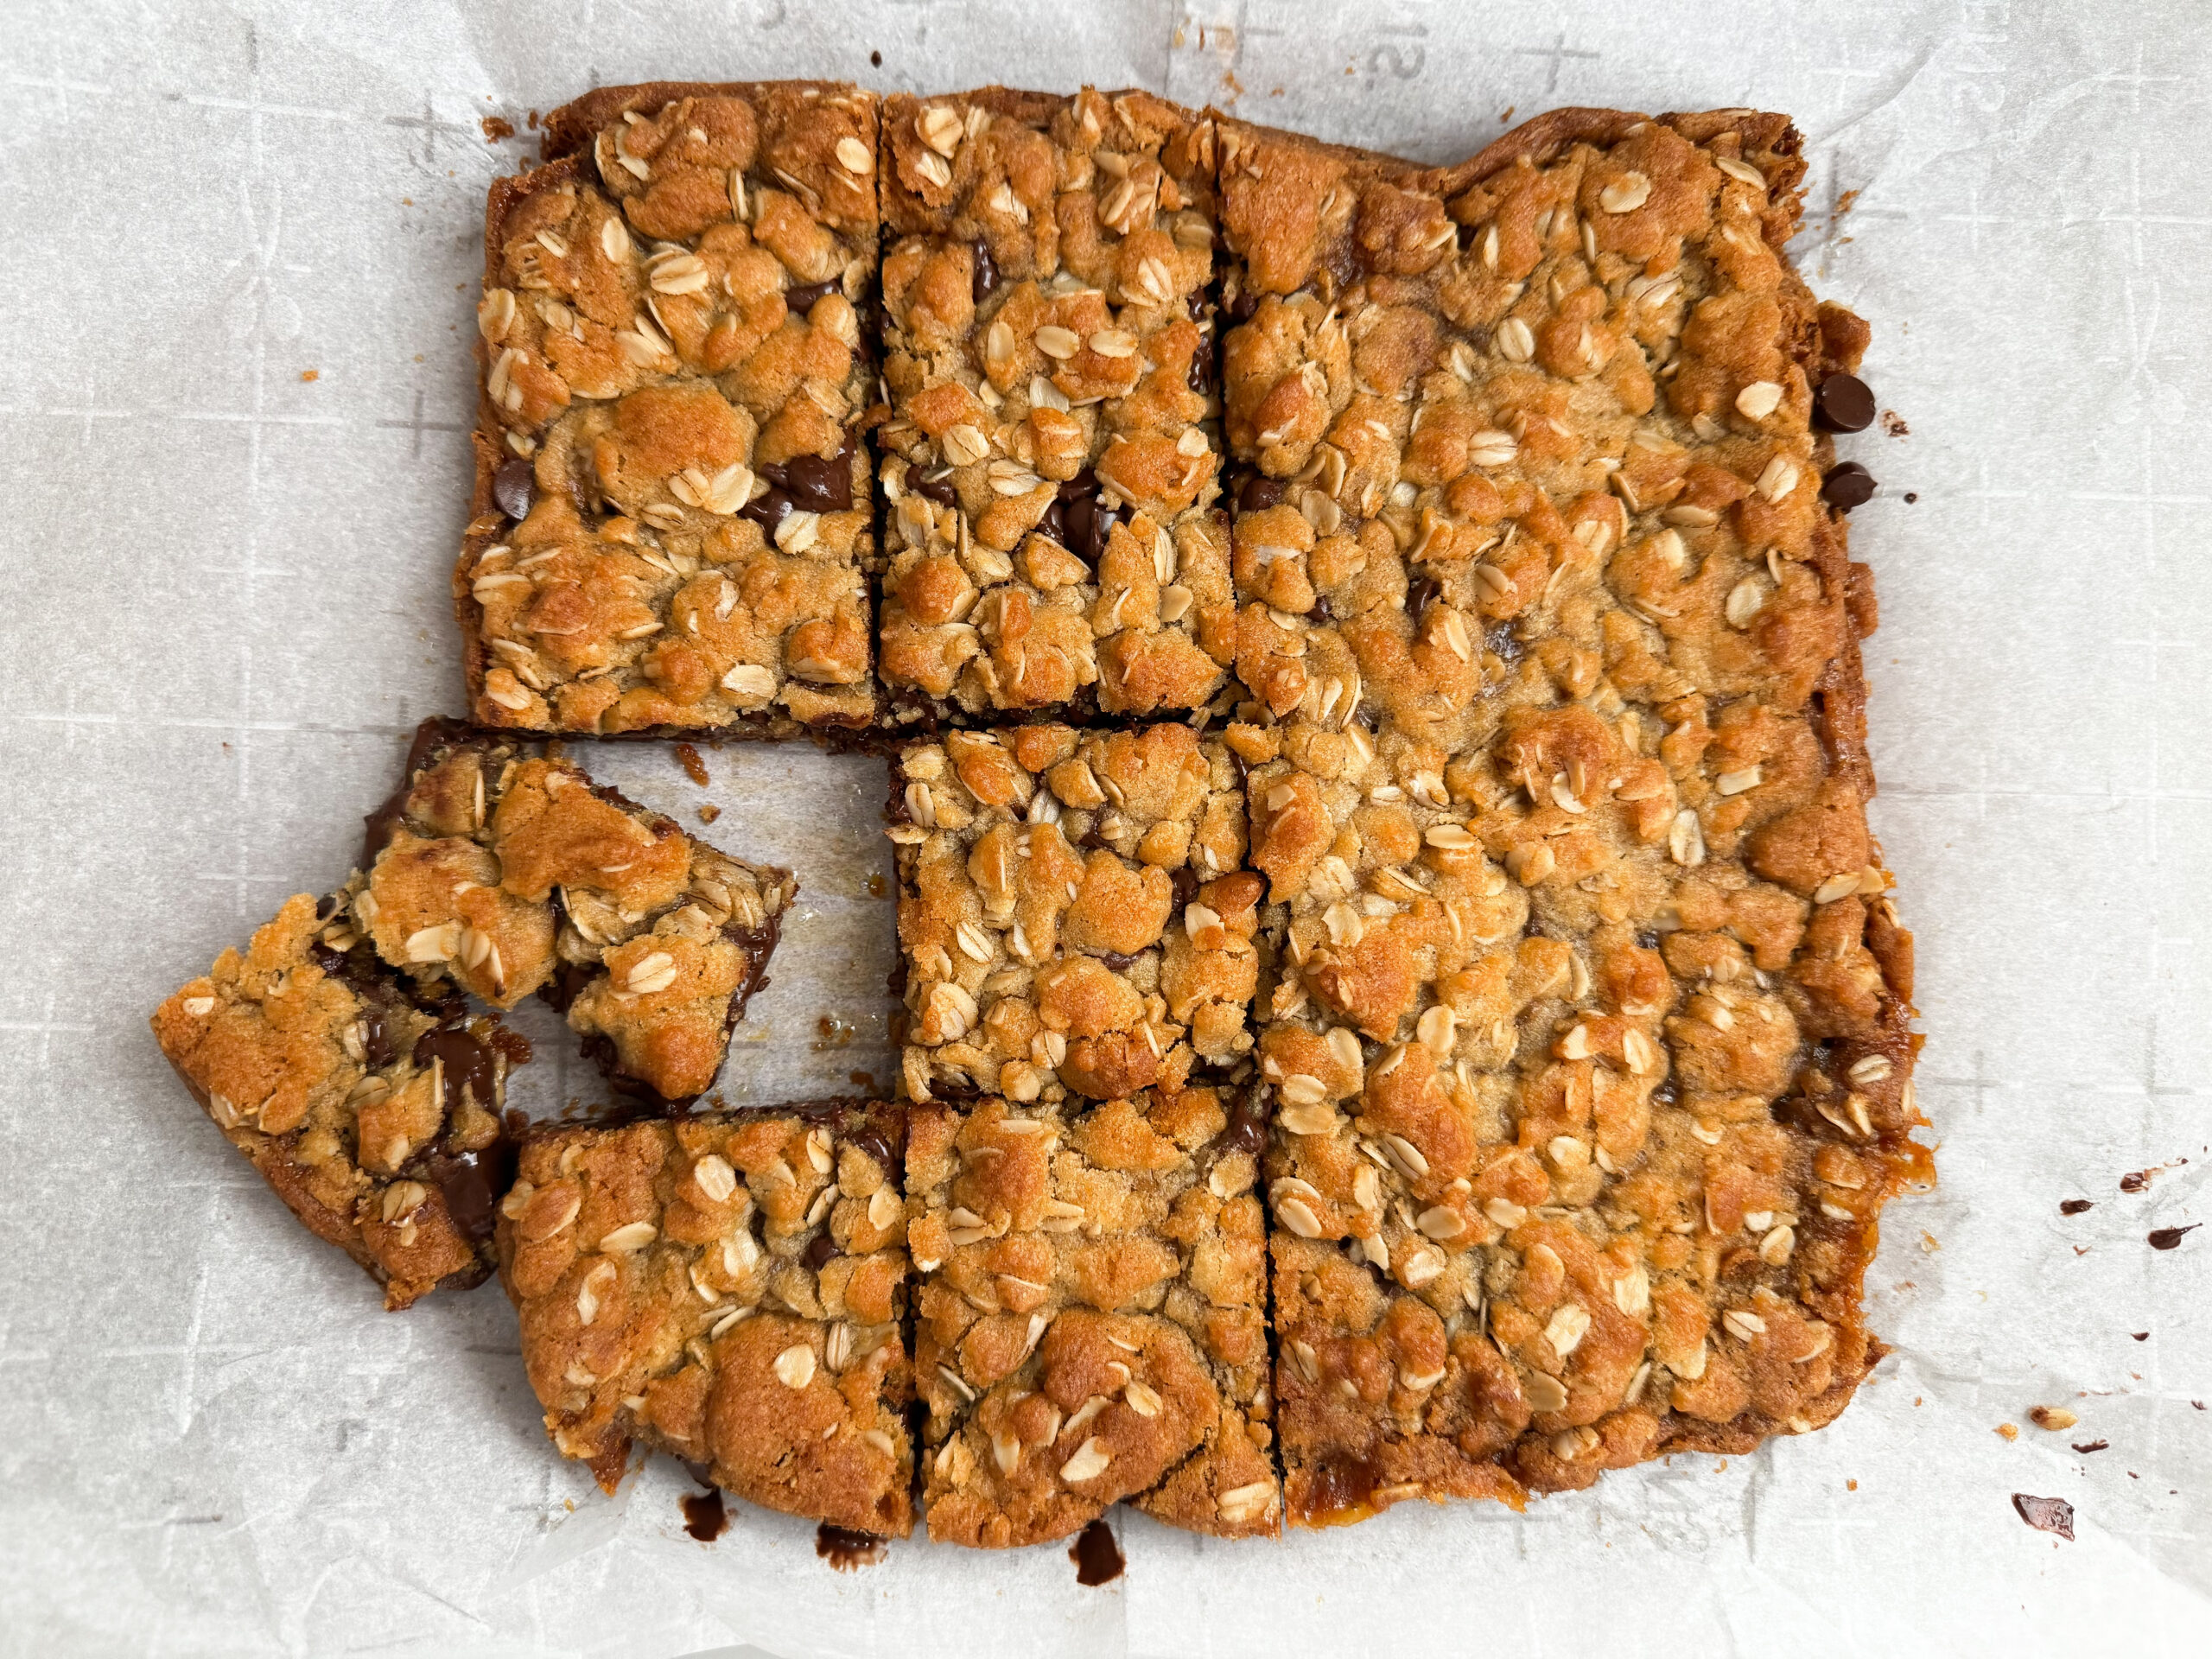
- Return to the oven for about 15 more minutes or until perfectly golden brown. It should be oozing!
- This is the hardest part but it’s best if you let them cool for at least 10-15 min for easier cutting and more enjoyable eating but when you’re ready, plate them up with some ice cream and ENJOY!


Can this recipe be doubled, as is, in like a 9×13 pan? Got family coming with teenagers thought they would like it with my homemade ice cream. Thanks!
These look awesome!
I can’t wait to try these. They look so yummy.
Just saw this on TikTok and went “WHERE TF HAVE THESE BEEN ALL MY LIFE.” I’m getting the ingredients I’m missing tomorrow and baking them ASAP. Thanks for publishing this recipe!
I made these yesterday with homemade Carmel! So delicious! Thank you Nicole 🤍
Have you tried this recipe using peanut butter instead of chocolate chips? My husband isn’t a real chocolate fan but loves peanut butter! I’m going to try this in the next few days and let you know.
Looking forward to trying this yummy sounding recipe!
Hi! Do you use quick oars? Or only rolled oats can be used.
any will work!
looks absolutely amazing, Nicole! Thanks for sharing! I can’t wait to make it!
Very very good!!
Let me tell you I am impressed. I am a very fussy baker but these are just amazing. I did make one change I used cinnamon chips instead of chocolate chips. Game changer!!! Great recipe. 10 out of 10 recommend!!! Will make again for sure.
omg the cinnamon chips!! This is genius!
Hi I love the website and I can’t wait to try to make everything!! I tried the Carmelitas and mine were very runny and would not bake right. Did I not add enough flour?? I want some professional help LOL
eek oh no!! hmm it’s possible. However these are gooey straight from the oven. I find they’re best if you let them cool and set up a little bit!
Made these earlier today and they were amazing!! I don’t love very sweet desserts and think that I would maybe do a little less chocolate chips next time I make this recipe. I added 3/4 cups chocolate chips and would probably do 1/2 cup! We added vanilla ice cream and it was perfect, thank you for the recipe Nicole we love it!!!
This makes me so happy! !Thank you!
These are delicious but they are gone within 48 hours so I haven’t been able to try and freeze them.
Do these freeze well? Would love to make them for a fundraiser a few days ahead of time.
They should!! Just bring them back to room temp before cutting! I’m so glad you enjoyed!