

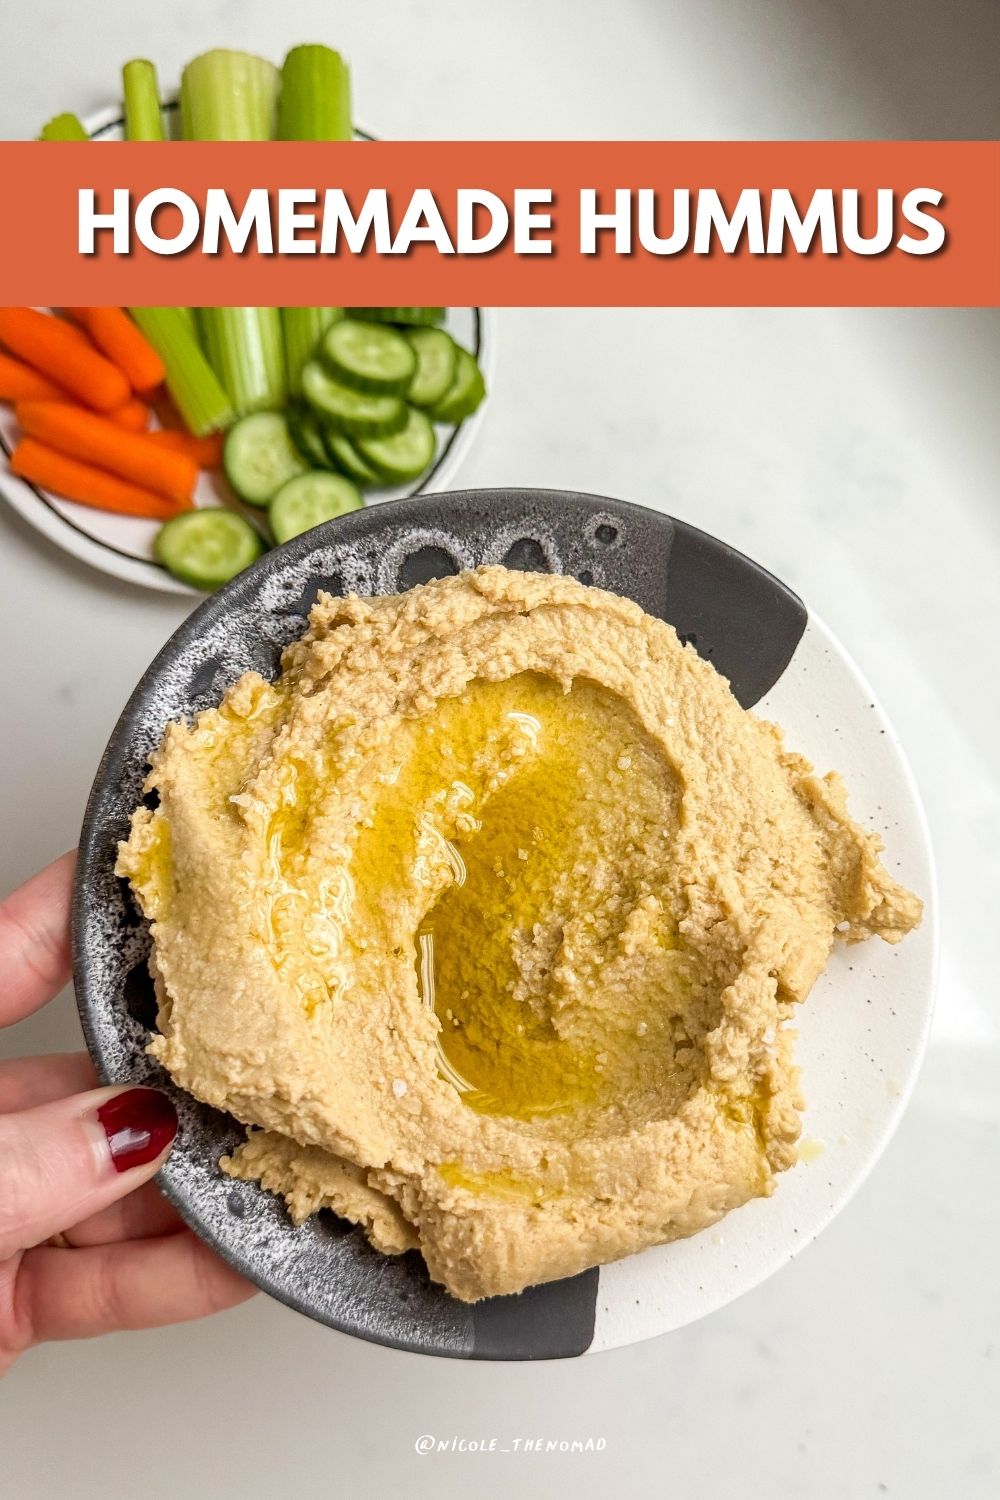
Once you make hummus at home you will genuinely never want to buy it from the store again. That is not an exaggeration. The difference in flavor and freshness between homemade and store bought is significant enough that the first time you taste your own you will wonder why you waited so long to try it. Eight ingredients, one food processor, and five minutes of actual work and you have a smooth, creamy, perfectly seasoned hummus that is better than anything in a plastic container from the refrigerator section. This is one of those recipes that feels like a small revelation.
The meal prep angle is what makes this recipe such a staple in our house. I make a batch on Sunday and keep it in the fridge in an airtight container and suddenly the whole week of snacking and lunches feels more handled. Vegetables that might otherwise get ignored become something people actually reach for when there is a good hummus waiting next to them. It works as a dip for fresh cut vegetables, spread on sandwiches and wraps, served alongside pita bread, or honestly eaten directly off a spoon because it is that good on its own.
The cold water is the technique detail that most homemade hummus recipes leave out and it makes a significant difference in the final texture. Adding cold water while the food processor is running loosens the mixture and creates that light, airy, almost whipped consistency that makes a really good hummus feel so different from a dense, heavy one. Two tablespoons is the starting point and you can add more a little at a time until you reach the texture you like. The olive oil gets drizzled in last on low speed the same way you would emulsify a dressing so it incorporates smoothly rather than pooling on top.
Taste it at the end and adjust before you serve it because that final seasoning moment is the most important step. A little more lemon if it needs brightness, more salt if it tastes flat, a tiny extra drizzle of olive oil if you want more richness. Serve it with a drizzle of olive oil on top, a sprinkle of paprika, and whatever fresh vegetables and pita you have on hand. This is the snack that earns a permanent spot in the weekly meal prep rotation from the very first batch.
Why You’ll Love This Recipe:
- Five minutes and eight pantry staple ingredients for a hummus that tastes so fresh and flavorful that store bought will never feel the same again
- This is one of the most practical and versatile meal prep recipes on the blog because it works as a dip, a spread, a sauce, and a side and pairs with almost everything
- Making it at home means you control every ingredient so you know exactly what is going in and can adjust the garlic, lemon, and seasoning to your exact preference
- Packed with plant based protein and fiber from the chickpeas this is the nourishing snack that makes eating vegetables feel genuinely enjoyable rather than obligatory
Key Ingredients:
- Garbanzo beans: One can rinsed and drained thoroughly is the base of the whole recipe. For an even smoother result remove the outer skins from the chickpeas before processing by rolling them between a clean kitchen towel until the skins slip off. It takes a few extra minutes and makes the hummus noticeably silkier
- Tahini: The ingredient that gives hummus its signature nutty, slightly bitter depth that you cannot replicate with anything else. Use a good quality runny tahini rather than a stiff or separated one for the smoothest result. Stir it well before measuring
- Fresh lemon juice: The brightness that makes everything else taste more alive. Fresh squeezed from one whole lemon is essential here. Bottled lemon juice has a flat, slightly chemical flavor that does not do what fresh lemon does for this recipe
- Garlic: One clove raw for a classic hummus with a noticeable but not overwhelming garlic presence. For a milder garlic flavor roast the clove in the oven before adding or use half a clove. For a stronger garlic hummus add a second clove
- Cold water: The technique ingredient that most people leave out and should not. Drizzled in while the food processor is running it creates that light, airy, whipped texture that separates a really good hummus from a dense one
- Olive oil: Drizzled in last on low speed so it emulsifies smoothly into the hummus rather than sitting on top. Use a good quality extra virgin olive oil because it adds both flavor and that beautiful silkiness to the final texture
Tips for Success:
- Process the tahini and lemon juice together first for about thirty seconds before adding the chickpeas. This whips the tahini into a lighter, creamier consistency that makes the final hummus significantly smoother
- Add the cold water gradually while the processor is running rather than all at once so you can control the final consistency and stop when it reaches exactly the texture you want
- Taste and season at the very end before serving. A little more lemon juice brightens it, more salt brings out all the other flavors, and a small extra drizzle of olive oil adds richness. That final adjustment is what makes it taste like yours
- For the smoothest possible hummus remove the outer skins from the chickpeas before processing. It takes a few extra minutes but the silkier texture is noticeably better if you have the time
Storage:
Store classic homemade hummus in an airtight container in the refrigerator for up to one week. Press a piece of plastic wrap directly against the surface of the hummus before sealing the container to prevent a skin from forming on top. Before serving stir it well and add a fresh drizzle of olive oil on top since it will thicken slightly in the fridge. Hummus can also be frozen in an airtight container for up to three months. Thaw overnight in the refrigerator and stir well before serving.
FAQ:
Why is my hummus not smooth enough?
The most common reasons are not processing it long enough or using too little liquid. Let the food processor run on high for a full two to three minutes rather than stopping when it looks mostly smooth. Add cold water a tablespoon at a time while it runs until you reach the texture you want. Removing the chickpea skins before processing also makes a significant difference in achieving that silky smooth restaurant quality texture.
Can I make this without tahini?
Tahini is what makes hummus taste like hummus so it is strongly recommended. If you genuinely do not have it or cannot find it you can substitute natural almond butter or sunflower seed butter for a different but still delicious result. The flavor will be noticeably different from classic hummus but still good as a chickpea based dip.
What are the best things to serve with homemade hummus?
Fresh cut vegetables like carrots, cucumber, celery, and bell pepper are the most classic pairing. Warm pita bread or pita chips are essential. Crackers, pretzels, and toasted baguette slices all work beautifully. For a full spread arrange the hummus in a shallow bowl with a drizzle of olive oil, a sprinkle of paprika or za’atar, and a handful of whole chickpeas on top surrounded by all your dippers.
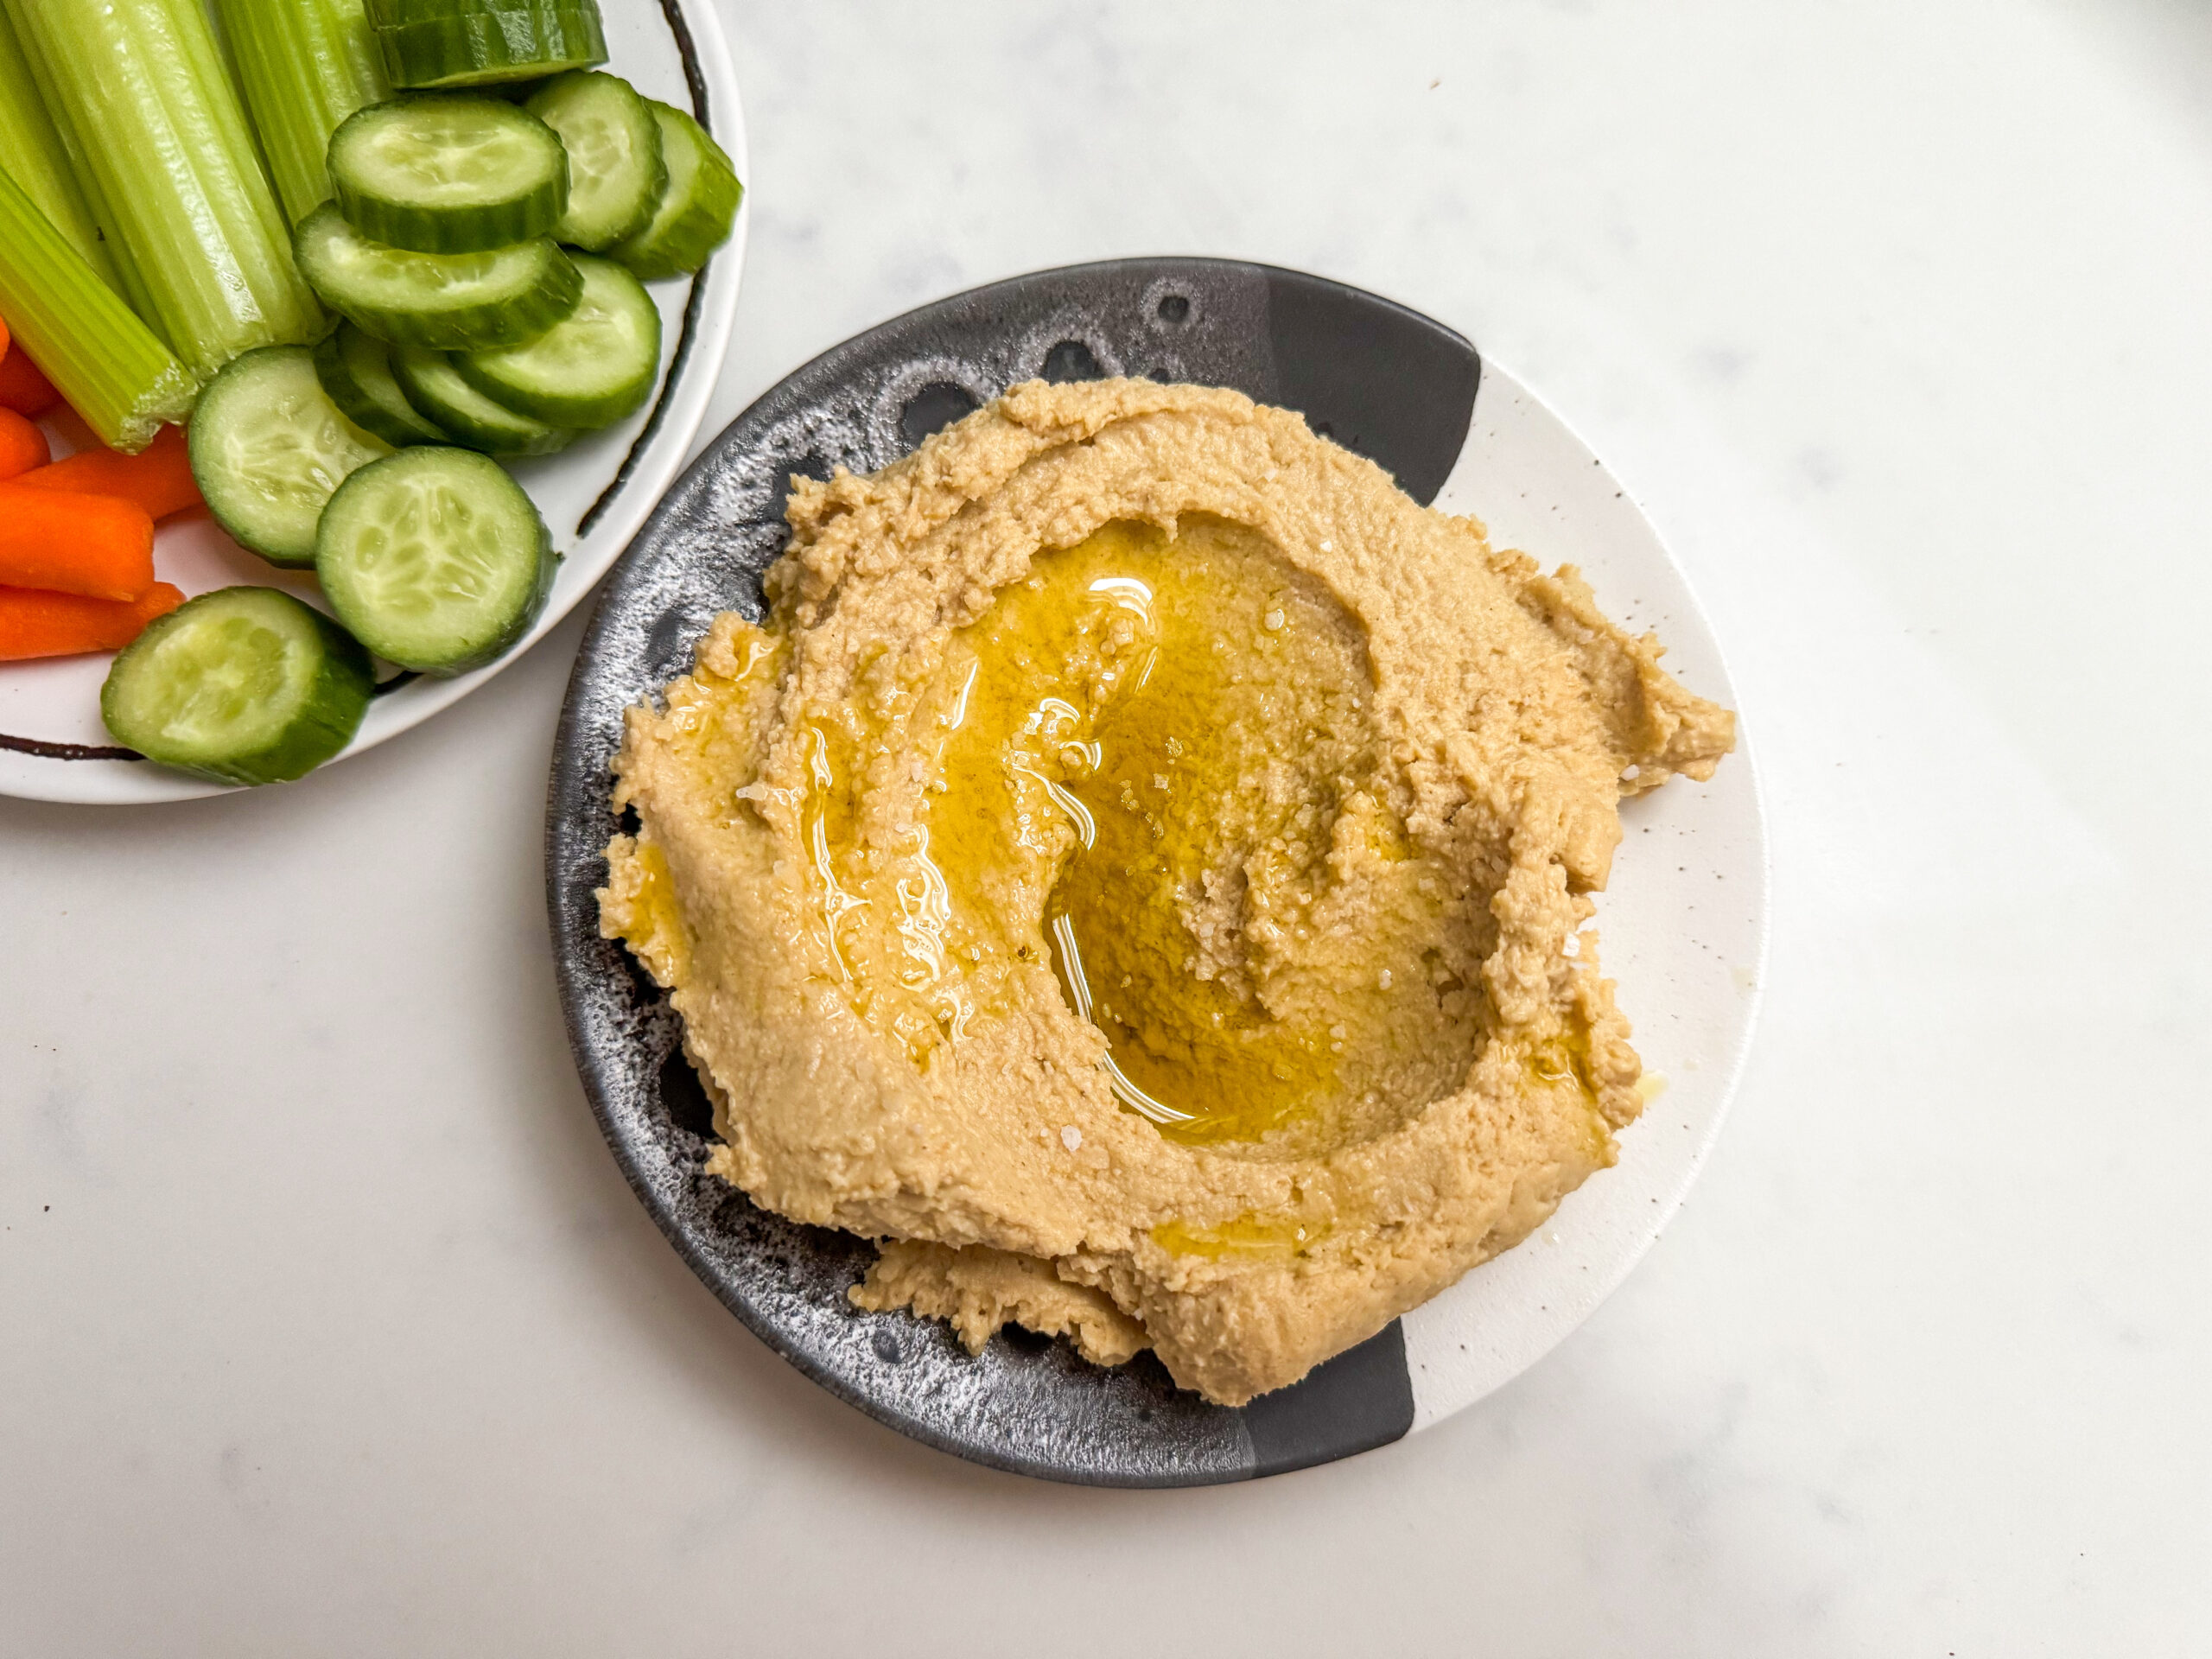
Classic Homemade Hummus
Ingredients
- 1 can garbanzo beans rinsed and drained
- ⅓ cup tahini
- juice of 1 lemon
- 1 clove of garlic
- 1 tsp salt
- 1 tsp ground cumin
- 2 Tbs cold water
- 3 Tbs olive oil more to taste
Instructions
- Rinse and drain your garbanzo beans and add to the bowl of a food processor.
- Add tahini, lemon juice, garlic, salt, cumin and water and process on low for 30 seconds and then high until smooth.
- With the food processor on low, slowly pour in the olive oil until smooth and creamy.
- Taste and adjust to your liking.
- Store hummus in an air tight container for up to 1 week and enjoy with fresh cut veggies, crackers or pita bread!






Comments +