

Every holiday season there is one recipe on the dessert table that makes people stop and stare before they even take a bite and these chocolate pinecones are exactly that recipe. They look like something you would find at a high end bakery or a really thoughtful holiday party and the secret is that they are made from four ingredients and come together in about thirty minutes. Oreos, cream cheese, chocolate cereal, and a dusting of powdered sugar. That is it. The kind of recipe that makes you look way more impressive than the effort required and that is always a win in my book.
The base is an Oreo truffle mixture which means it is rich, fudgy, deeply chocolatey, and completely irresistible before you even get to the fun part. Pulse the Oreos in a food processor, add cream cheese, and you have a thick sticky dough that forms into the most perfect little cone shapes. The cream cheese needs a quick rest in the fridge before you start shaping so it firms up just enough to hold together cleanly. Do not skip that step because warm cream cheese dough is sticky and harder to work with and you want these to look as good as they taste.
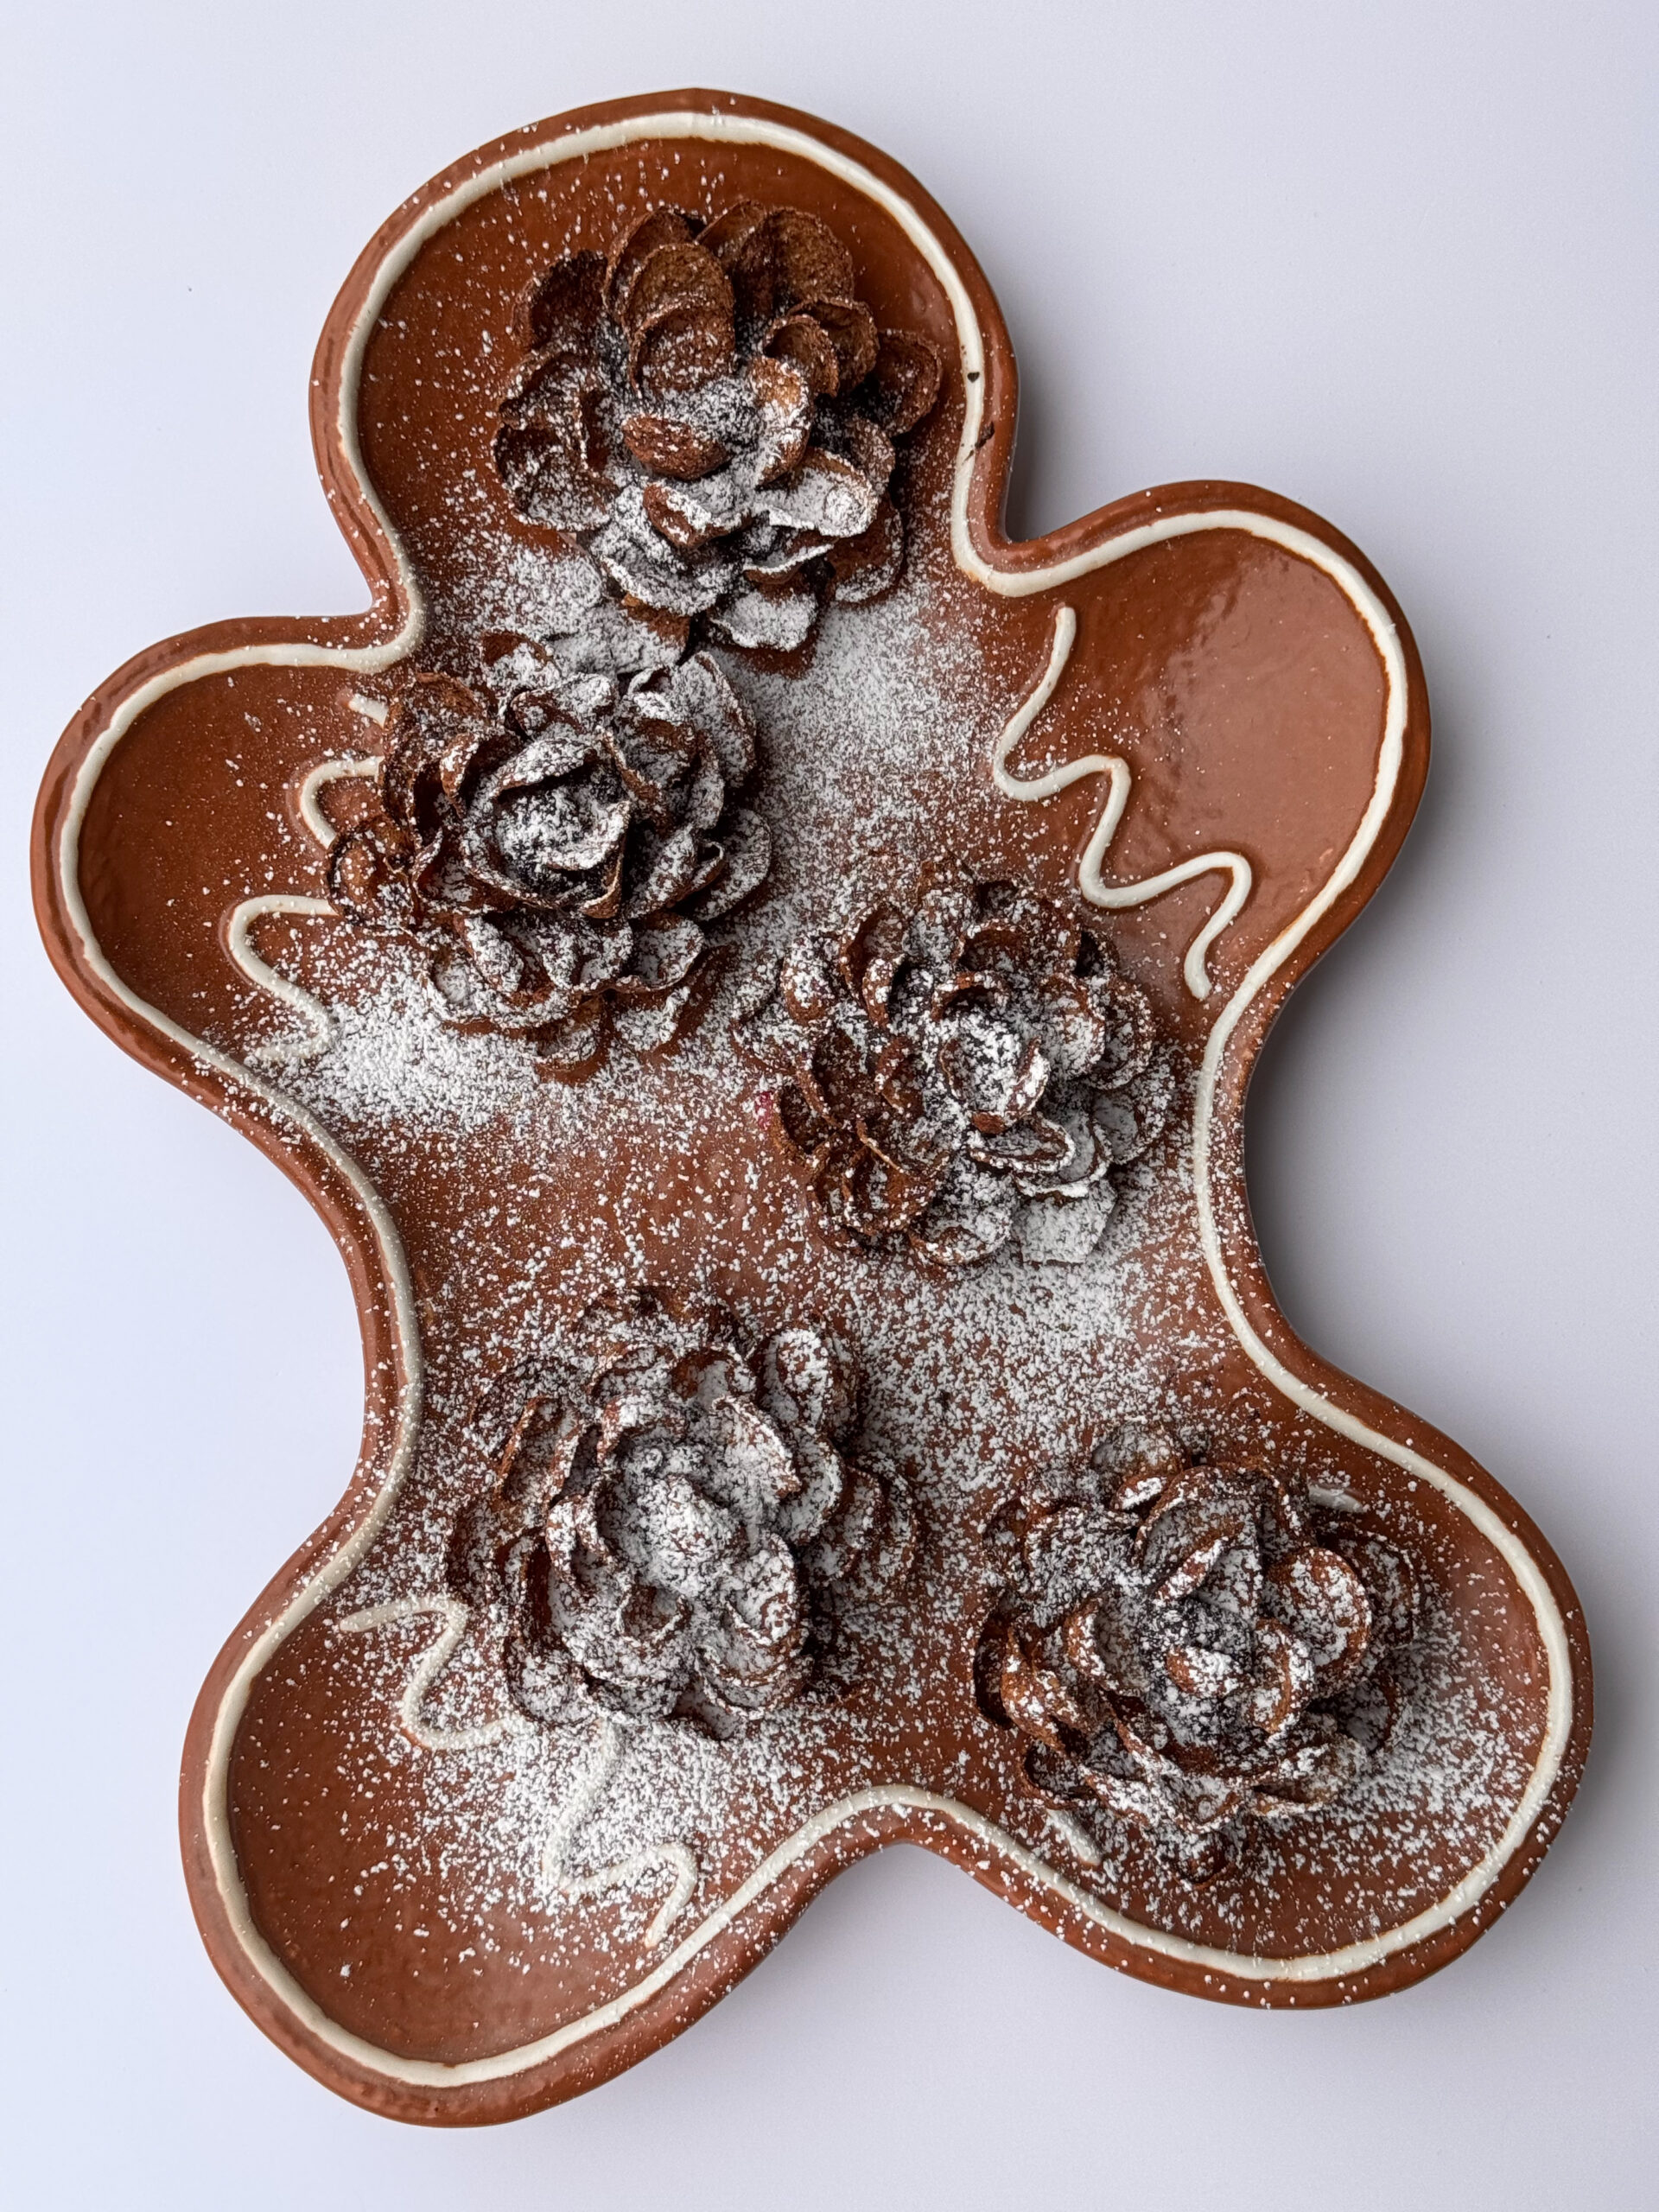
The pinecone assembly is the part that looks complicated and is actually really fun. You press the cereal pieces into the cone starting at the base and working your way up in overlapping layers, angling each piece slightly upward so it fans out the way a real pinecone does. It is methodical in the most satisfying way and genuinely a great activity to do with kids. Willa loves pressing the cereal in and the focus it takes is adorable to watch. Once the whole cone is covered a light dusting of powdered sugar gives you that snowed on winter effect that makes them look absolutely stunning on a holiday tray.
These chocolate pinecones are the recipe to make when you want to bring something to a holiday gathering that people will talk about, add to a cookie box that looks stunning, or just have something magical on your counter during the holiday season. Make a big batch because they go fast and store them in the fridge until you are ready to serve. Four ingredients, thirty minutes, and a holiday treat that looks like it took all day.
Why You’ll Love This Recipe:
- Four ingredients and thirty minutes for a holiday treat that looks like something from a high end bakery and makes every single person at the party stop and stare before they take a bite
- The Oreo cream cheese truffle base is so rich and fudgy and deeply chocolatey that these taste just as incredible as they look which is genuinely the best possible combination in a holiday dessert
- This is one of the best kitchen activities to do with kids because pressing the cereal into the cone in overlapping layers is methodical, satisfying, and completely manageable for little hands
- These store in the fridge for up to a week which makes them one of the best make ahead holiday treats for cookie boxes, party spreads, and gifting
Key Ingredients:
- Oreos: One full package pulsed to fine crumbs in a food processor is the base of the truffle mixture. The chocolate cookie and cream filling together create a rich fudgy dough when combined with the cream cheese that tastes like the most indulgent truffle you have ever had and holds its shape beautifully when formed into cones
- Cream cheese: Five ounces at room temperature blended with the Oreo crumbs into a thick sticky dough that is the foundation of the whole pinecone. Room temperature is important for smooth incorporation and the ten to twenty minute refrigerator rest after mixing is what firms it up enough to shape cleanly
- Chocolate flake cereal: Corn flakes, Chex, or any flake-style chocolate cereal that presses into the truffle base and fans out to create the pinecone scale effect. The flake shape is important because it is what mimics the overlapping scale pattern of a real pinecone and makes these look so authentically nature-inspired
- Powdered sugar: The finishing dusting that gives each pinecone that snowed-on winter effect and makes them look absolutely stunning on a holiday tray. A fine mesh strainer held over each pinecone gives you an even beautiful dusting rather than clumpy spots
Tips for Success:
- Refrigerate the Oreo cream cheese mixture for the full ten to twenty minutes before shaping. Warm cream cheese dough is sticky and difficult to form into clean cone shapes. A properly chilled mixture shapes effortlessly and holds the pinecone form beautifully while you apply the cereal
- Start pressing the cereal at the very base of the cone and work your way upward in overlapping circular layers, angling each piece slightly upward and away from the cone to create that authentic pinecone scale effect. The angle is what makes these look so realistic
- Work with cold hands or briefly rinse your hands with cold water between cones to keep the truffle mixture from warming up and becoming sticky during the shaping process
- Dust with powdered sugar right before serving rather than right after making so the snowed-on effect looks fresh and beautiful rather than absorbed into the truffle if they have been sitting in the fridge
Storage:
Store chocolate Oreo pinecone truffles in an airtight container in the refrigerator for up to one week. Keep them in a single layer or with parchment between layers so the cereal scales do not get crushed. Add the powdered sugar dusting right before serving so it looks freshly snowed on rather than absorbed into the truffle surface. These do not freeze well as the cereal scales lose their crunch when thawed.
FAQ:
What cereal works best for the pinecone scales?
Chocolate corn flakes are the most classic option and give you the most authentic pinecone color and shape. Regular corn flakes work beautifully too if you cannot find the chocolate variety. Chocolate Chex is another great option with a slightly more structured shape that fans out nicely. Any cereal with a flat or slightly curved flake shape that is sturdy enough to press into the truffle base without crumbling will create beautiful pinecone scales.
Can I make these ahead of time for a party?
Yes and they are actually ideal for making ahead. Assemble the pinecones up to one week in advance and store in the refrigerator. Add the powdered sugar dusting right before your guests arrive so it looks fresh and just-snowed-on when people see them. The flavors actually deepen as they sit in the fridge making them taste even better on day three and four than they did on day one.
Can I use a different truffle base instead of Oreos and cream cheese?
The Oreo cream cheese truffle base is what gives these their specific rich fudgy texture and chocolate flavor that makes them so irresistible. You could experiment with different Oreo flavors like golden Oreos for a lighter colored pinecone or peanut butter Oreos for a chocolate peanut butter version. A different cookie entirely would change the texture significantly and may not hold the cone shape as well as the Oreo base which is specifically dense enough to support the cereal scales.
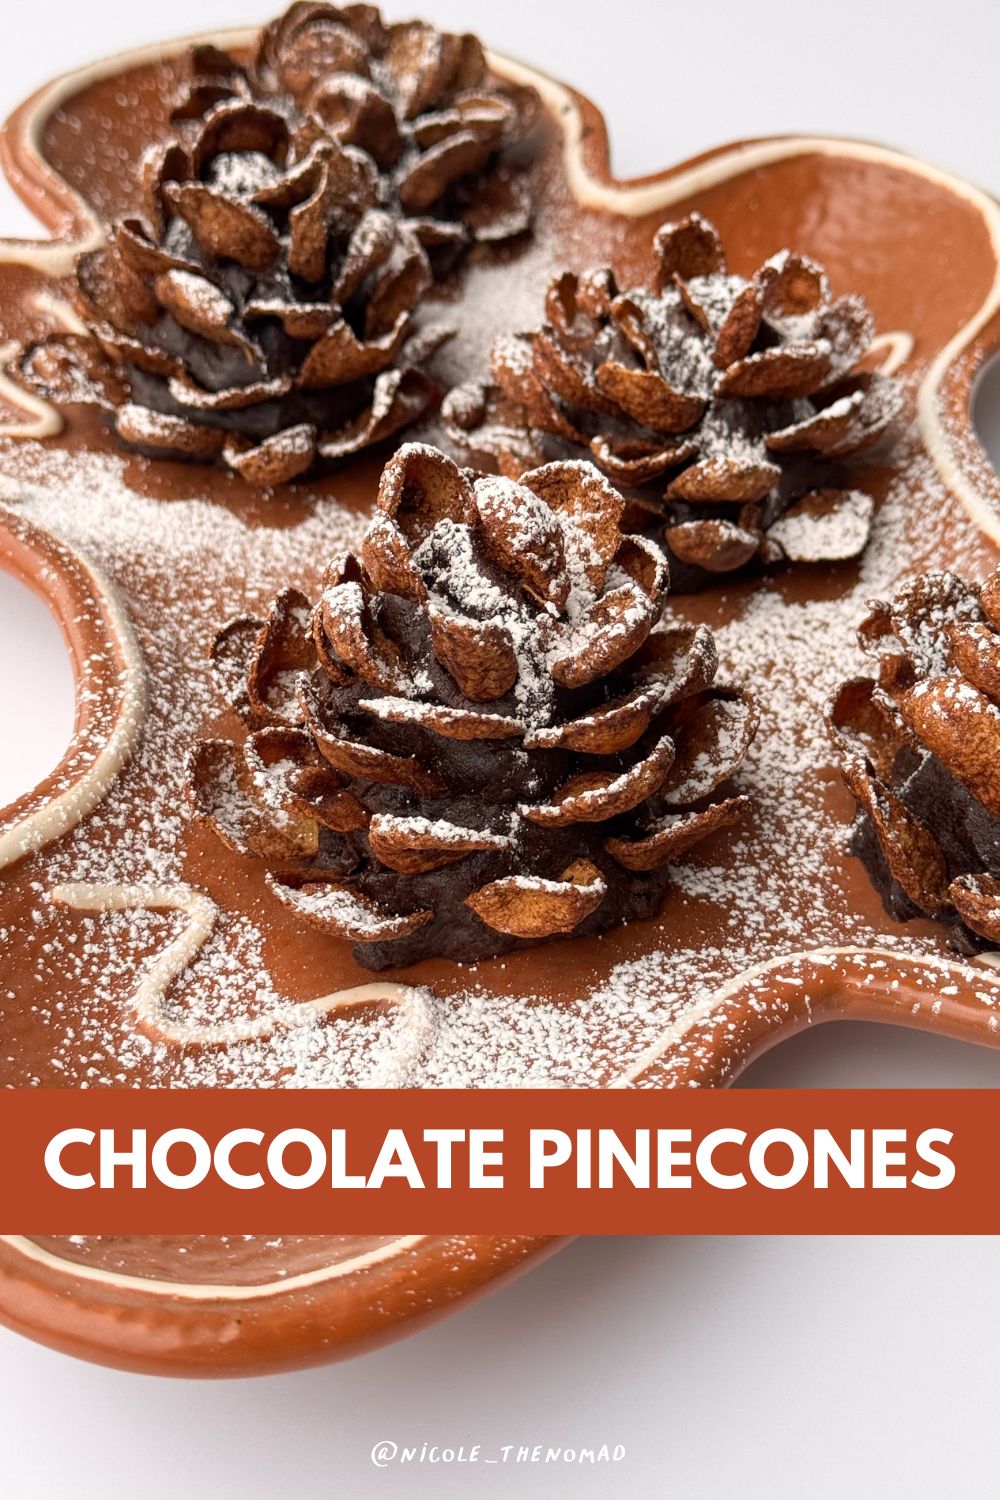
Chocolate Oreo Pinecone Truffles
Ingredients
- 1 package of Oreos
- 5 oz cream cheese room temp
- Chocolate flake cereal corn flakes or Chex work great
- powdered sugar for dusting
Instructions
- Pulse Oreos in a food processor until they are fine.
- Add cream cheese and pulse until you have a thick, sticky dough.
- Refrigerate for 10-20 min to let the cream cheese firm up and its easier to form.
- Form 3 Tbs of the mixture into a cone shape.
- Press the cereal into the Oreo mixture slanting upwards making a full circle around the base of the cone.
- Repeat in another layer above the first and continue going around and up until the entire cone is covered and resembles a pinecone.
- Dust with powdered sugar for a “snowed on” effect and enjoy!






Comments +